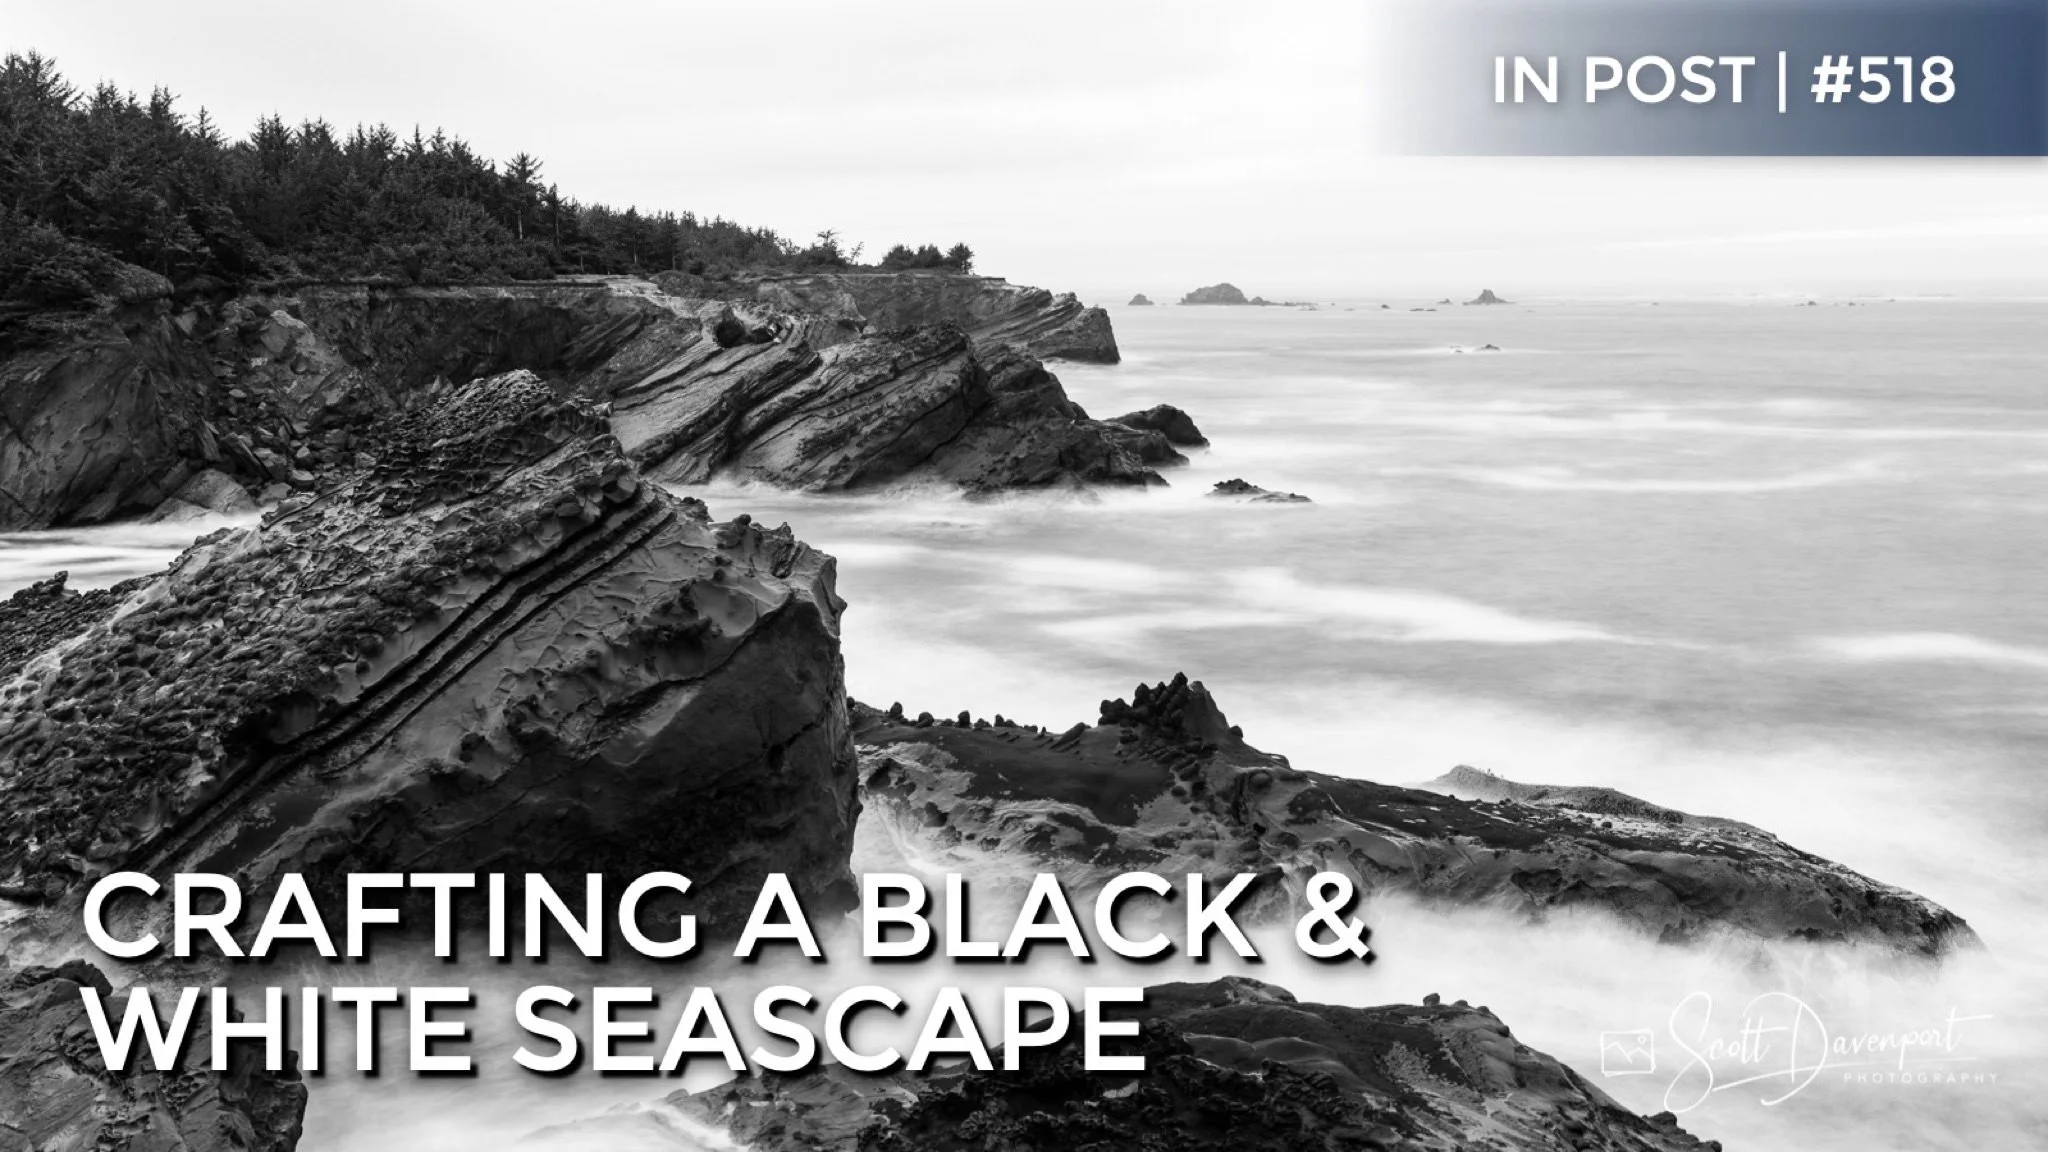
Crafting A Black & White Seascape - In Post #518
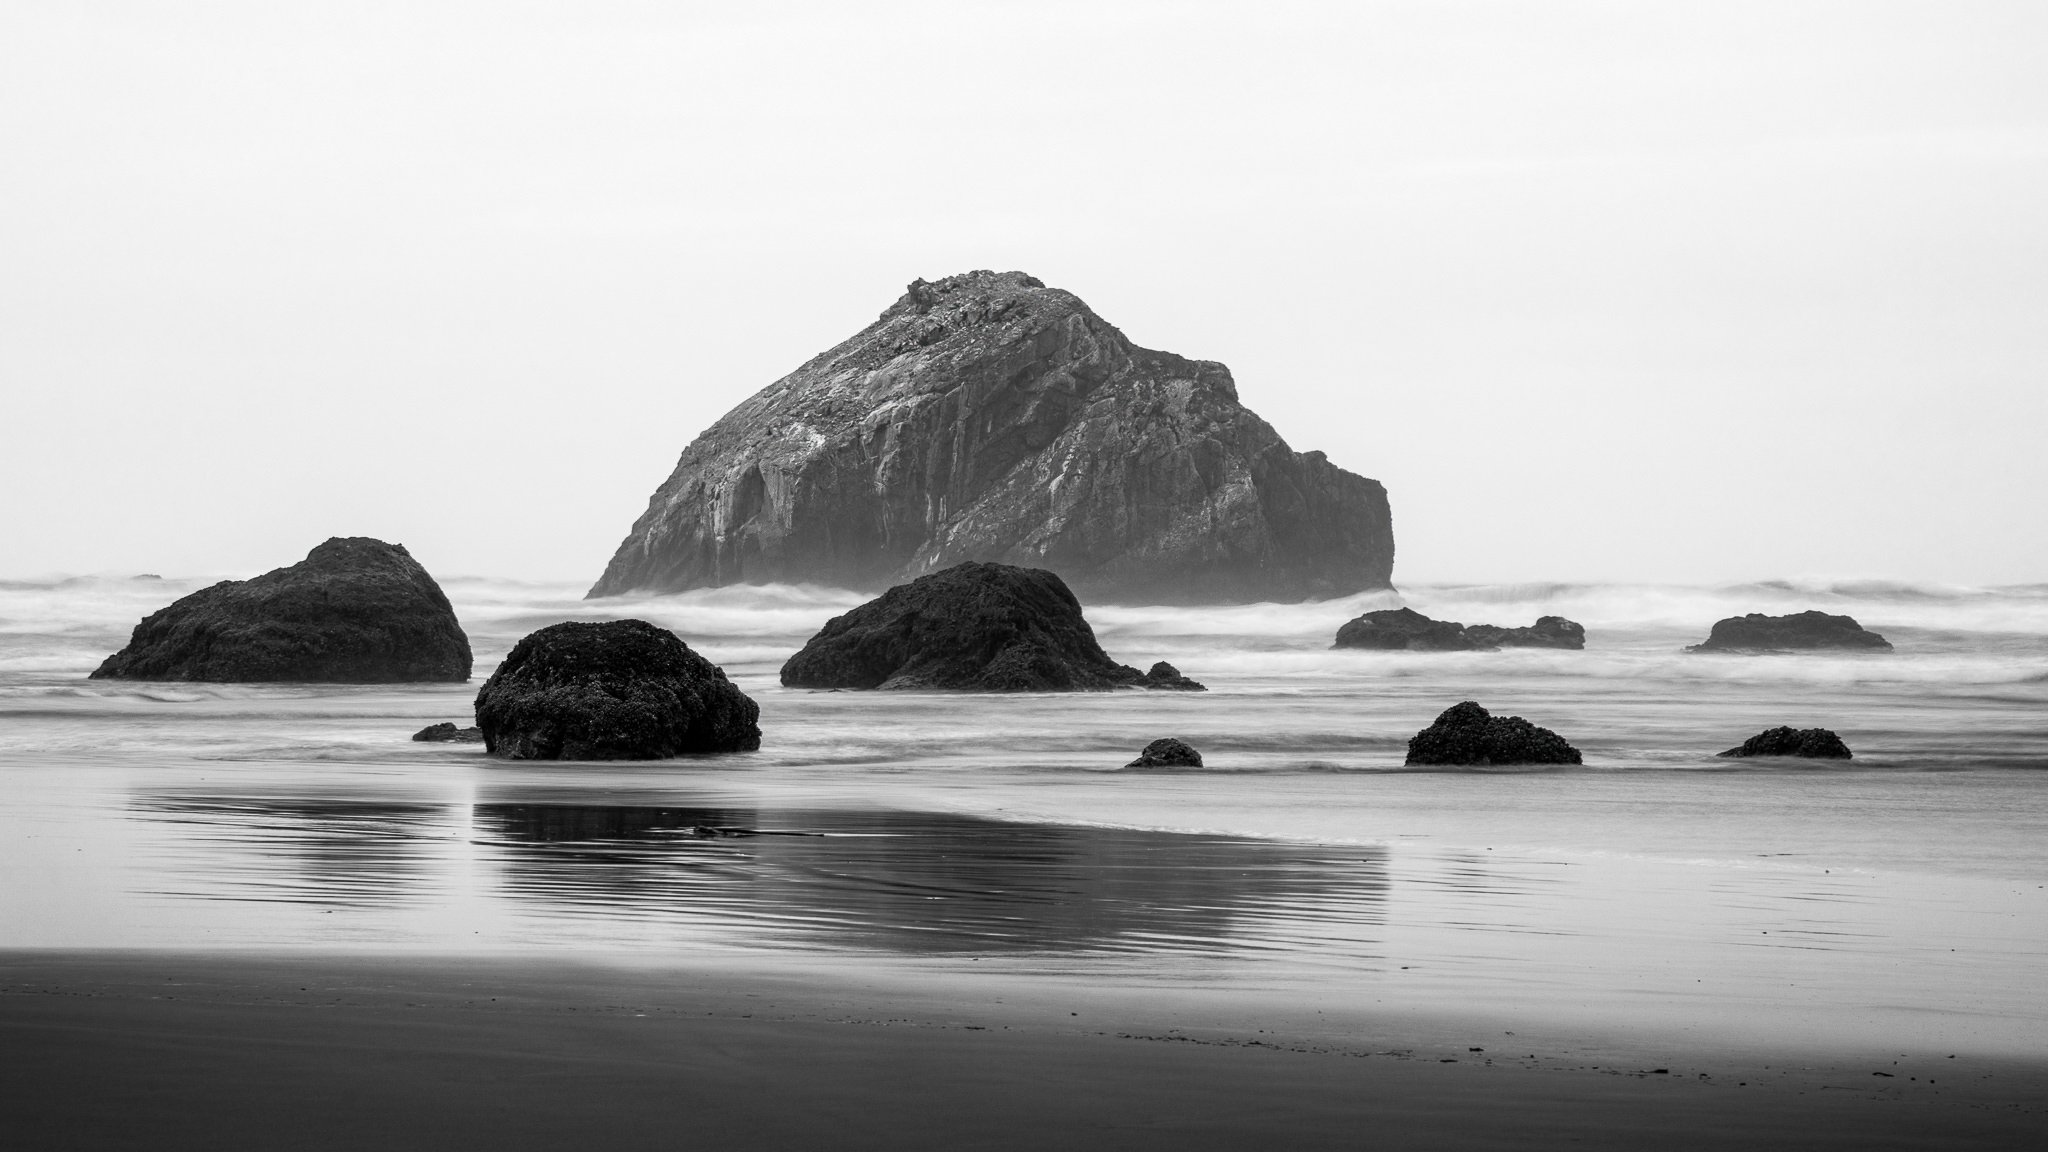
Seascapes is my favorite genre of landscape photography. Every frame is different because each movement of the ocean is different. The weather and tides play a large role as well. And while I enjoy a vibrant, colorful sunset with rich blue water just as much as the next person, I also enjoy and appreciate a strong black & white style for a seascape photo. In fact, overcast conditions can produce wonderfully strong monochrome photos of the the shore line.
Here are a few tips to craft a strong black & white seascape.
Step 1 - Choose The Right Camera Profile
A strong black & white photo starts with the right camera profile. This is the option you choose before adjusting basic tonality. A profile rich in contrast works very well for black and while images. Explore the profiles in your preferred RAW editor - it most likely includes several monochrome treatments for your images. Audition them on your photo and find one with deep blacks and very bright whites.
In Lightroom, I like the B&W 03 and B&W 04 profiles. Both produce deep, contrast rich and start my photos off right.
The original photo is flat and not very colorful. Such conditions are not unusual for seascapes.
The B&W 04 profile in Lightroom produces a rich, high contrast look for an image.
Step 2 - Adjust Basic Tonality
A good camera profile will do wonders for your image. However, some level of tonal adjustment is usually needed as well. Try the Auto button in Lightroom or your preferred RAW editor. Notice in my photo, the shadows are opened up some, revealing more detail in the rocks.
Resist the urge to adjust sliders that affect detail globally in your photo. In Lightroom, these are the Clarity and Texture sliders. Use a gentle touch to address any detail needs across the entire photo. For a more compelling image, targeted adjustments to select elements in a scene are best.
Refine the basic adjustments like exposure, shadows, and highlights. Go easy (if at all) on detail and texture adjustments.
Step 3 - Use Localized Adjustments
Finally, use masking tools to adjust select elements in the scene. The number of localized adjustments will vary from photo to photo. It all depends on what things in the scene need treatment. While there no singular recipe for any photo, there are some guidelines you can use to help decide what things need adjustment:
Know your subject. Add local adjustments to make the subject more prominent or obvious. Steer your viewer’s eye to your subject.
Amplify differences of light and shadow. Selective darken and brighten certain elements. Dodge & burn is a tried and true technique.
Play up opposites. Look for opportunities to amplify land against sea, light against dark, textured against smooth.
Before applying localized adjustments to the rocks, ocean, and trees.

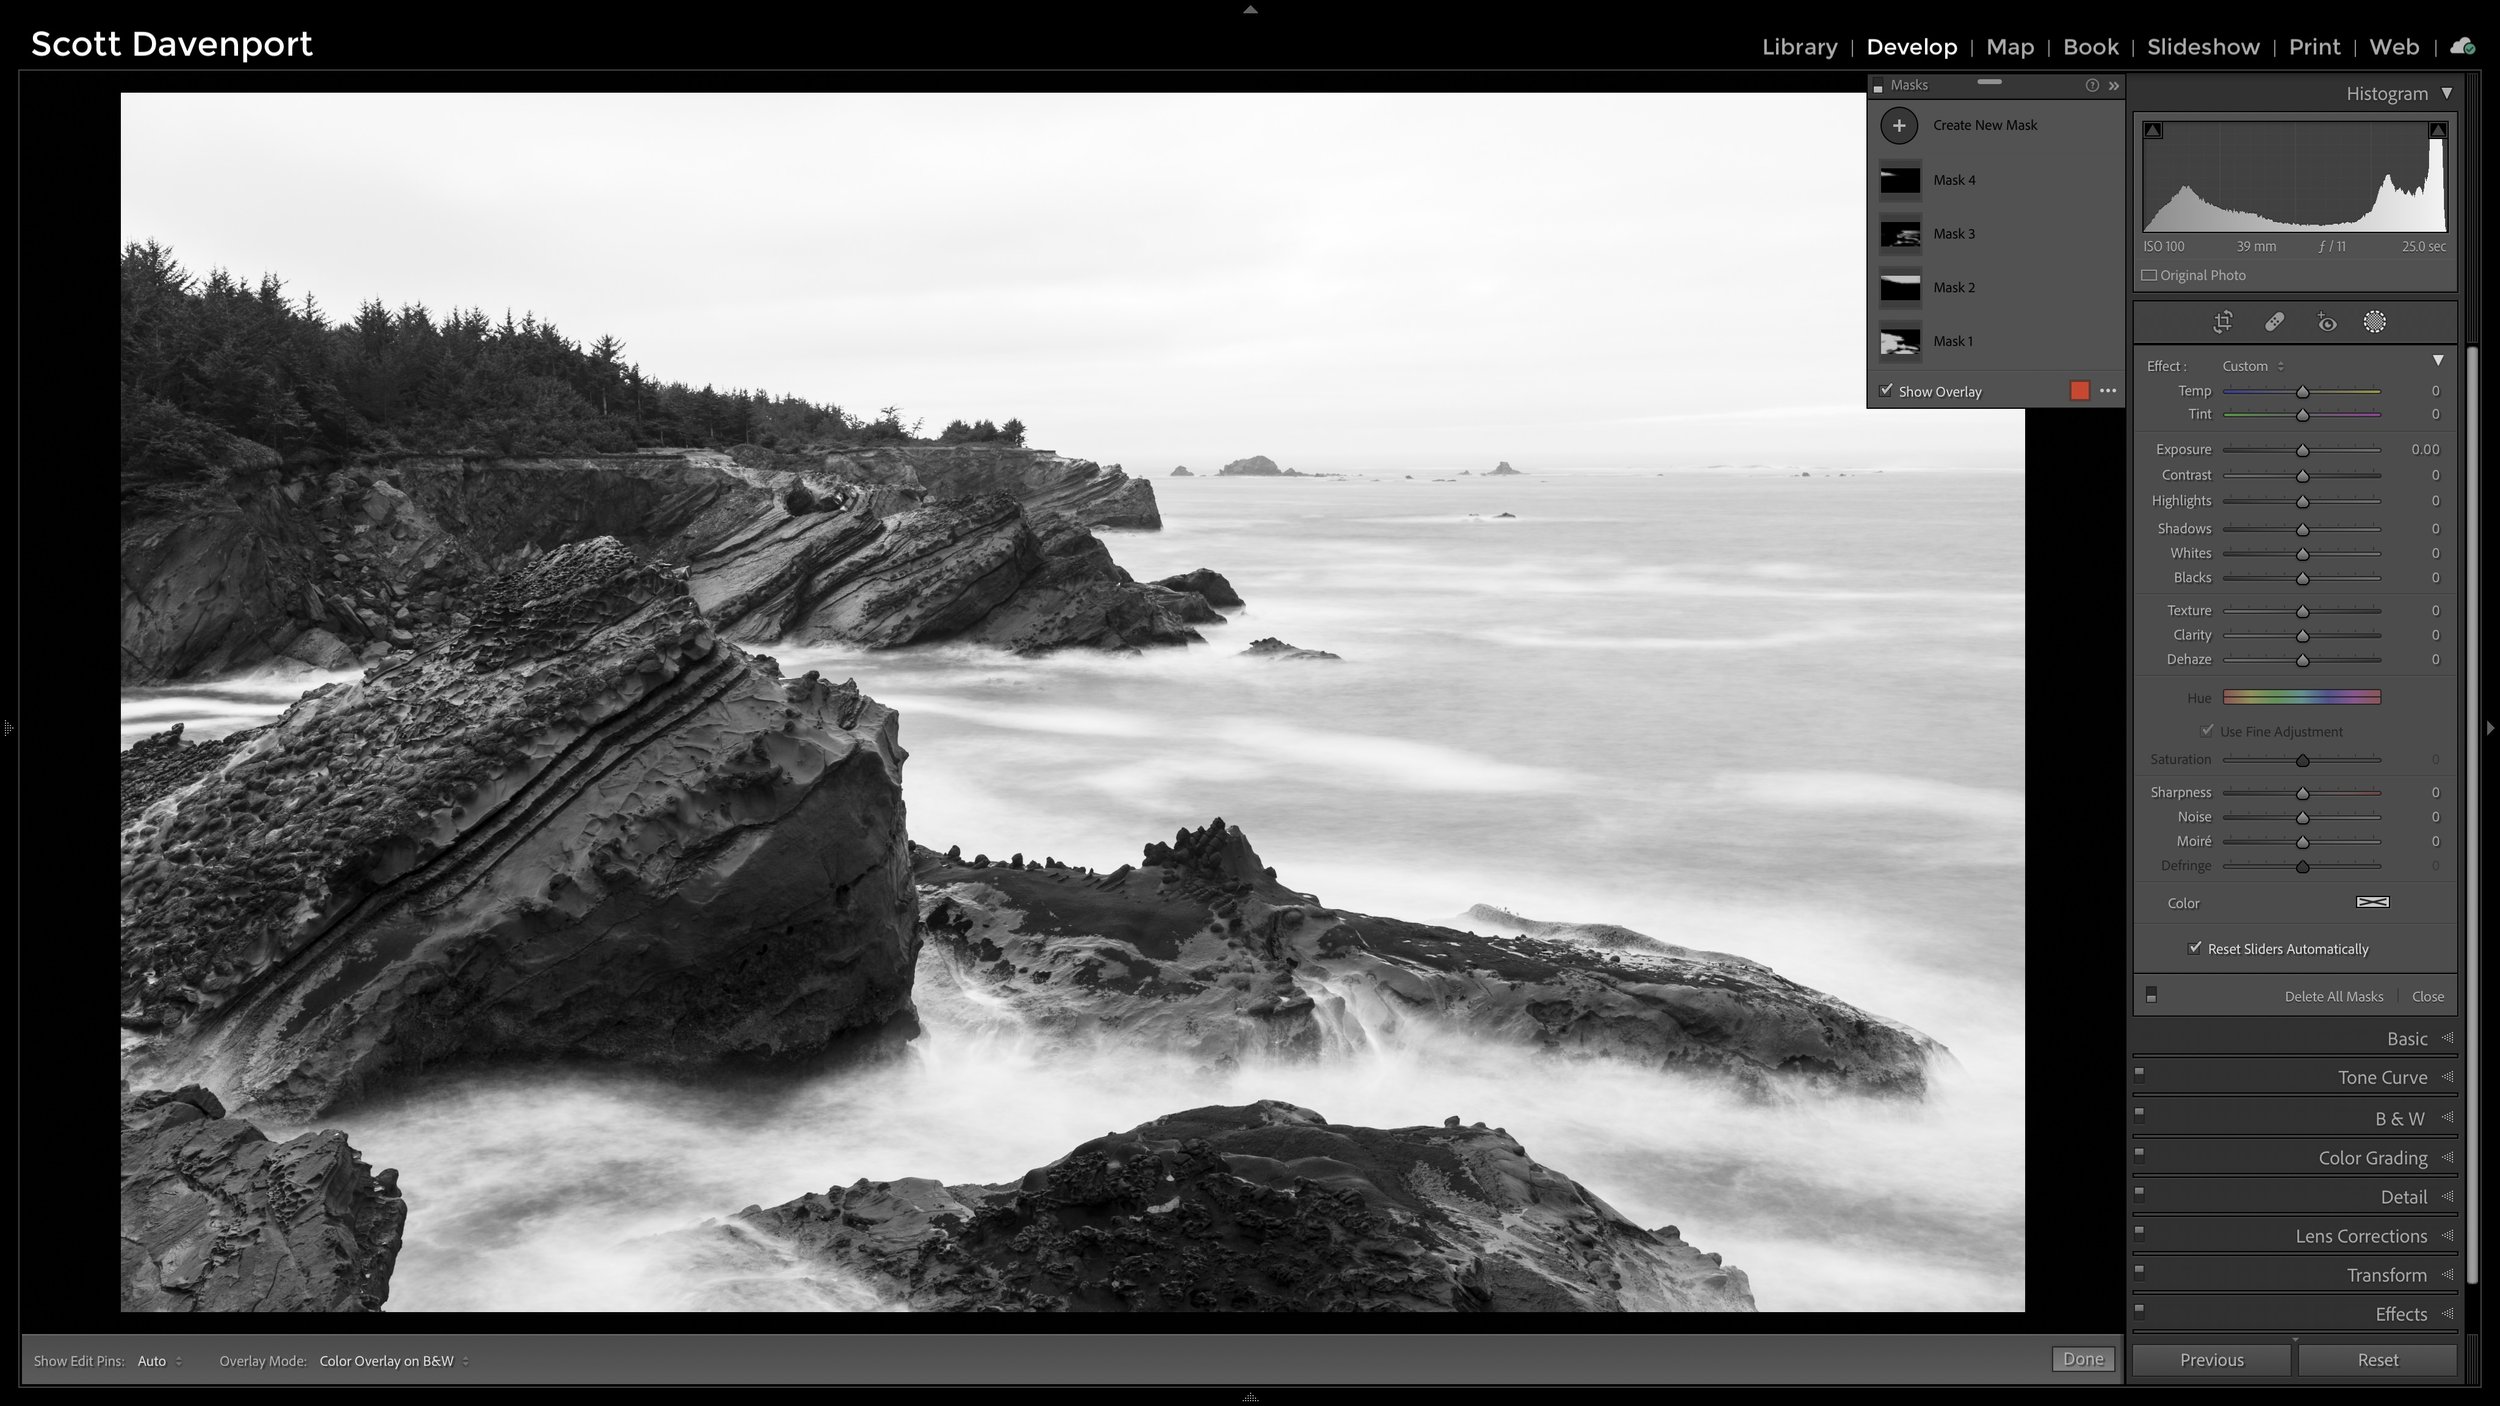
Local adjustments accentuate the opposites of smooth and detailed, light and dark, land and sea.
In this image, I used four localized adjustments. Detail and texture is added to the rocks, playing up the difference of rough, jagged land against a soft flowing ocean. The sky is darkened slightly, revealing its nuanced tones. The swirls of whitewash in the ocean are brightened a little, amplifying light and shadow. A final touch of texture to the trees punches up their detail agains the soft sky.
These all emphasize the primary subject - the jagged, textured, diagonal rock reaching out of a soft swirling ocean. They also play up the opposites of tonality, texture, and subject matter.
Now it’s your turn. Have it it … and have fun!
Shore Acres Southern View 2
Contact Scott to commission a print or license this image.