Do You Need An Adaptive Photo Editor? Luminar Is Coming.

About two weeks ago, Macphun announced Luminar out of nowhere. It's an all new non-destructive photo editor for Mac users. My friends at Macphun let me work with a pre-release. There's a lot of goodness in Luminar. I'll get to that in a minute.
Pre-orders for Luminar start today. I gotta say the deal they are offer is pretty great. Here's the particulars:
Luminar Pre-Order Offer
Pricing
- New Customer Pre-Order Price: $59, includes Pre-Order Bonuses!
- Current Users of any Macphun Software, including Aurora HDR Price: $49, includes Pre-Order Bonuses
Pre-Order Bonuses
- Professional video training from Matt Granger: Educating Tina-Directors Cut, $99 Value
- Premium Membership + eBook from Will Burrard-Lucas: Build a Profitable Photography Business, $72 Value
Luminar Key Features
Adaptive User Interface
- Multiple Modes: From basic to advanced
- One-click switch between modes
- Change modes anytime
All-in-one photo editing tool set
- Includes essential editing tools for different photography styles
- Live editing, live processing, live previews
- Non-destructive editing
- Works as a standalone app or plug-in
- RAW converter & processor
- History panel
For a full list of Luminar features visit https://macphun.com/luminar
OFFER AVAILABLE NOVEMBER 2 - NOVEMBER 17, 2016
Scott's First Look At Luminar by Macphun
The Luminar User Interface
Now... let's get into my first look at Luminar. I used it as a standalone product during my exploring. It's works as a plug-in to the usual suspects - Lightroom, Photoshop, macOS Photos and even Aperture (but Aperture users really need to migrate). The user interface is pretty slick. It's very clean. If you've used any Macphun products before, it will feel familiar. There are a few controls across the top of the screen for opening and exporting images, zooming, viewing modes and a few other controls. Along the right edge are various editing tools from crop & noise reduction to retouching and masking.
The "adaptive" part of Luminar's UI is the controls in the upper right. I think of the editing modes as a match to a photographer's experience with post processing:
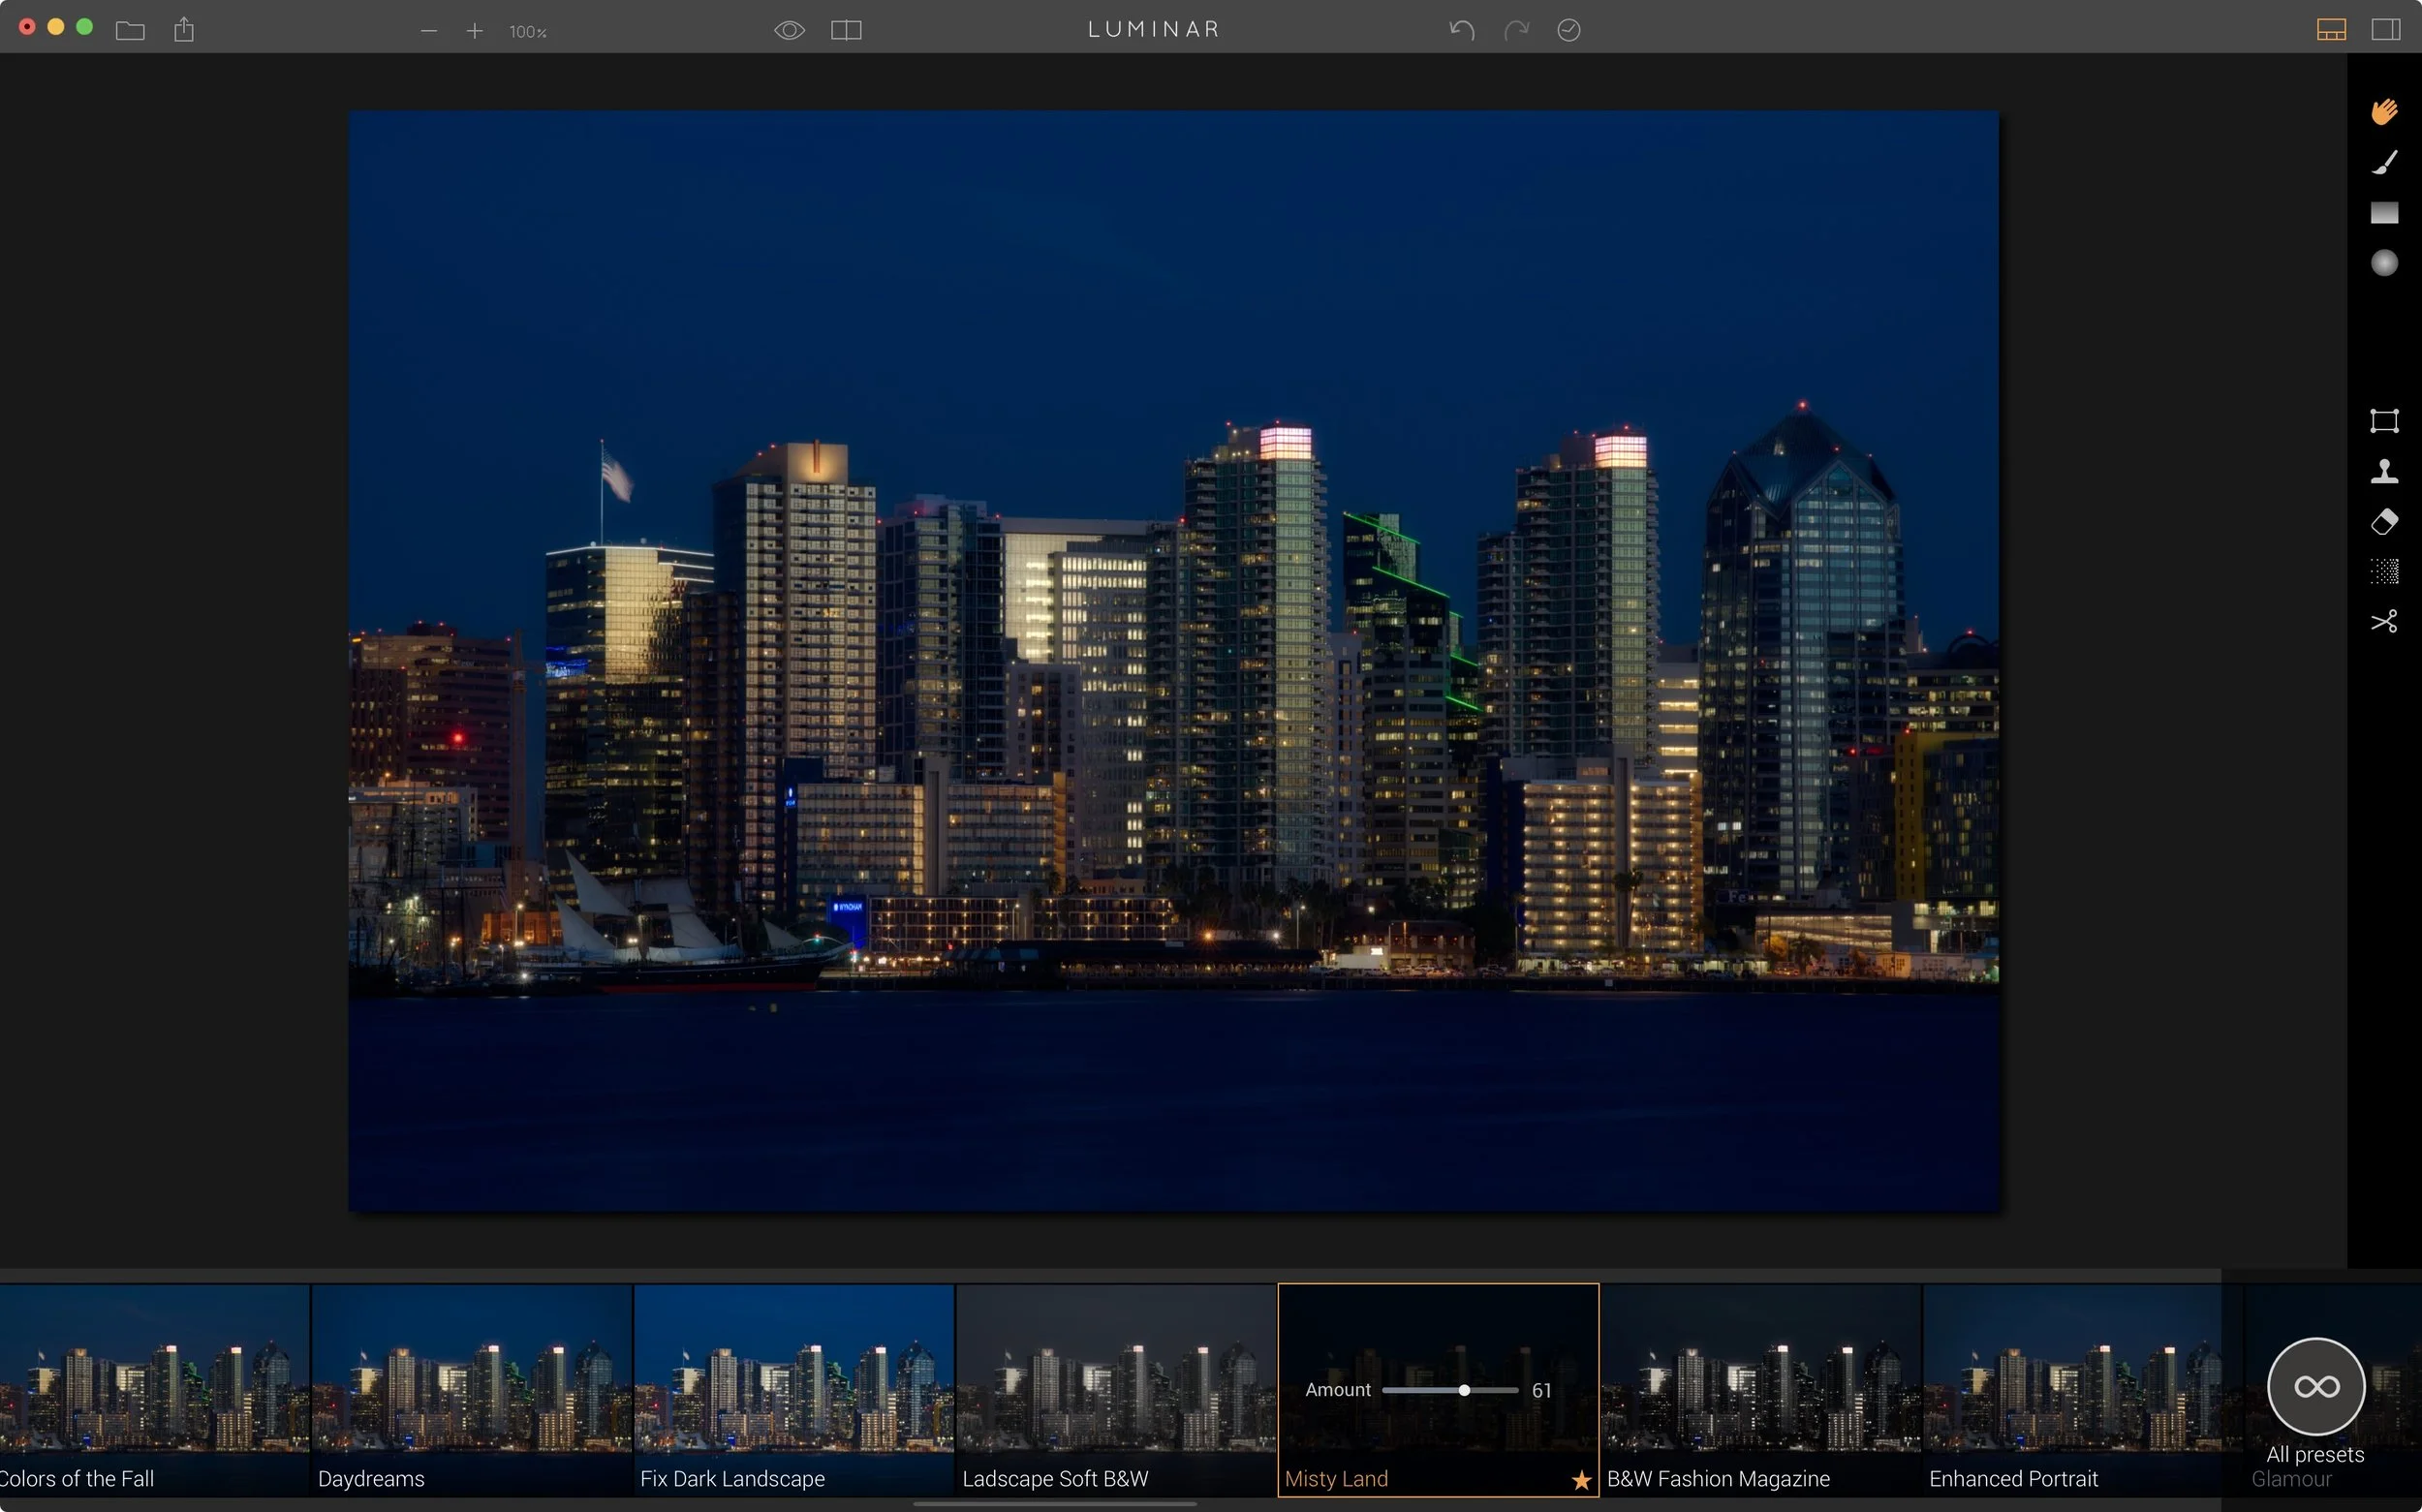
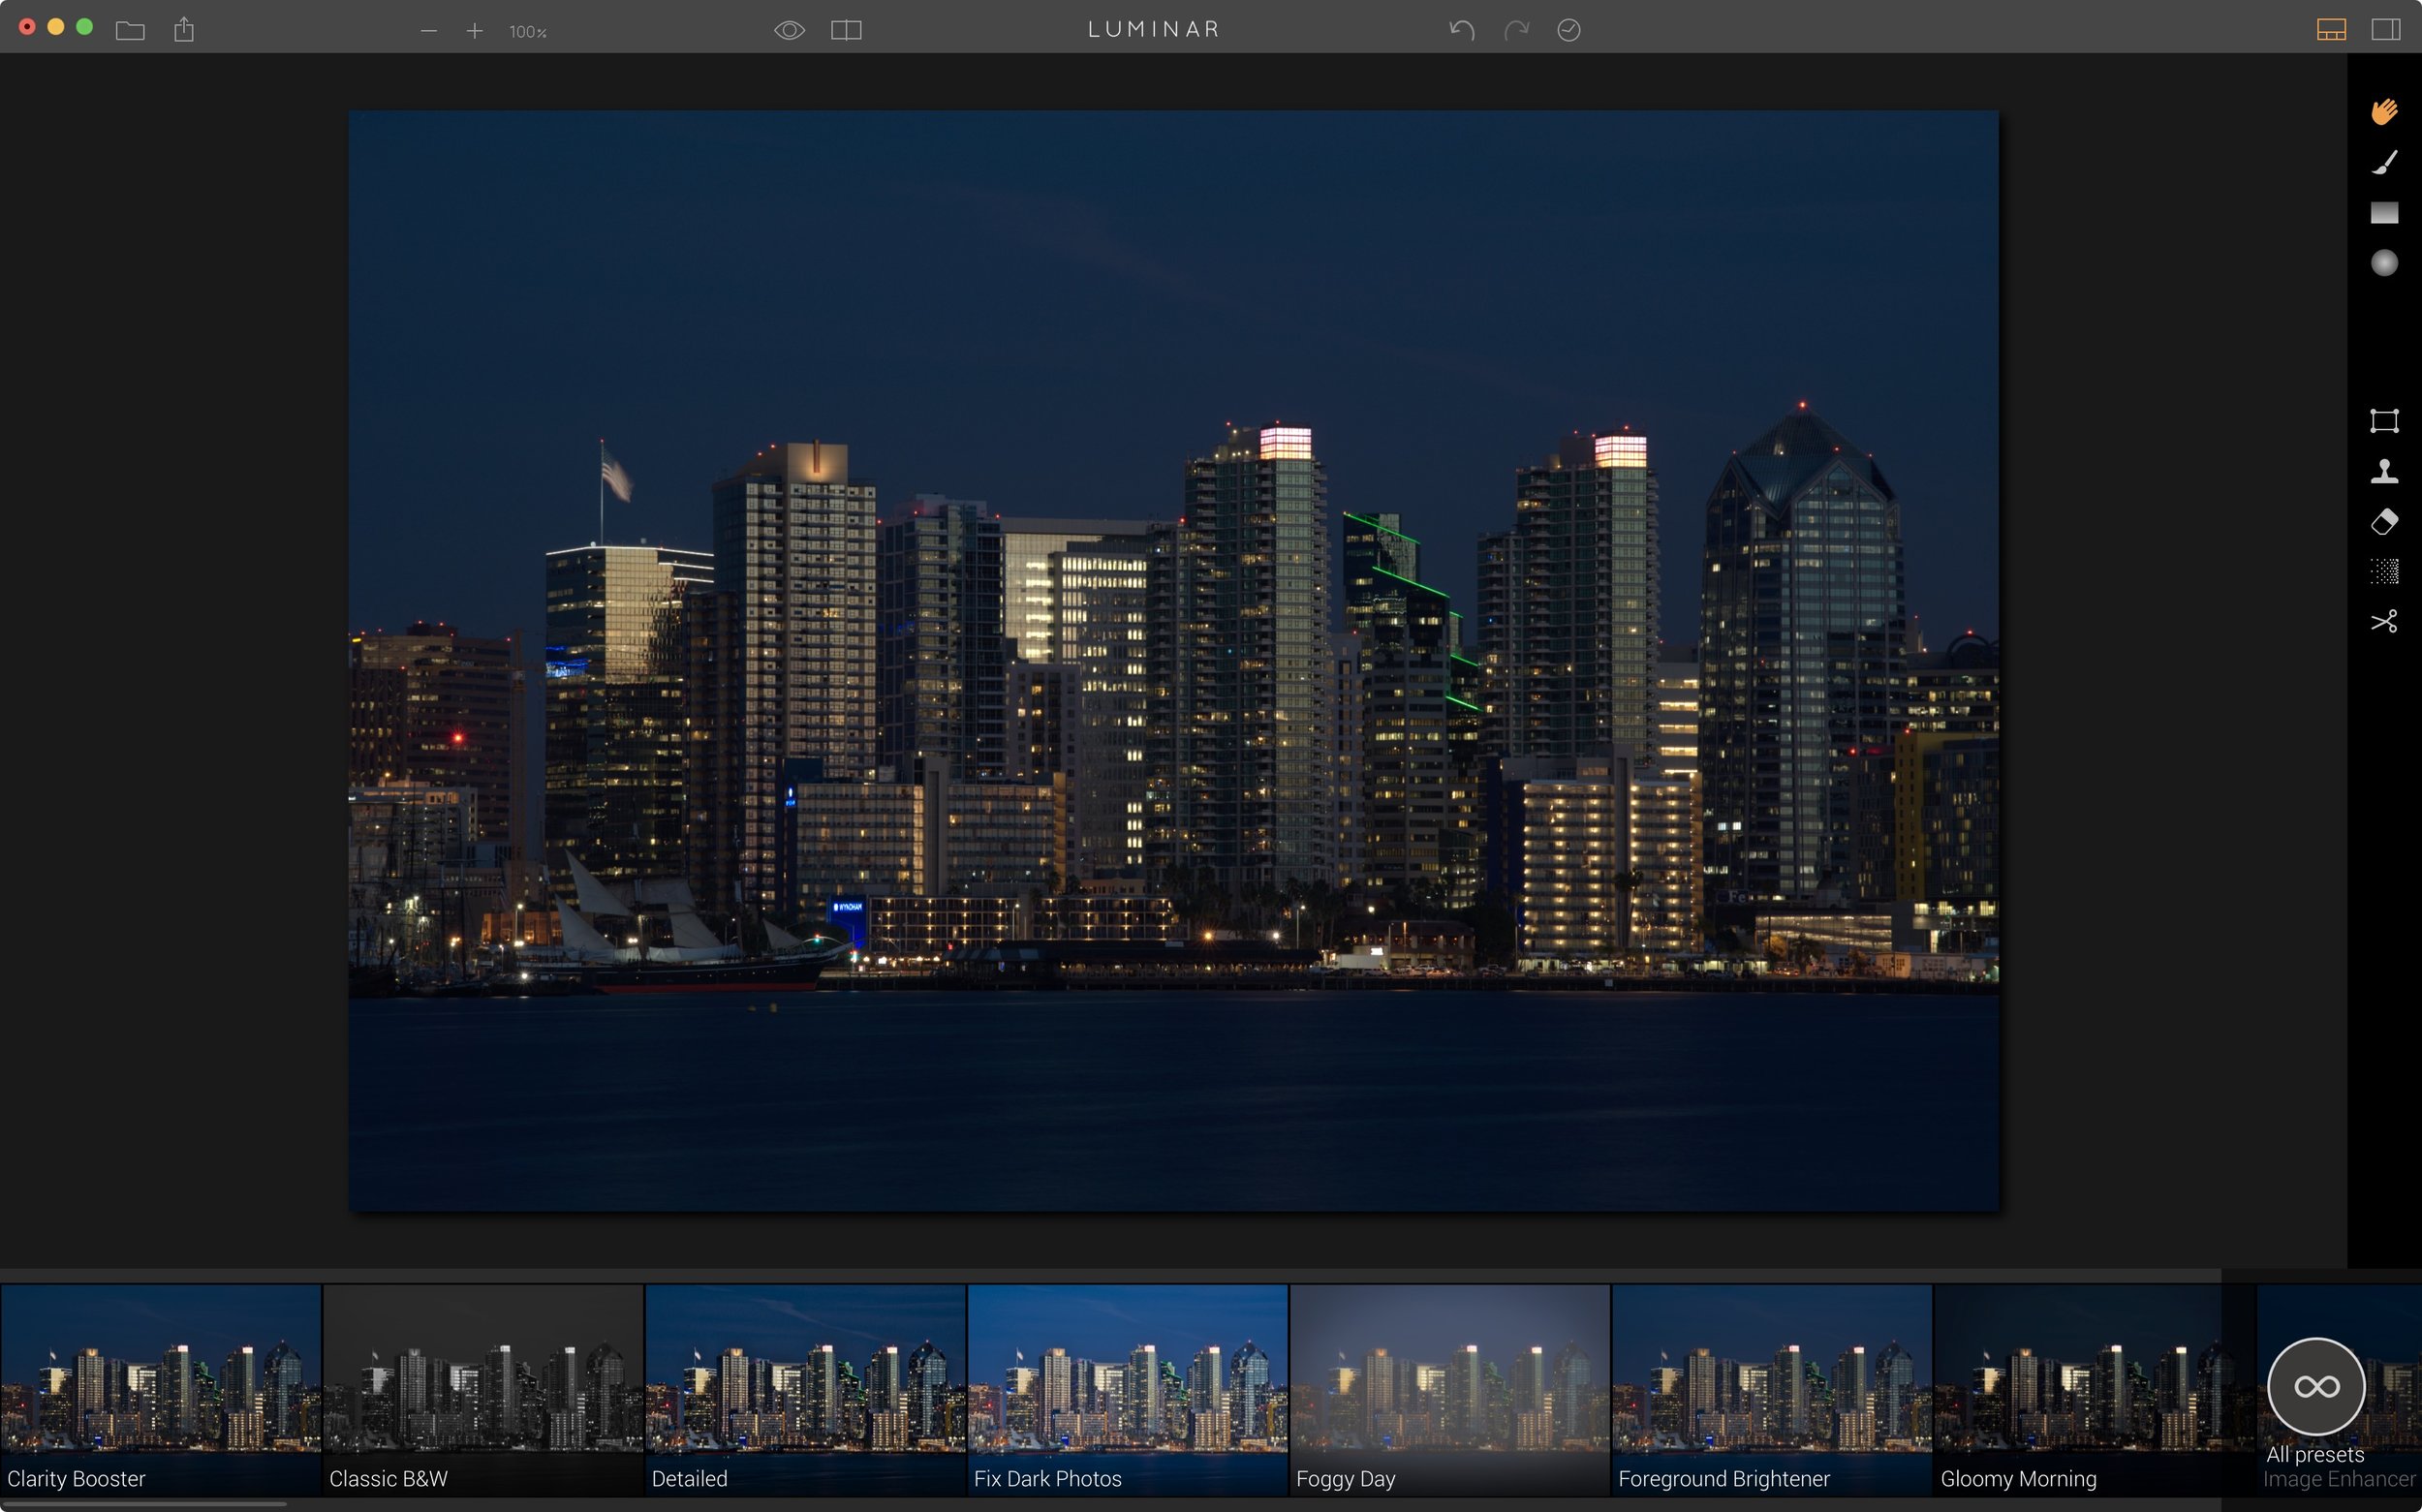
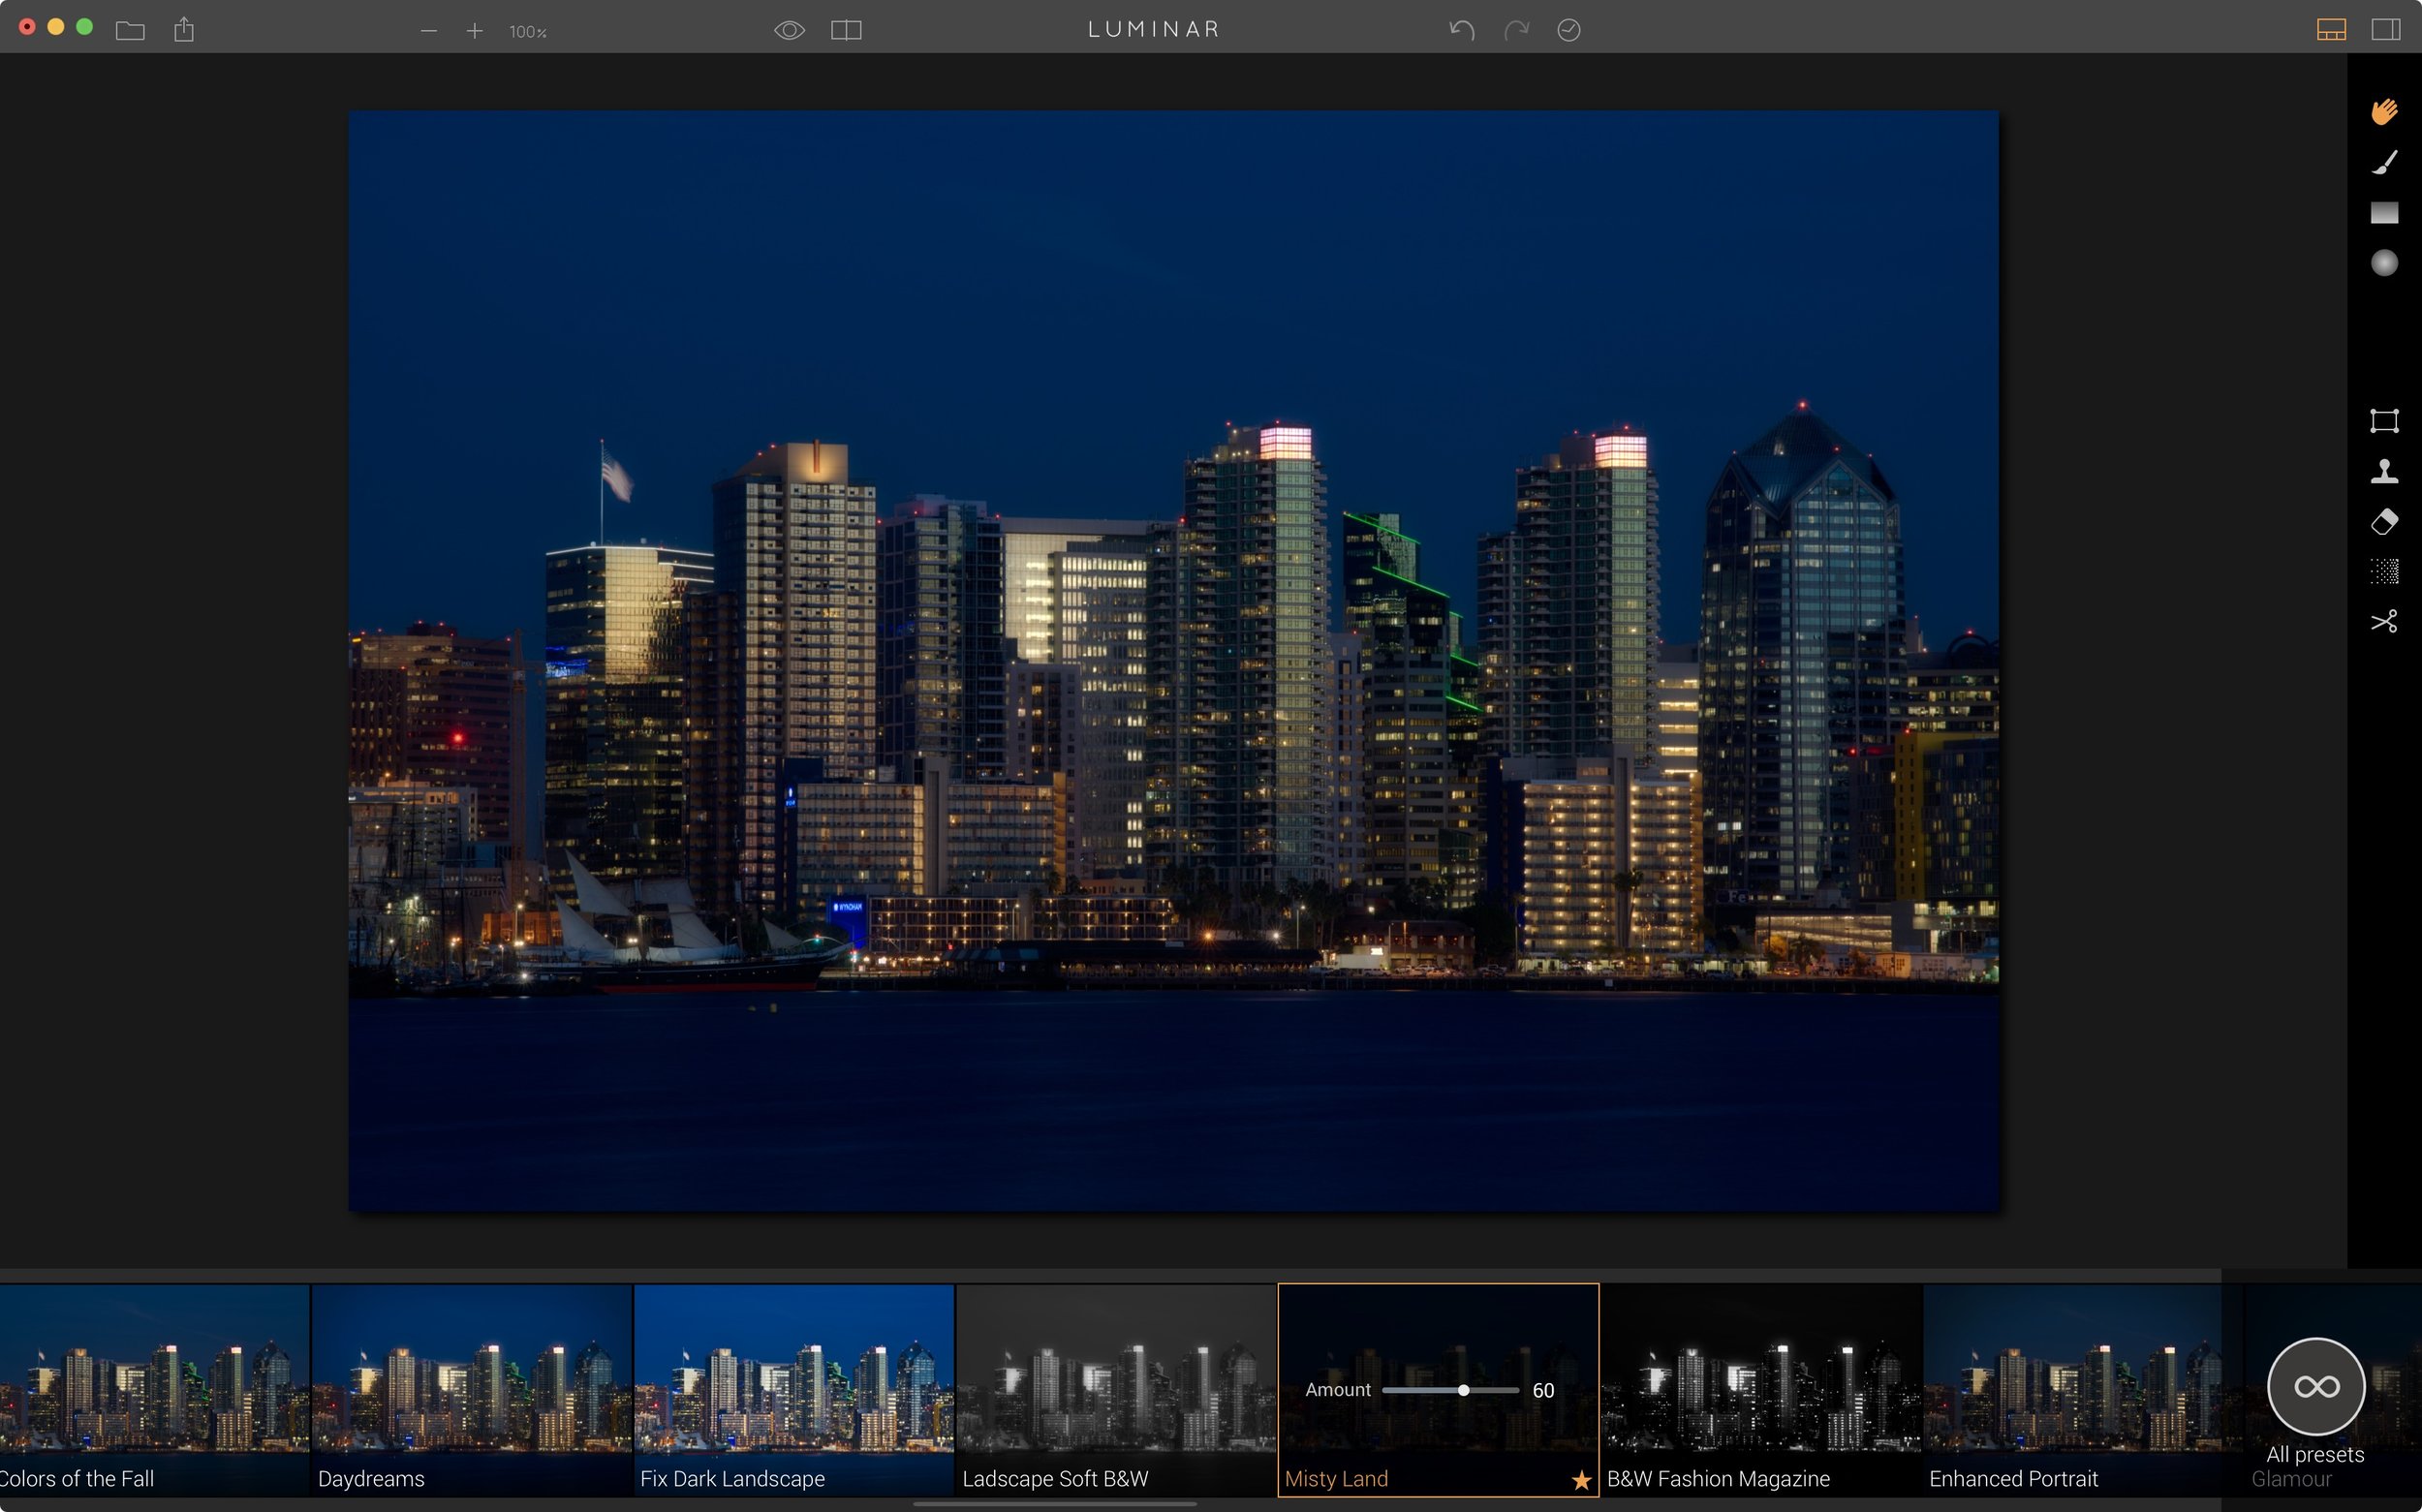
- Beginner: The "Preset Panel" mode gives you a preset driven experience. If you are new to post processing, this is a great way to start. It's like Instagram... but hopped up on performance enhancing substances! There are loads of presets bundled in Luminar. Select a preset and that look is applied to your image. The overall strength of the preset is controlled with a slider in the preset preview. Simple and intuitive.
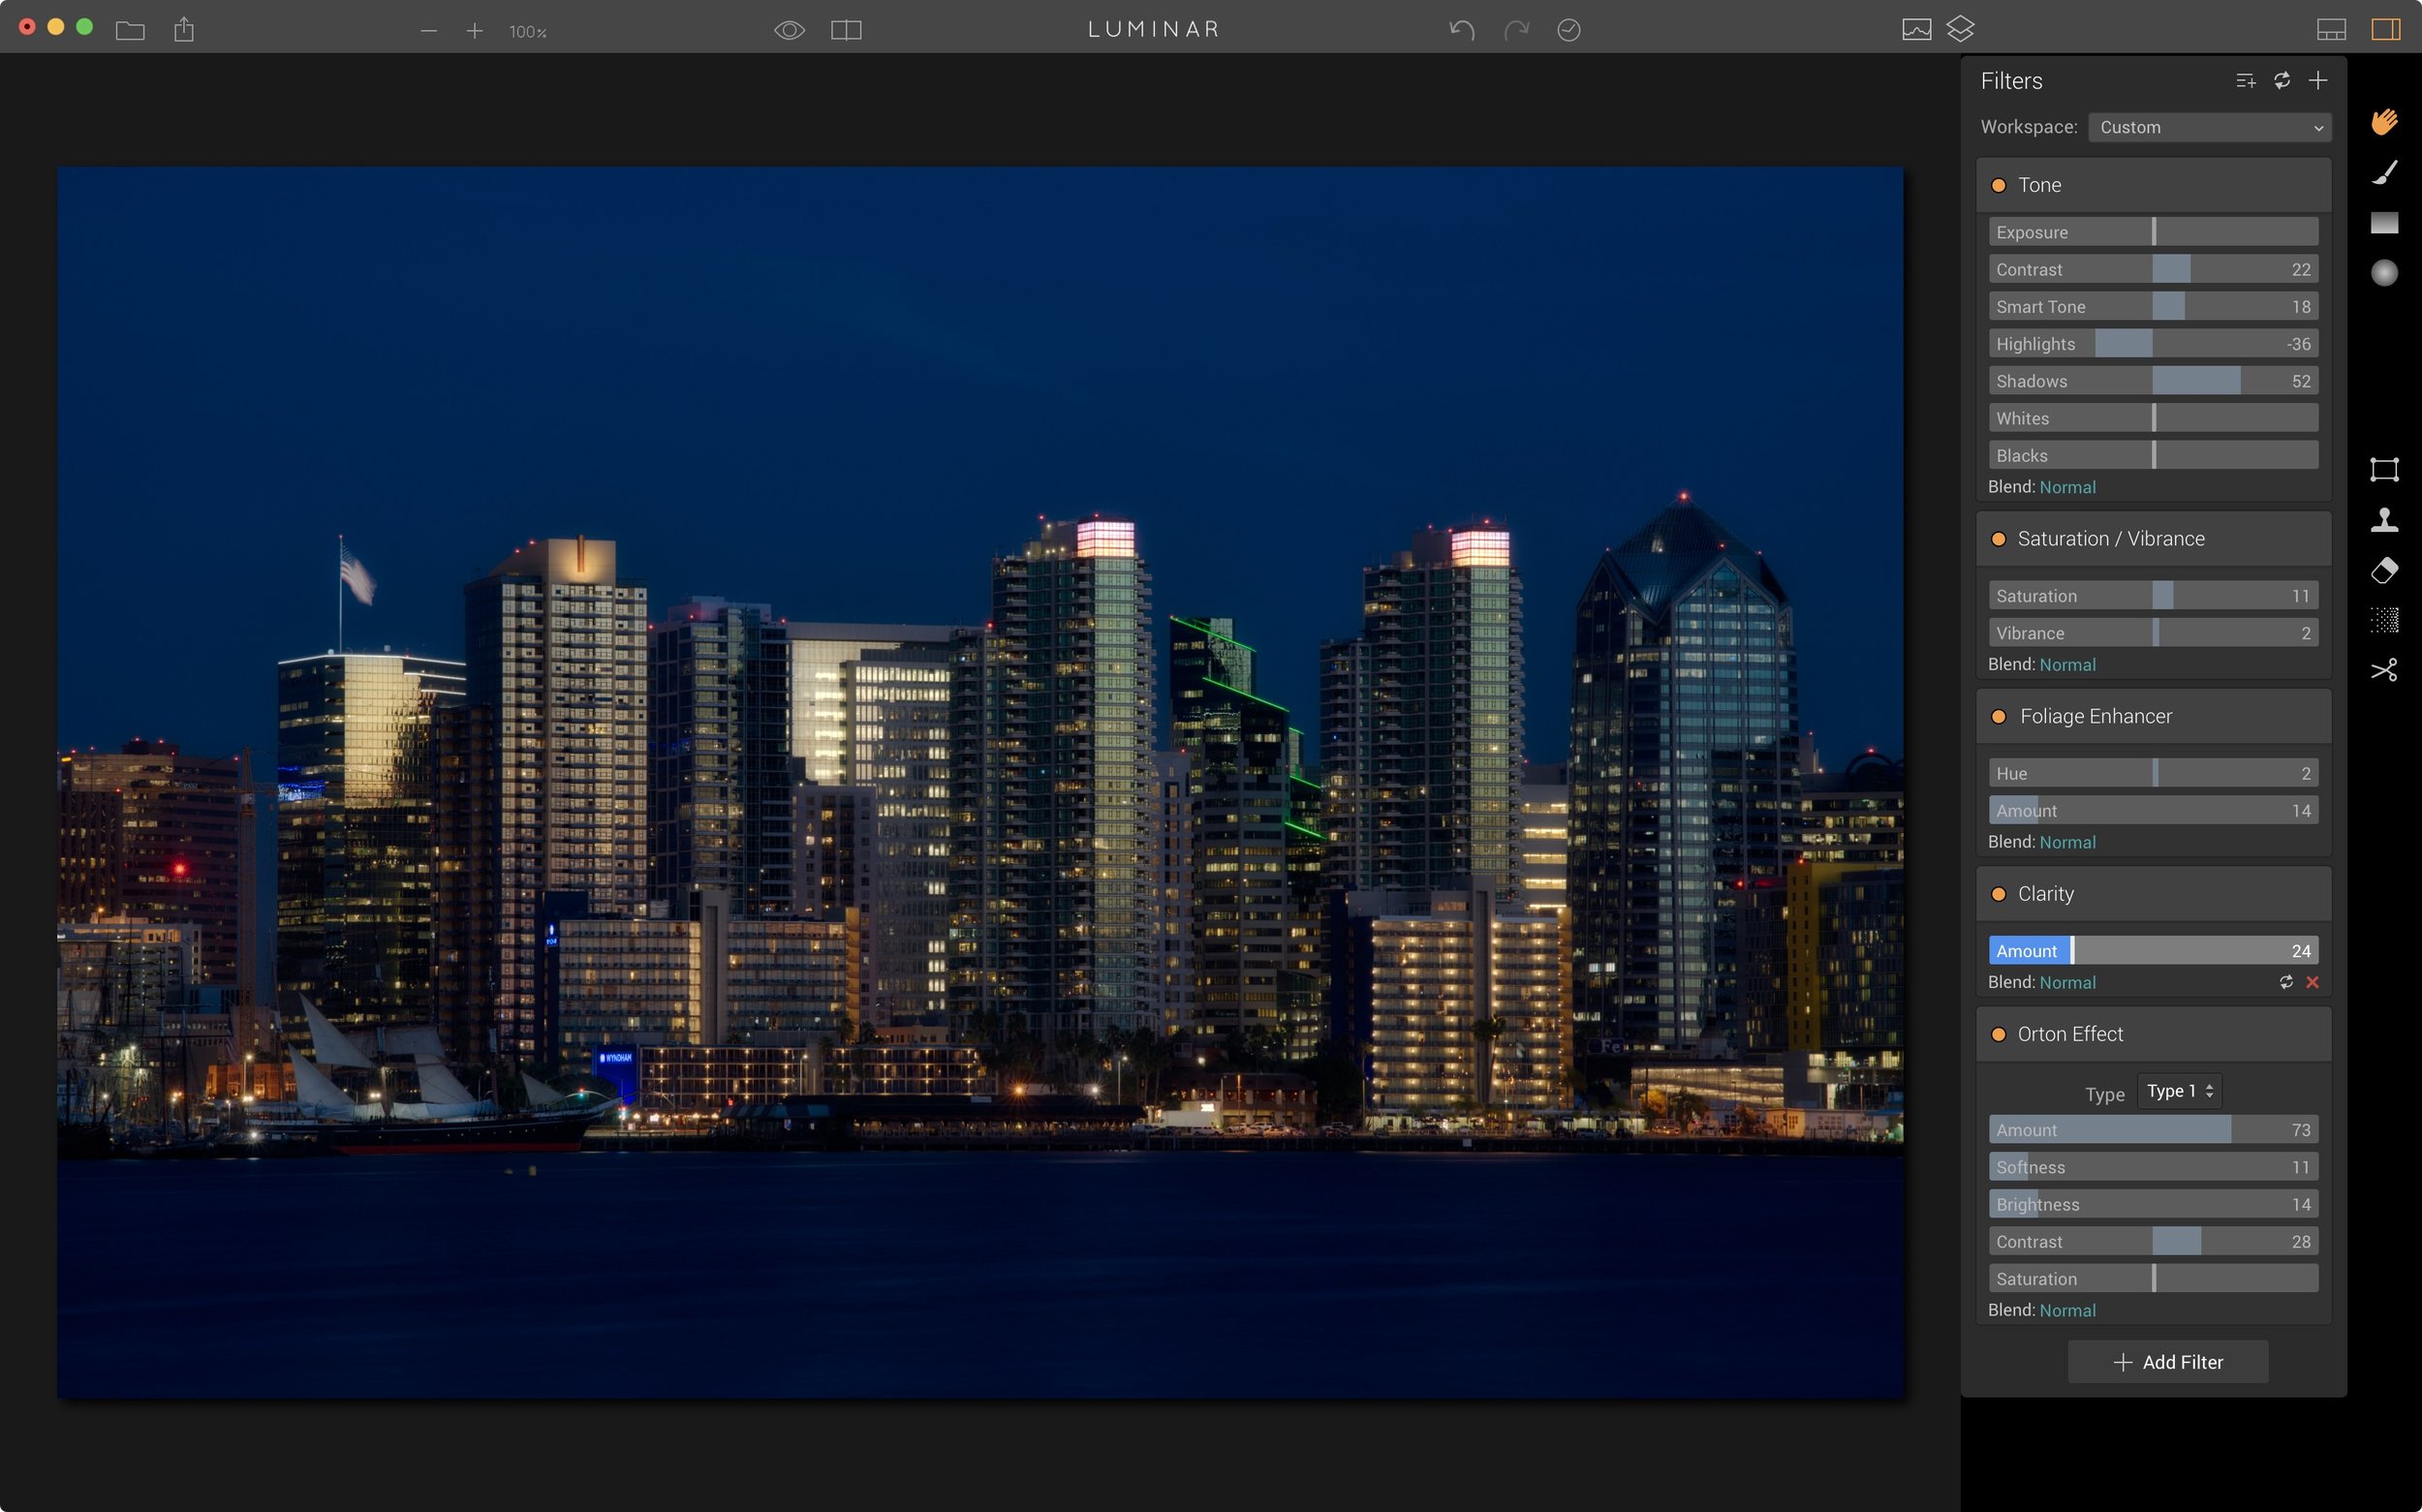
- Intermediate: The "Side Panel" mode opens up... wait for it... a side panel! In the side panel you can adjust any slider to your liking. You can add and remove other filters to craft your unique look. The masking tools can be applied to specific filters. Select a masking tool, click a filter and start masking. Luminar also has the concept of a filter "Workspace". Is there a set of filters you use regularly on your photos? Create a workspace with just those filters. Workspaces are different than presets. A preset applies a set of pre-adjusted filters to your photo. A workspace presents a set of commonly used filters with no adjustments applied. If you shoot in several genres of photography, you can have workspaces for Seascapes, Urban, Family Snapshots, and so on.
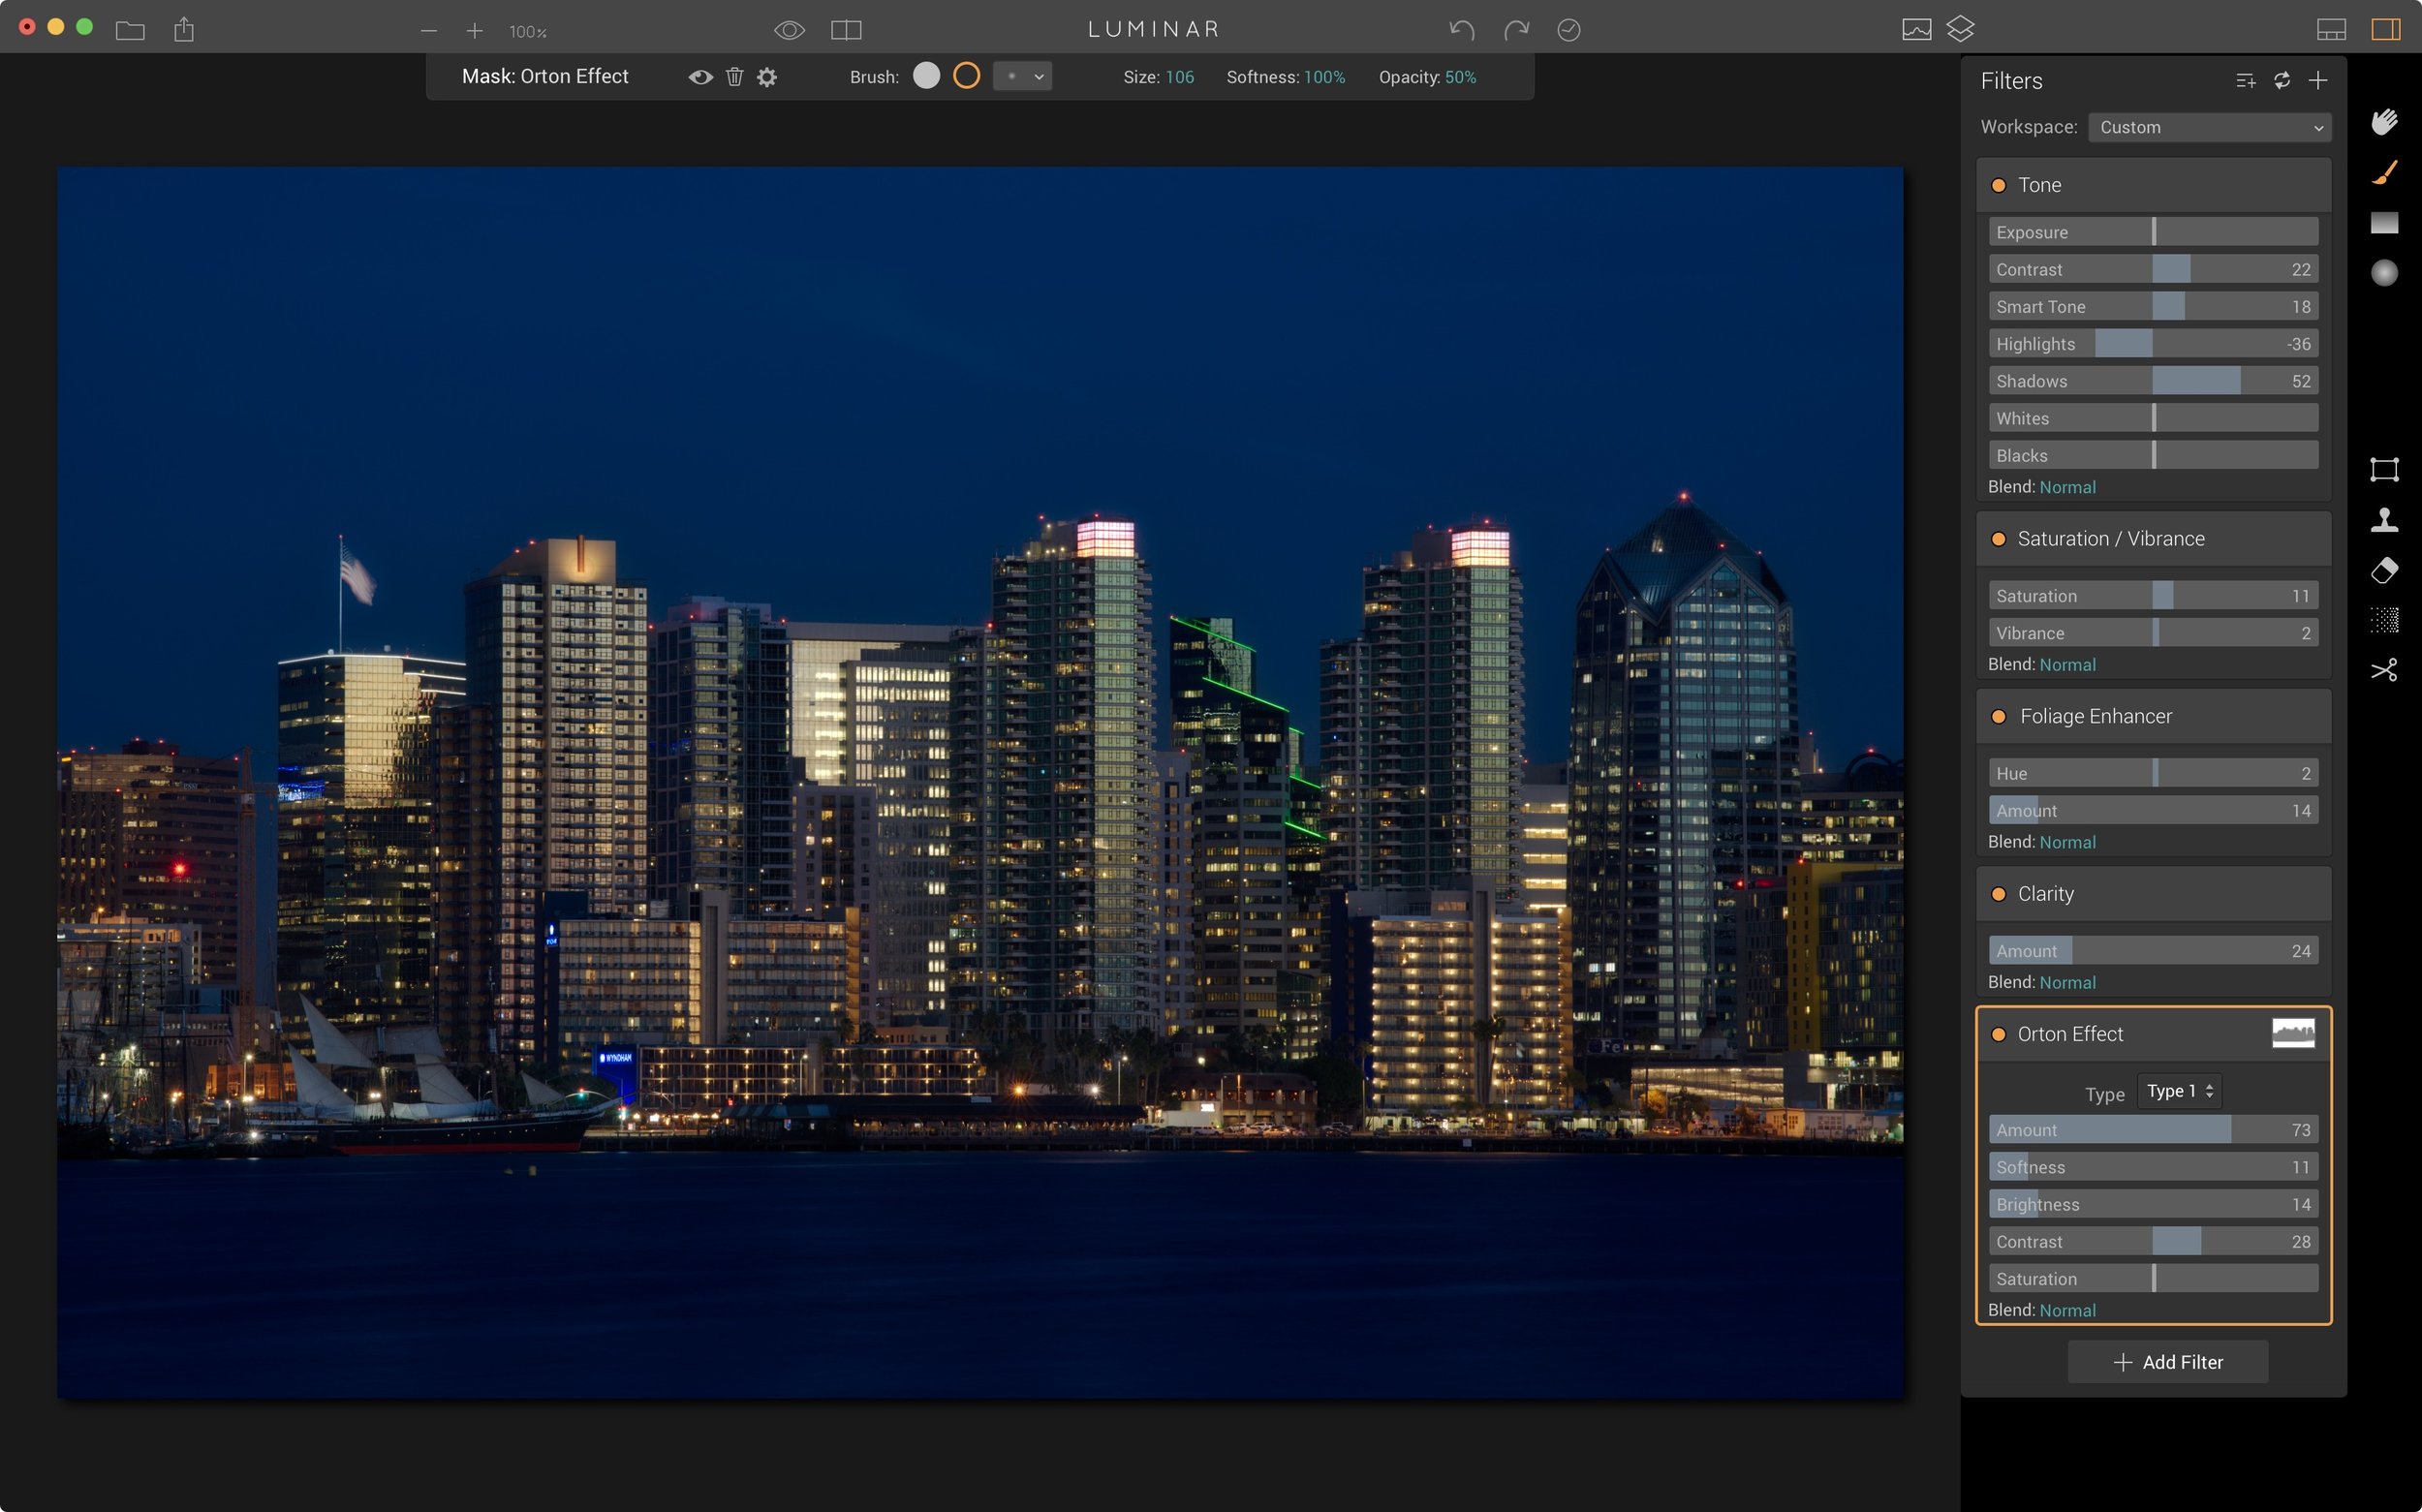
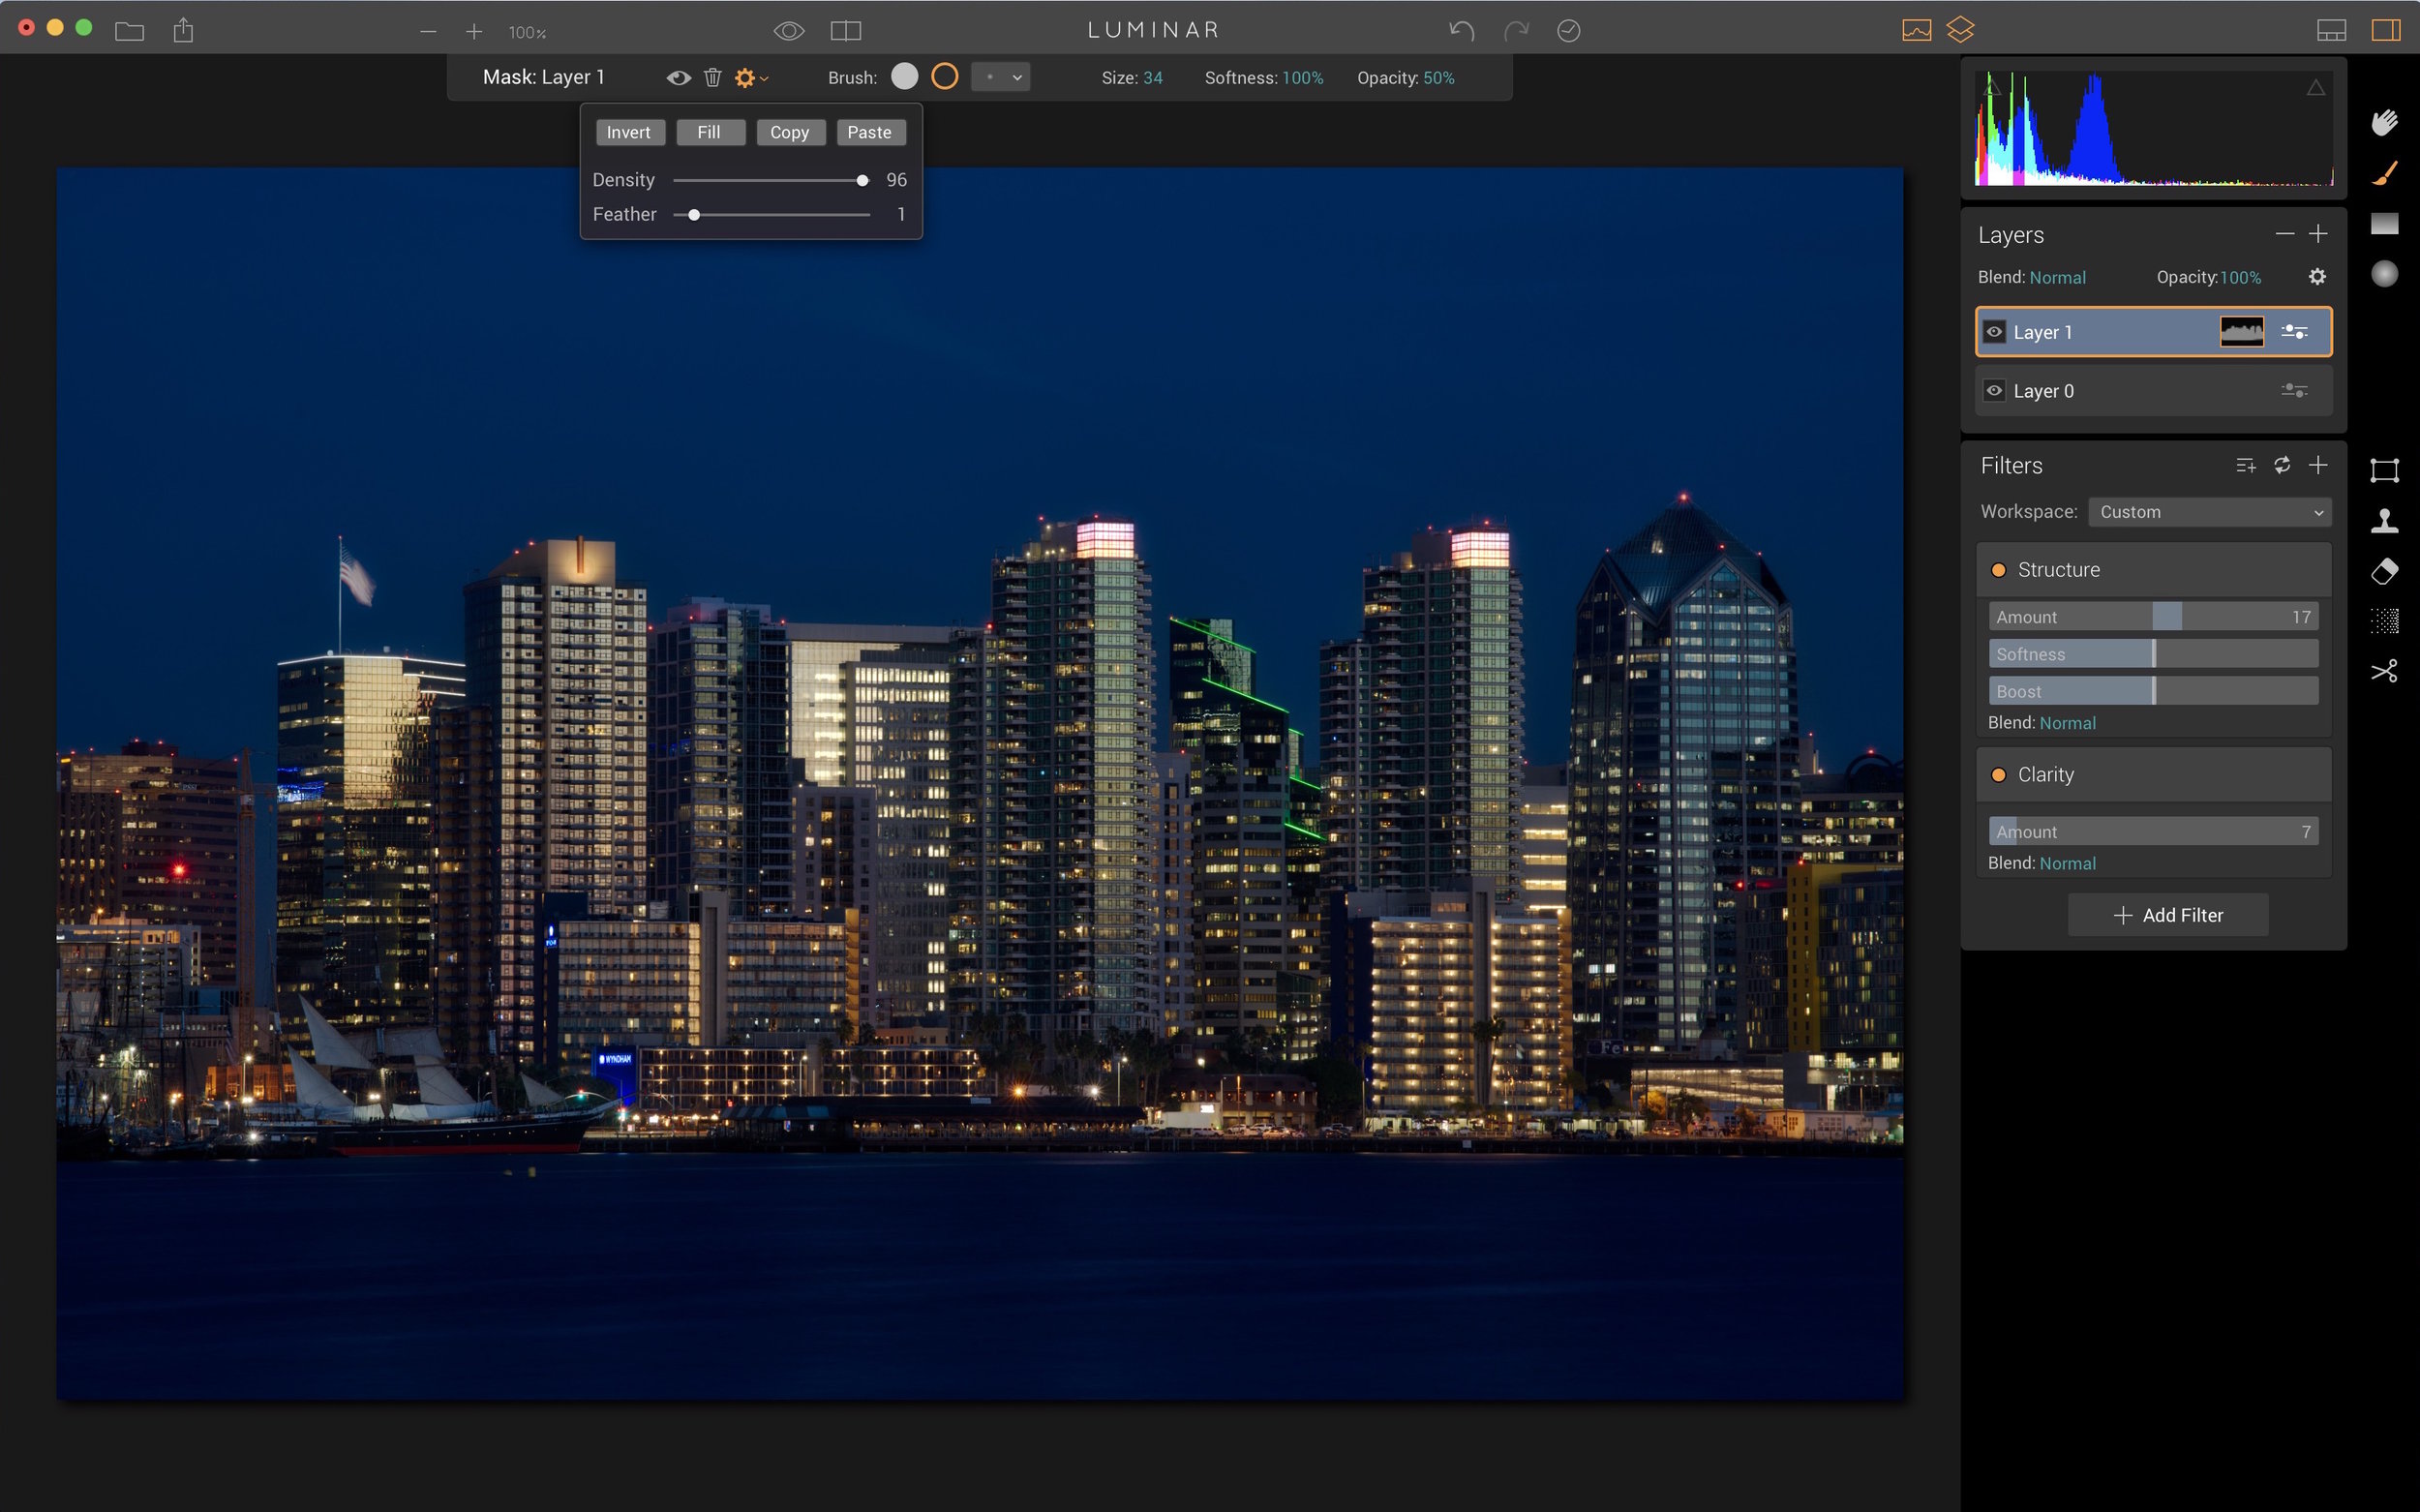
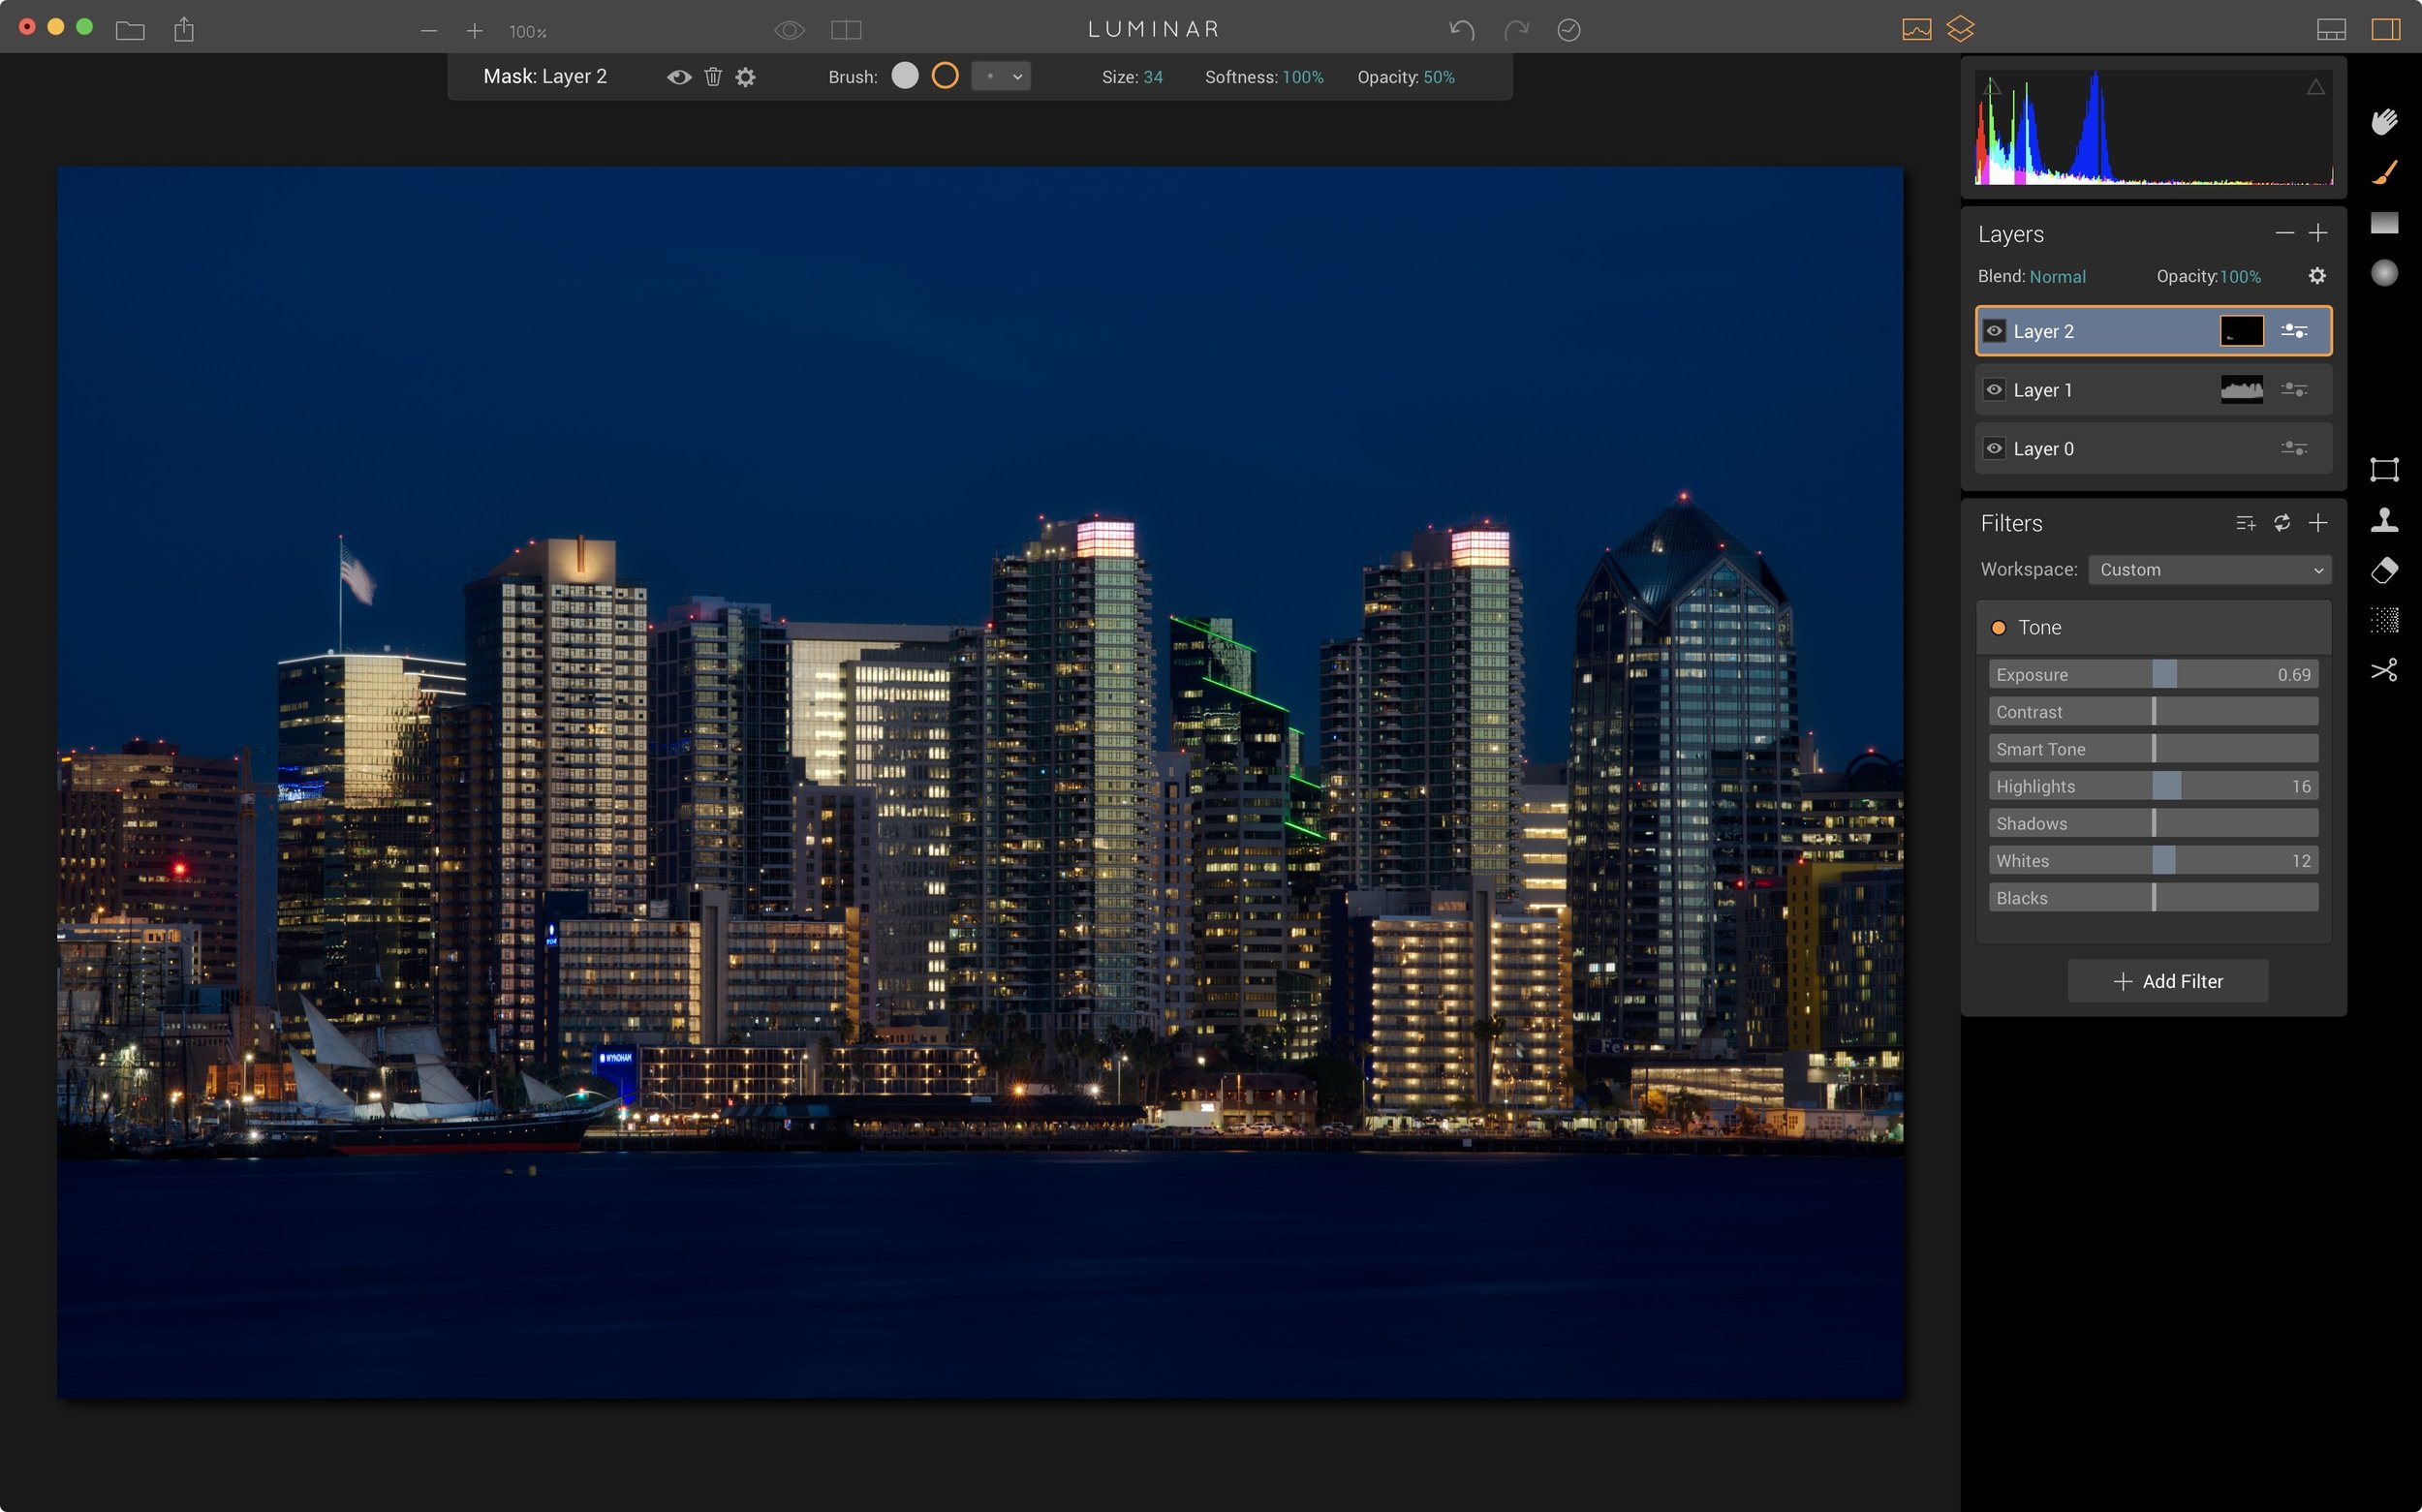
- Advanced: When the "Side Panel" is open, there are two additional control along the top of the Luminar UI. One displays a histogram and the other... Layers! Yeah, this thing has layers. Layers can be masked with brushes, gradients and luminosity masks. The luminosity masks aren't as full featured as Aurora HDR, but they are in there. You can add adjustment layers or other image layers. The latter opens up creative possibilities like exposure merging and texture blending. Advanced users will also expect layers to have blending modes. Luminar delivers on that, too.


It's pretty easy to see what Macphun has done with their UI. As your post processing skills improve, Luminar grows with you. It can be a simple, very approachable one-click utility for the beginner and scale up to a full-on multi-layered powerhouse of an editor.
Laminar's Erase UI is a little awkward
It's worth noting the Eraser tool as well. It works just fine, similar in nature to Snapheal and the other erasers in other software from Macphun. This part of the UI I found to be a little awkward. While the erase tool is active, you paint over things you want to remove. Then, you click Erase to have your brush strokes take effect. The eraser is still active and you can repeat the process. Only until you click the green check are the erases committed (and they are committed to a new layer, regardless of what mode you're working in).
On the one hand, this is useful because you can erase objects in small batches and check your work along the way. On the other, clicking Clear will remove all of your brush strokes, not just the last set. The workaround is judicious use of Edit > Undo in the menus. I've asked Macphun to add an "Undo" button into the Eraser panel to make this more intuitive.
Other features you expect are the ability to create your own presets, load presets from other photographers. The same appears to extend to workspaces as well, although I didn't experiment with that.
A Typical Luminar Workflow
I think a typical workflow with Luminar flows in line with the adaptive user modes. You load a photo into Luminar and choose a preset to apply a base look. Next, open up the side panel and adjust the sliders and add or remove filters to fine tune the look to your taste. You might do some masking for individual filters, too. For finishing touches, you can turn to layers for localized adjustments or other creative blending.
A portion of the San Diego skyline, processed in Luminar by Macphun
Here are the processing steps I did for this photo:
Once I have an image I'm pleased with, I used the Export icon in the upper left to save a JPG. The export dialog is basic, but has the key features including resizing and choosing color spaces for the exported images. Photos can also be saved in a proprietary Luminar format (an "lmnr" file). This format preserves all of your filters, settings and masks. You can open Luminar files at a later time and make changes to your edits.
What's Missing In Luminar?
Not a whole lot. The photo editing tools are comprehensive. There are a few things that intermediate and advanced users will notice are lacking in Luminar:
- Library or Browse View: Luminar is a photo-by-photo editor. Yes, you can have multiple photos open at any given time. However, the browsing and finding photo experience is the Mac Finder through File > Open.
- Batch Processing: Luminar does not have batch processing (that I've found). You edit
- Masking Brush Edge Detection: The masking brush does not have edge detection. This really needs to be there for advanced users.
- Corrective Filters: Luminar is a RAW converter and processor. However, there are no filters that address lens distortion or chromatic aberration. At a minimum, filters that offer manual controls for these items. Want extra points, Macphun? Auto-detect the camera and lens and provide a one-click correction filter.
- Better Non-Destructive Support: I mentioned the "lmnr" file format as the method to save your changes in a non-destructive way. It works, but it's clunky. Files saved in this way are larger than the original RAW file. Sometimes, orders of magnitude larger. My ~40MB RAW files from a Sony A7R bloat to several hundred MB in Luminar's proprietary format. Add a few layers? I have files approaching 2GB in size. And these sit side-by-side with my RAW files. This is a far cry from programs like Lightroom, Aperture, Capture One and the forthcoming ON1 Photo RAW that save editing instructions instead of full pixel-by-pixel layers. Instructions that are replayed against the RAW file later is the way to go. Hey... Luminar is a 1.0 product... I'll give it a little time.
Luminar Is Not An Asset Manager
“Luminar is a photo editor. It is not an asset manager.”
When Luminar first announced, several articles popped up pitting Luminar against Lightroom (and, by proxy, ON1 Photo RAW and Capture One). That may be true for photo processing, but that's where the comparison ends in my opinion. Lightroom, ON1 Photo and Capture One help you manage your photo assets in addition to develop images.
Luminar is a photo editor. It is not an asset manager. Are you happy organizing your photos in folders, know where to find your images and need a kick butt photo processor? Take a serious look at Luminar. If you need star ratings, flags, keywords, GPS tagging, albums, collections or image search capabilities, Luminar is not the right tool for that job. You'll need another tool to manage your assets.
Will I Be Using Luminar?
My workflow still squarely revolves around Lightroom. (I'll have more about that topic in a post later this month.) Luminar does have a place in my workflow and style of editing. For example, I see using Luminar as a one-click treatment for snapshot photos. It has many looks and filters that cannot be achieved in Lightroom alone. Also, Luminar could be a finishing tool, similar to how I use Aurora HDR (another topic I'll blog about later this month).
Luminar is another tool in my toolkit. And at $49 during the pre-order sale, it's an affordable tool. Why wouldn't I want that?

Pre-order Luminar before November 17th to get bonus content.
Read Scott's Disclaimer Stuff for my thoughts on and background of product reviews.