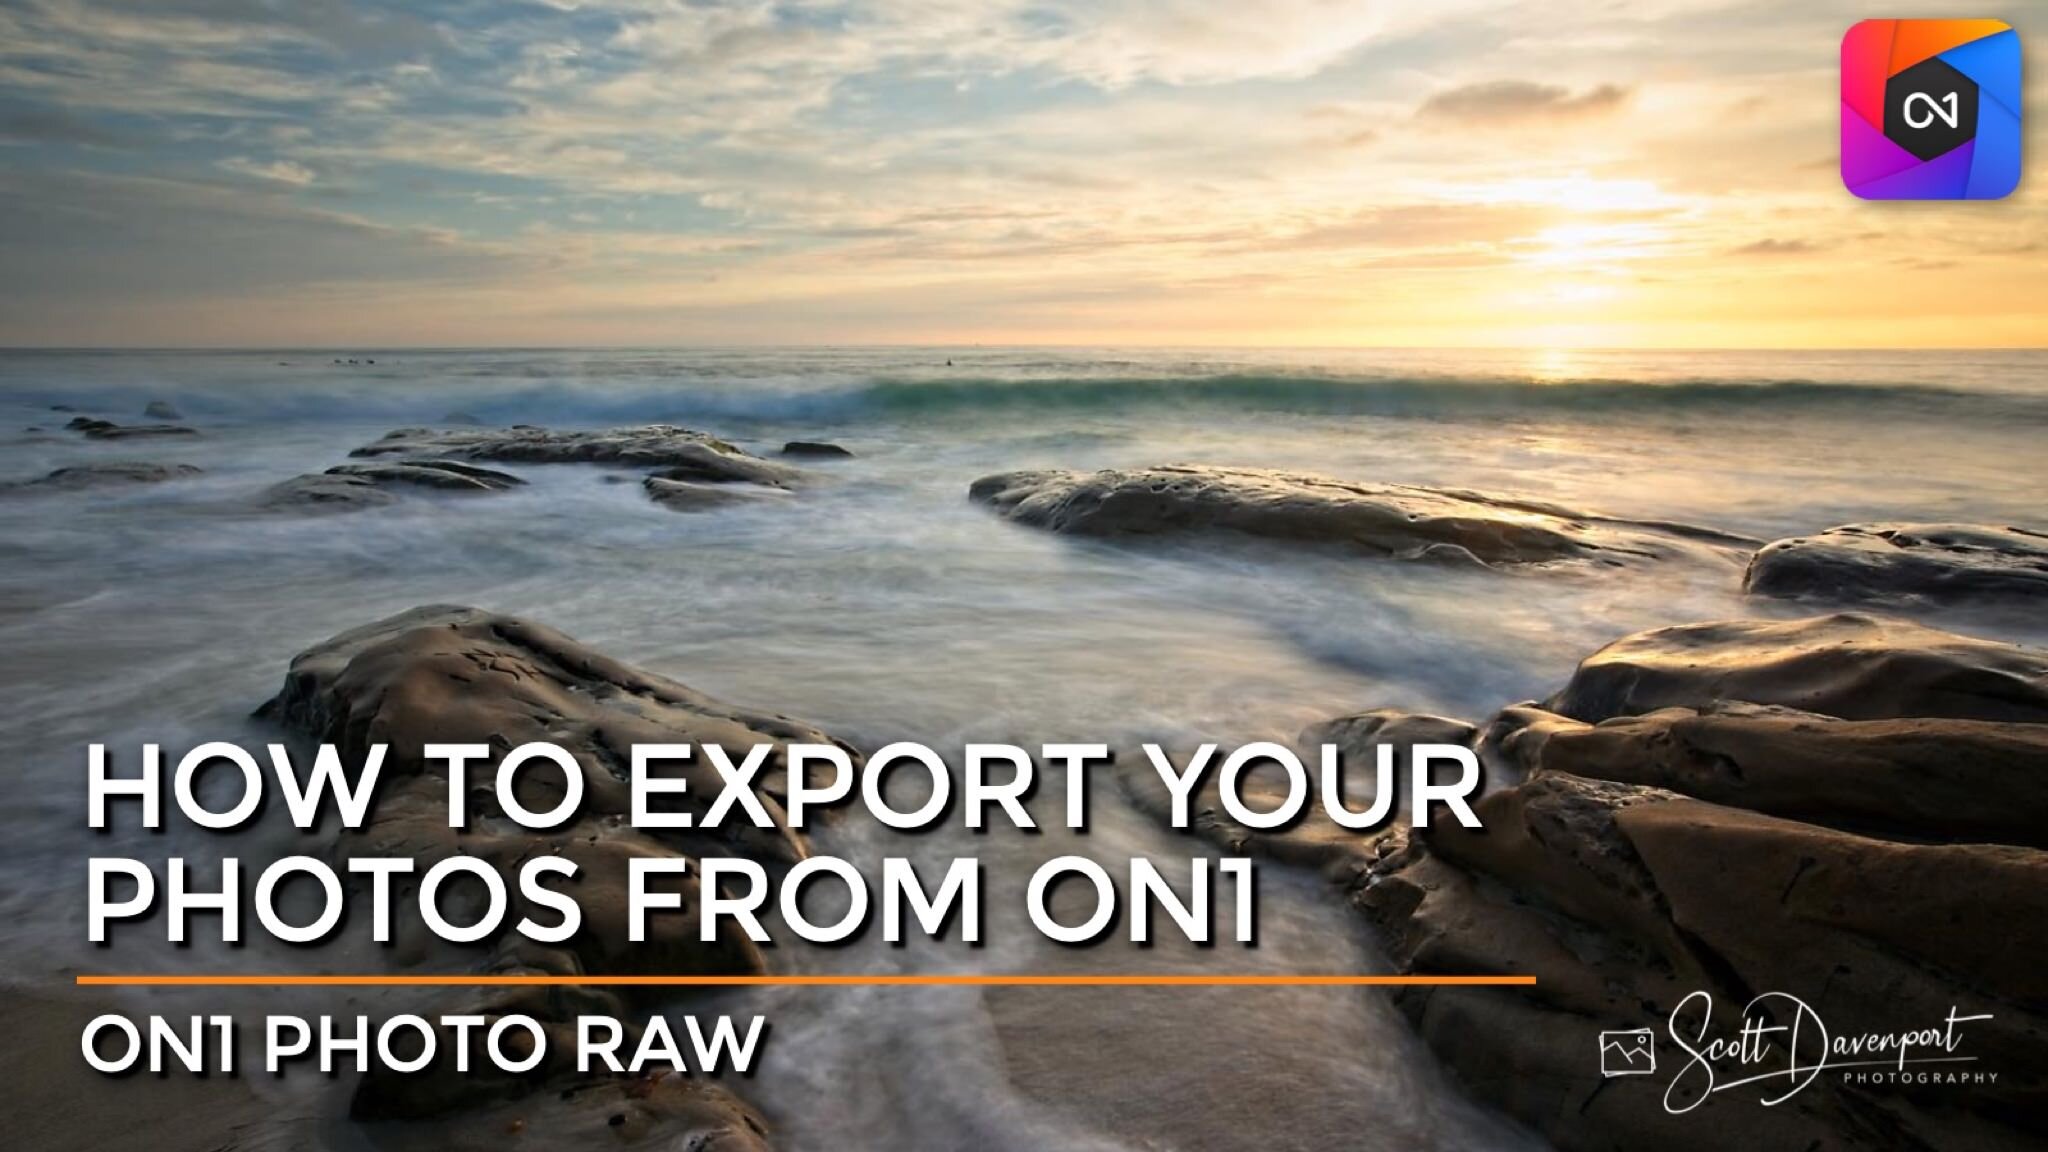
How To Export Photos In ON1 Photo RAW 2022
If you are trying ON1 Photo RAW, the ON1 plug-ins like ON1 Effects or ON1 HDR, or upgrading your ON1 software to a newer version, please consider using my affiliate link. There is no extra cost to you and it helps support ON1 tutorials like this one. Ready to buy? Use the offer code SDP20 at checkout and SAVE 20%!
The export controls in ON1 have been significantly updated in Photo RAW 2022. The whole experience is refreshed giving photographers loads of power and flexibility for exporting your images. Here are just a few things that have changed in the ON1 Export window:
Build custom export file names using metadata from the photo, sequence numbers, and freeform text
Have export prompt you for a destination folder (great option for presets)
Run other applications after export and build personalized export workflows
Supports exporting original RAW or converting to DNG files
More resize options including megapixel counts and percentage-based scaling
Preset-driven and manual sharpening controls
Control what metadata is and isn’t included in your exported images
Add text watermarks, image watermarks, or both
The video included in this article walks through each section of the Export dialog and and explains all the controls. This article summarizes the sections as a quick reference.
Naming, Destination, And File Type
Naming: File naming has gotten a complete overhaul in the new ON1 Photo RAW 2022 export dialog. In addition to freeform text, you can use metadata tokens from your photos to build custom file names. Save your file naming schemes as presets for future exports, too.
Destination: This is a required setting - ON1 needs to know what folder to export your photos to. For preset-driven exports, I recommend the “Ask When Exporting…” option. Your preset can prompt you where you want to store the photo. There are also options for subfolders. In the Generate Subfolders area (not expanded in the screenshot) you can create custom subfolders using metadata tokens as well. This section also lets you connect other applications in the After Export section. For example, I use JPEGMini to compress my JPEGs and have ON1 run JPEGMini during the export workflow.
File Type: Set the type of file to create on export. Original RAWs, DNG, PNG, PSD, JPEG, and TIFF formats are supported. Some file types, like JPEG and TIFF, have additional options you can set. This is also a required setting. ON1 needs to know what kind of file you want to create.
Note: Metadata tokens use data from the photos being exported. For example, if you choose “YYYY” for a year, the file name or destination folder will use the year from the photo, not the current year.
Export in ON1 Photo RAW 2022 has flexible file renaming, plenty of destination folder controls, and supports several file types including DNG.


Resize, Sharpening, And Metadata
Resize: Change the size of the image on export in a variety of ways. My favorite is to limit the long edge to a certain size, which is great for online sharing. There are other options for physical dimensions (inches, centimeters), megapixel count, and a simple percentage basis. You can upscale the image during export as well, if so desired.
Sharpening: Sharpen the export for screen or print use using the build-in presets. There are also manual controls for finer control.
Metadata: Include or exclude certain metadata from your exported photos. For example, removing the ratings/labels and location is a common workflow.
Resize your export based on size, percentage, or megapixel count. Finely adjust sharpening and control what metadata is included in your exported photos.
Watermark
The watermark section lets you add text watermarks, image watermarks, or both to your photo. You can also add multiple watermarks of each type - for example, two text watermarks and an image watermark. Use the Add Watermark button to add sections to this area of the Export window. You control the size, inset, and opacity of the watermarks. For text watermarks, you can also control font characteristics and alignment.
Once you have a watermarking layout you like, save it as a watermark preset.
Add text watermarks to your photos on export with ease.
Add graphic watermarks to your exported photos, too.
Export Presets
Roll all of your custom settings into a single, easy-to-use Export Preset. Export presets are listed on the left side of the Export window. More than one export preset can be selected at a time, letting you export variations of your photos. For example, you can export both a JPG for online sharing and an archival TIFF in a single export workflow.
Export presets are also available from the File > Export With Preset menu. Know the type of export you want? Have a preset for it? Skip the window and launch it directly from the menus.