Remove Halos Like A Pro In Lightroom
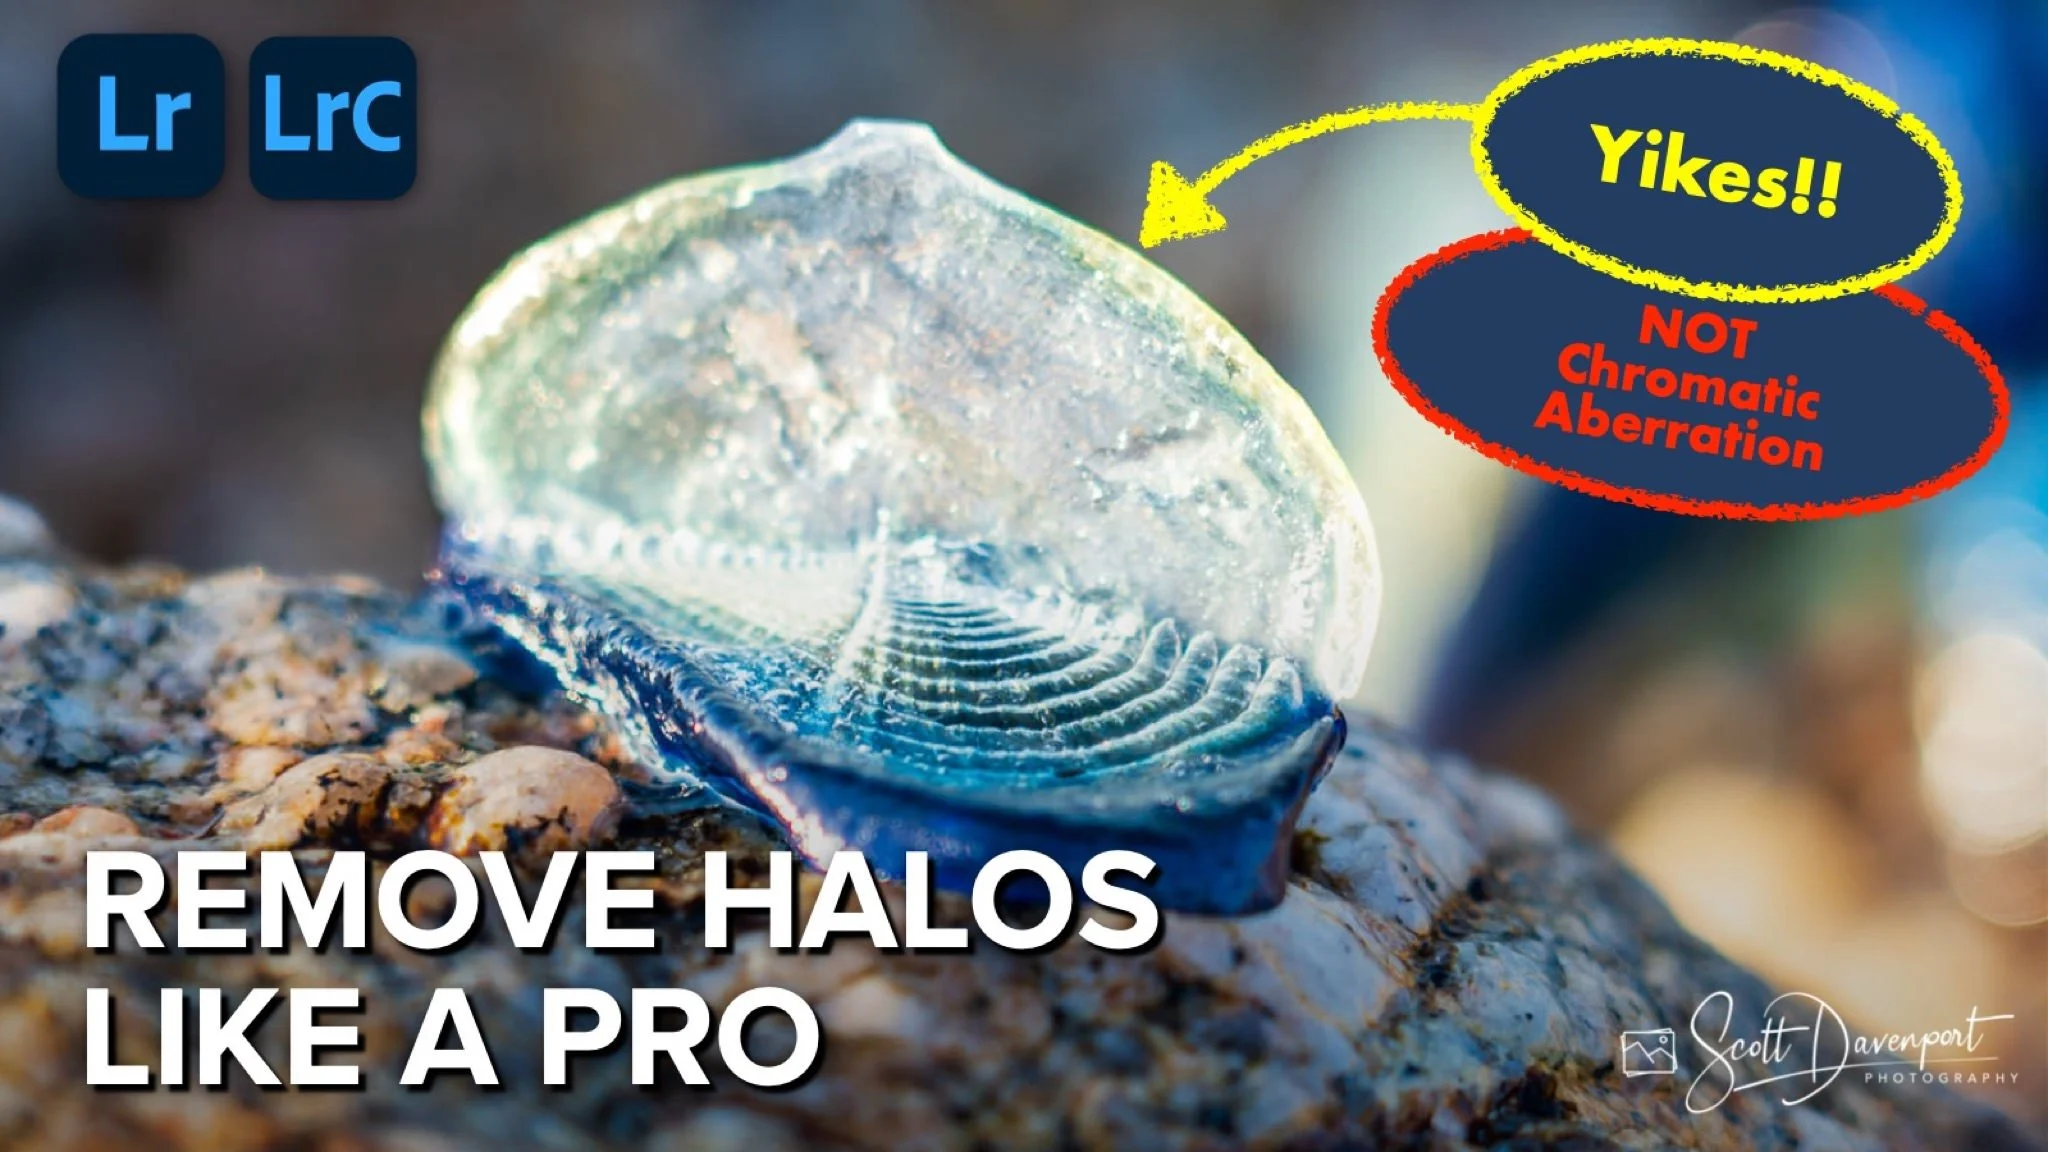
A problem landscape photographers face often are thin halos around subjects in a photo. Sometimes they are brighter rings or edges around objects. Other times they are color fringes. They are unattractive and distracting, usually surfacing at high contrast boundaries. They are especially problematic when your subjects are backlit - which is commonplace when your camera is pointed toward the sun.
Halos are different from chromatic aberration, the green and purple fringes at the edges of elements. You deal with those using lens or optical corrections.
You can easily correct halos and color fringes in Lightroom.
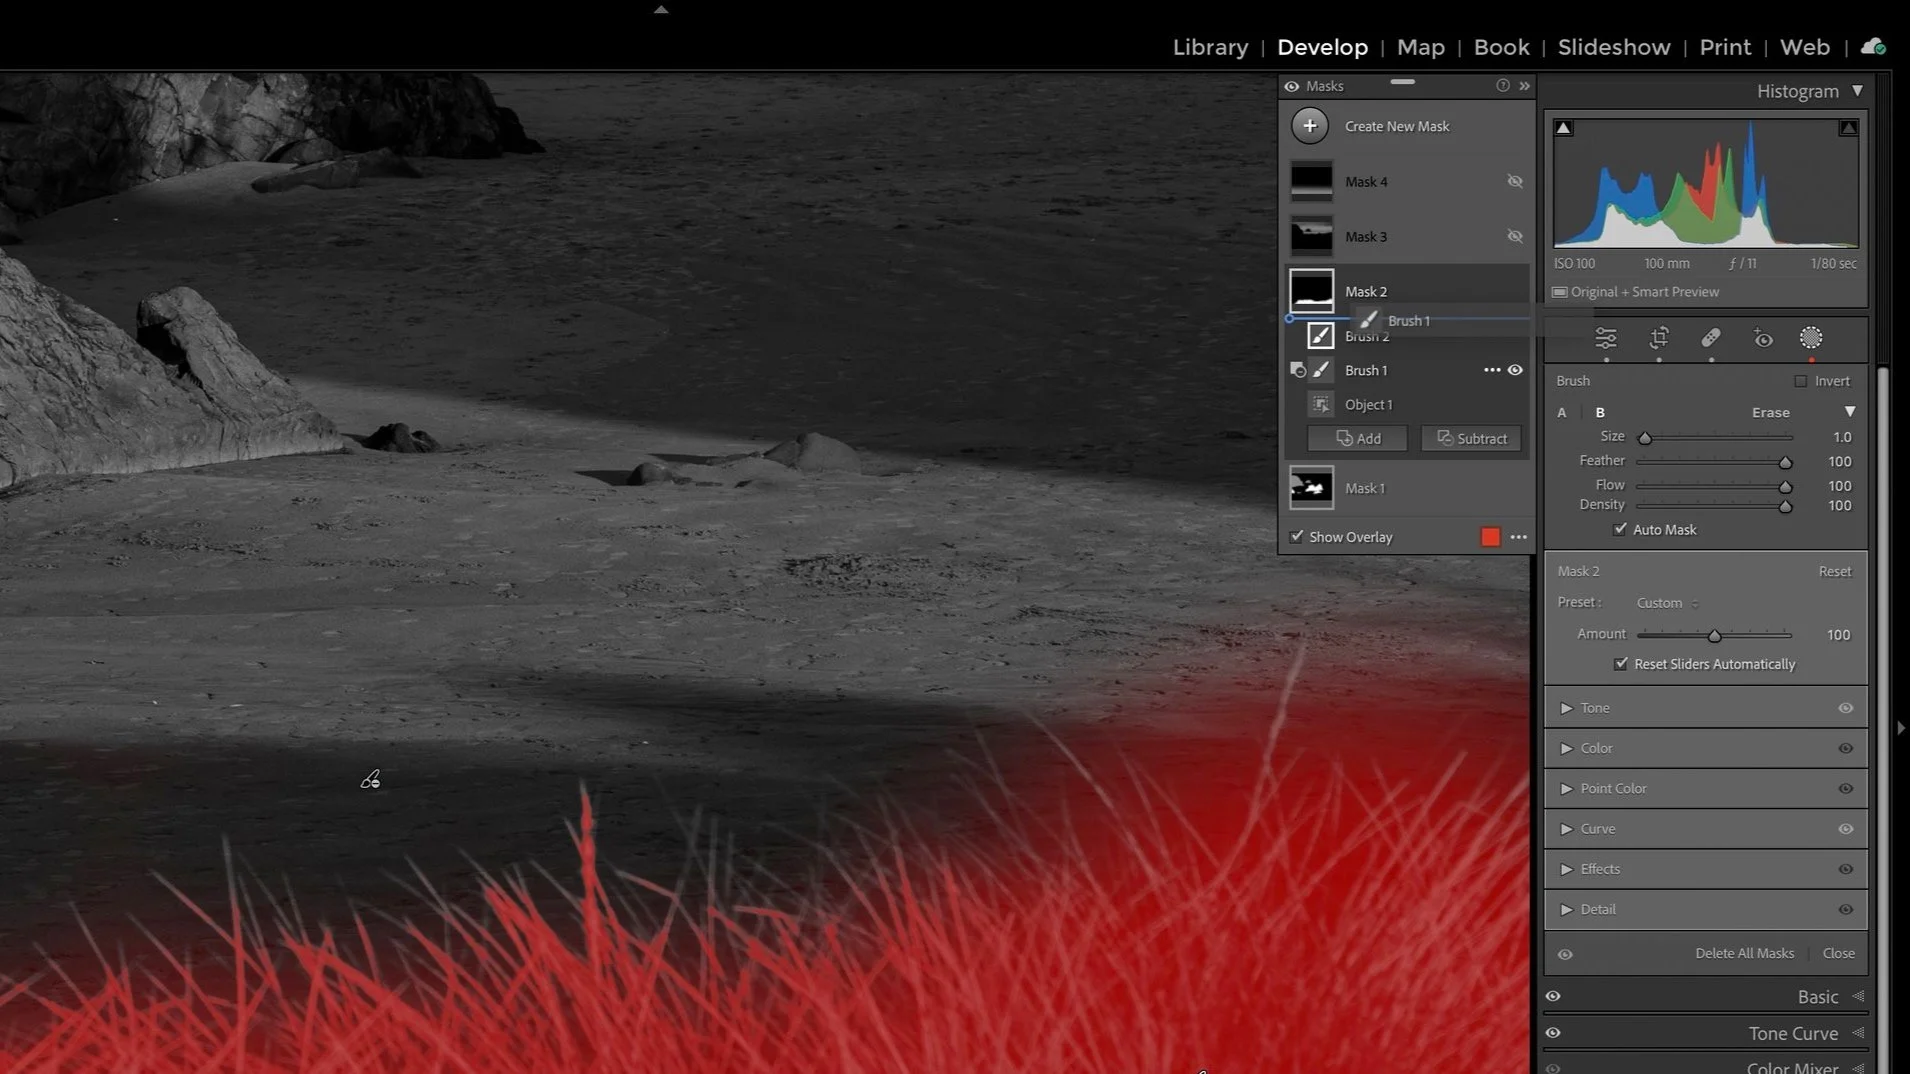
Create a color range mask and use the eyedropper to select the halo color. Adjust the color range mask so just the outline of the fringe is affected.
Intersect the color range mask with a brush
Brush over the the outline of the fringe
Reduce Saturation for the mask
Optional: Refine the color range mask
Your brush strokes can be lazy, because the brush is intersected with the color range mask. Reducing saturation downplays the color halo. If necessary, refine the color range to taste to affect more or less of the fringe.
Pro tip: You can also explore the Color Mixer to reduce lumuninace, lower saturation, or alter the hue of the fringe.
Velella Velella On A Rock
Contact Scott to commission a print or license this image.