Professional Photobook Layout With Saal Digital Design
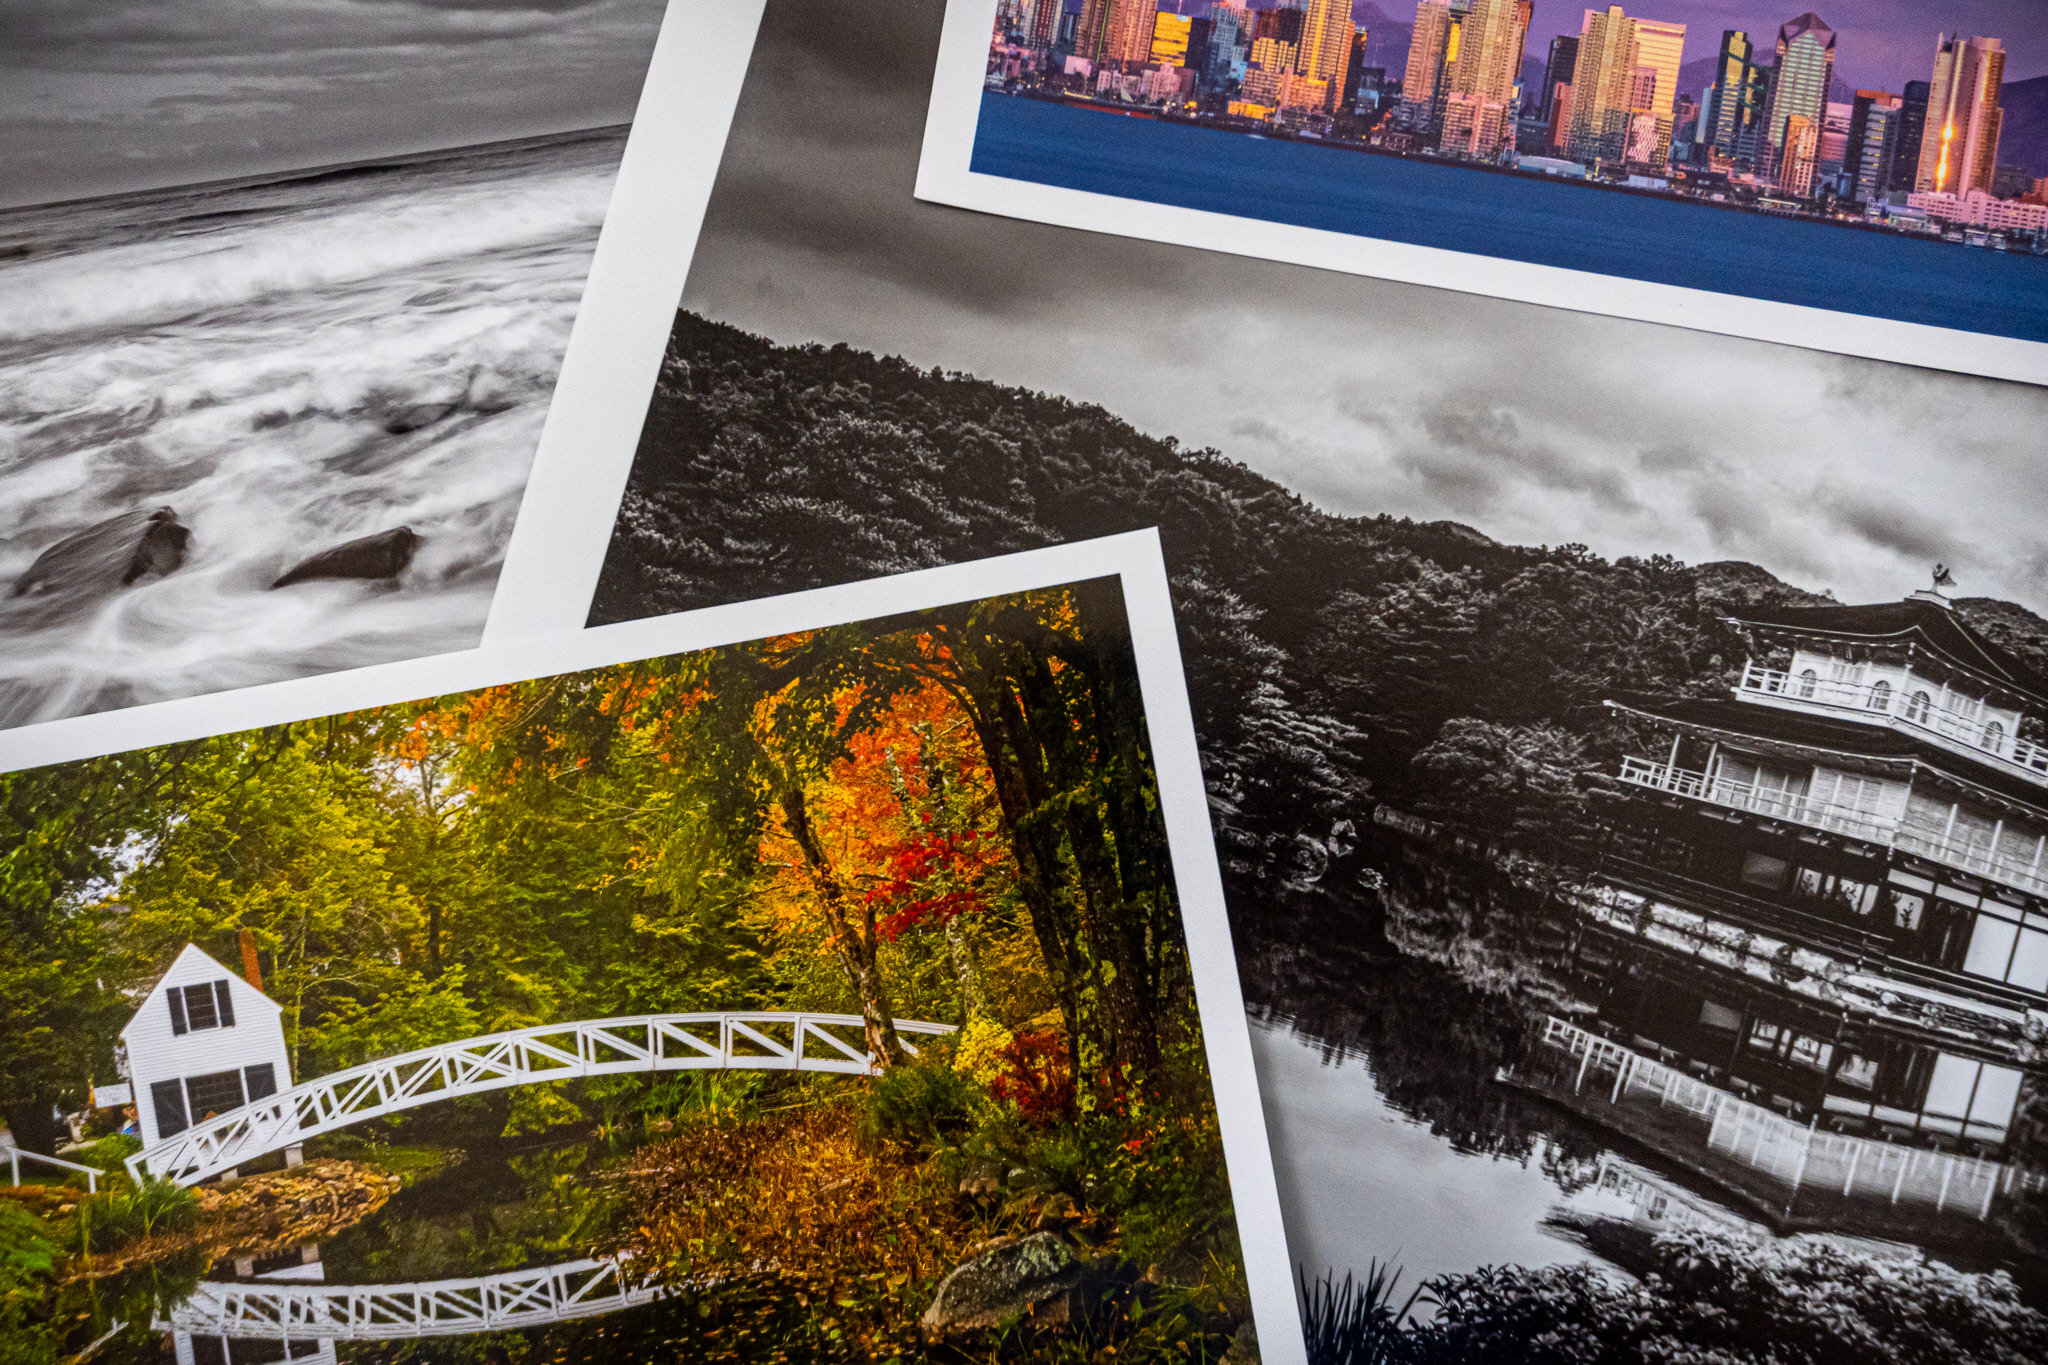
I recently printed a 12x12” Professional Photobook with Saal Digital and I am thrilled with the results. The photos look fantastic, the quality of the book is great, and the layflat binding lets me print large photos that span pages. In the video above, I give a quick tour of the Saal Design software that Saal Digital makes free to use for their photo books.
A few of my tips for using Saal Design on your book project.
Use The Saal Design Software
Although Saal Digital has several methods to submit a book project, I recommend using their layout software. The layout and purchasing experience is streamlined into a single application. Also, you can save your book projects on your computer and easily reopen them to order additional books.

Use The Auto-Layout Feature
Leverage the auto-layout feature of Saal Design. Drag a few photos on to a page spread, select a layout, and your book quickly takes shape. The layouts are flexible, too. Easily swap image positions, replace images, scale and pan photos within each frame, the works.
Also, you can turn off the auto-layout on a case by case basis. When you have a page that needs special treatment, such as an overlapping photo or additional text, you can take full control of that page yet keep the convenience of auto-layout through the rest of your book.

Mind The Bleed Lines
The templates in the auto-layout understand the bleed lines for the books. If you switch to a manual layout, make sure the edges of the photos don’t bump up against the bleed line. Saal Design will warn you if that happens. You don’t want a thin sliver of white paper showing at the edge of a photo. Either encroach the bleed line thoroughly or steer clear of it. Again, the software helps you every step of the way.
Don’t Print Photos On The Inside Covers
The first and last pages of the book are opposite the leather cover. The leather will wrap around the hard cover of the book. This means the paper on the inside of the covers has a warp line around the border. A good option for putting these pages to use is for text. In my book, I printed my logo and website on the back inside cover.
If you choose the acrylic front cover, you can print on the inside front cover. The acrylic surface is smooth and flat. So use that extra page for another image!