Add Detail With Depth To Landscapes In ON1 Effects
If you are trying ON1 Photo RAW, the ON1 plug-ins like ON1 Effects or ON1 HDR, or upgrading your ON1 software to a newer version, please consider using my affiliate link. There is no extra cost to you and it helps support ON1 tutorials like this one. Ready to buy? Use the offer code SDP20 at checkout and SAVE 20%!
Dynamic Contrast in ON1 Effects is one of my all-time filters. It touches many of my landscape photos. Sometimes I apply Dynamic Contrast globally to my photos. More often, I use ON1’s masking tools to selectively add contrast to key elements in my scene. A technique I use to enhance depth is not only to selectively apply Dynamic Contrast, but also gradually fade the amount of the filter in the midground and background.
In this article, I describe the steps for this technique.
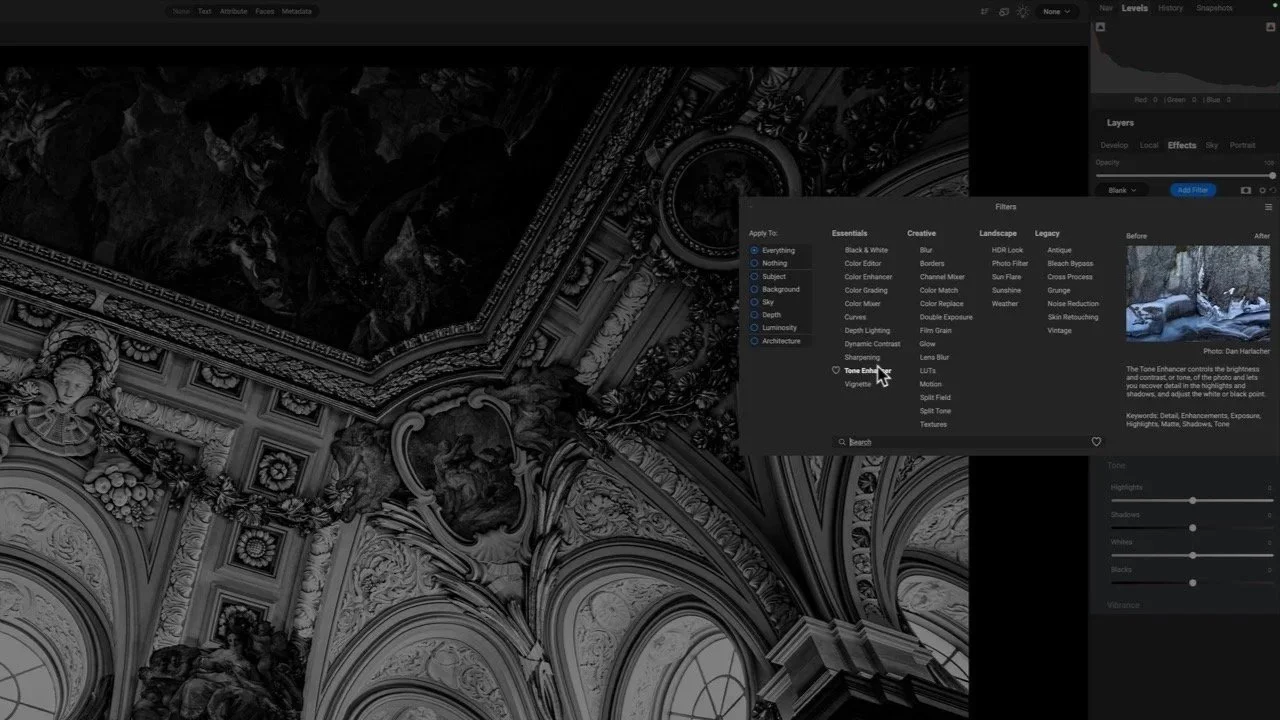
Step 1 - Add Dynamic Contrast
We start (of course!) by adding the Dynamic Contrast filter to the filter stack in ON1 Effects. The default Natural style is a good starting point, and often needs no adjustment. As you refine the sliders, make the adjustments with your primary subject in mind. In the example in this article, I want the rock with the small evergreen to be the crispest element in the photo.
Step 1 - Add Dynamic Contrast to the ON1 Effects filter stack. Adjust the sliders so your primary subject has the level of detail you want.
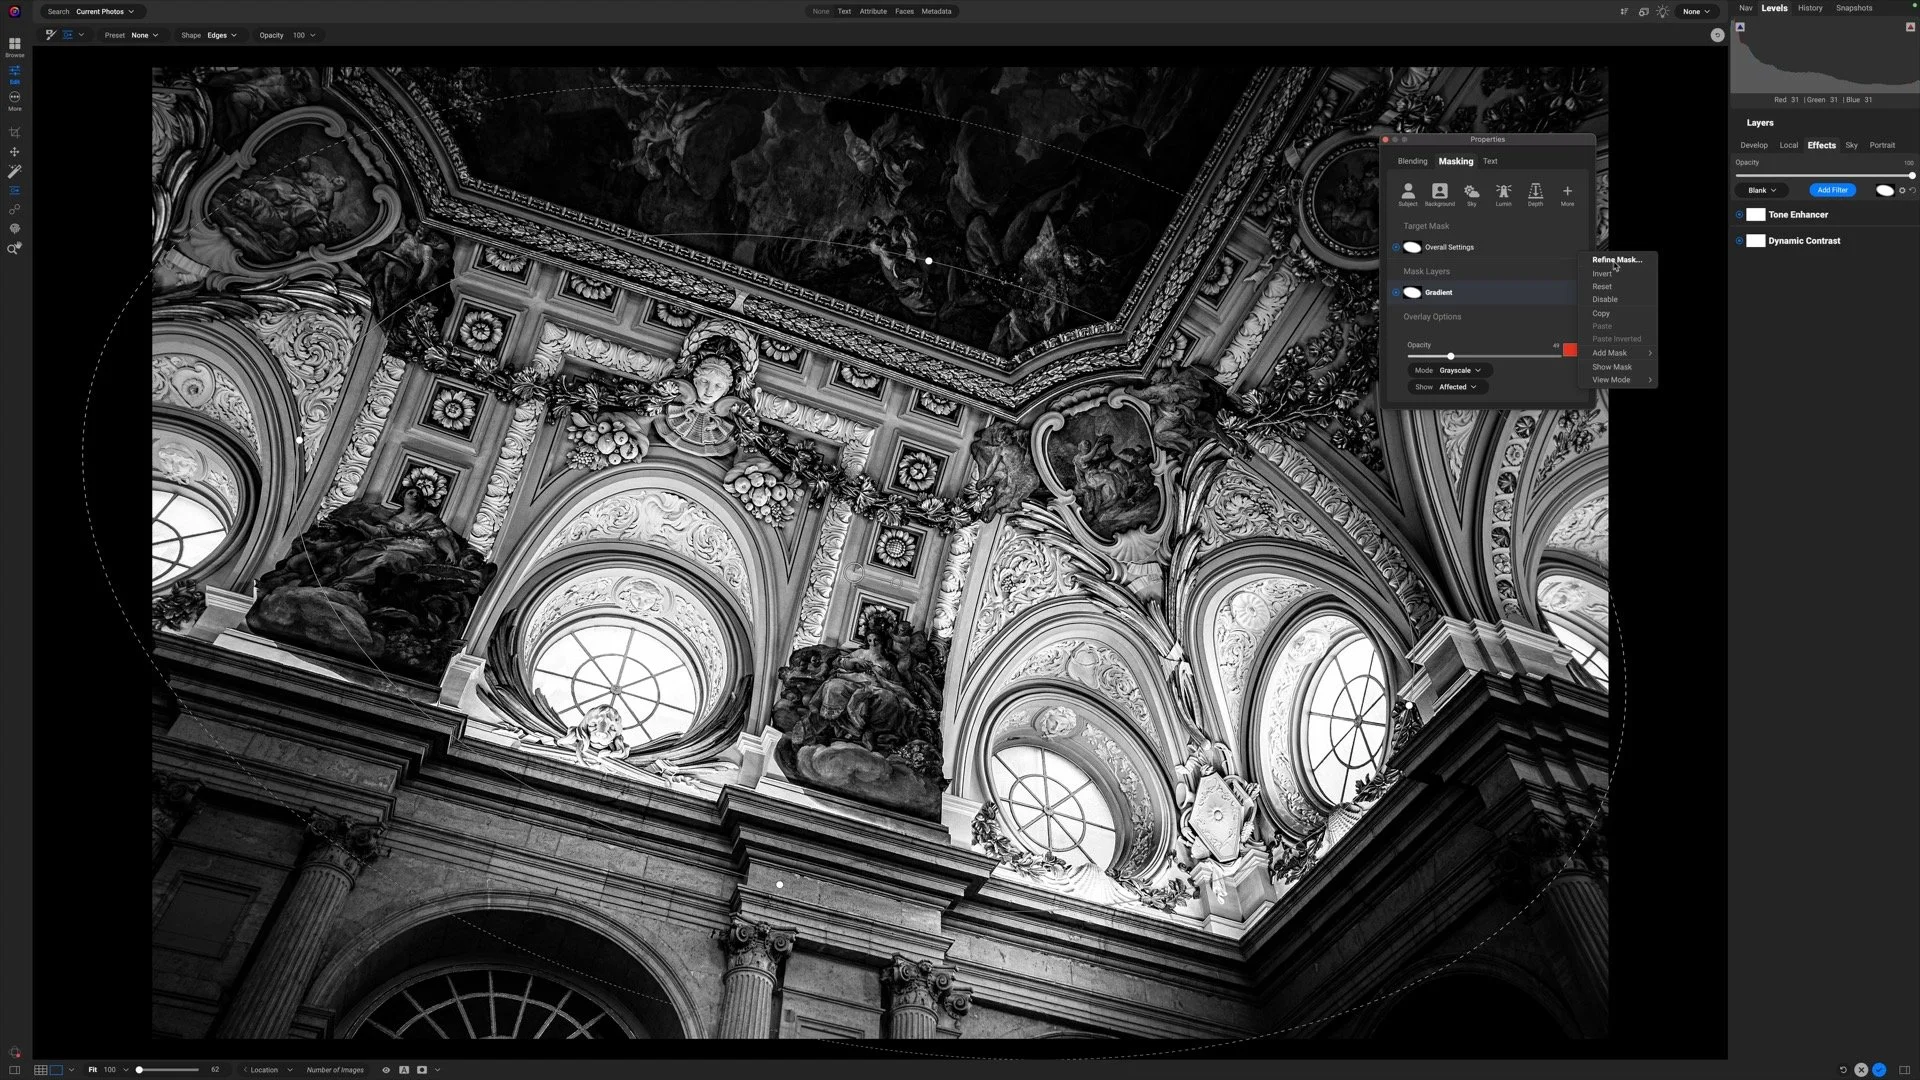
Step 2 - Apply A Mask To Accentuate Key Subjects
Next, use a mask to limit the Dynamic Contrast effect to only the elements you want to receive the contrast pop. Knowing what subjects to apply the contrast to is key. Which masking tools you use to achieve that is less important.
In my photo, I want the rocks and trees to have more detail and punch. I do not want to add any contrast to the water and sky - I want those elements to remain soft. The rocks and trees are mostly in the shadows, so I applied a Luminosity mask and inverted it. That targets the contrast to the shadow areas. Using the Level slider in the masking area of Dynamic Contrast, I further adjusted it to remove the contrast from the sky and ocean.
Pro tip: Work with ON1 luminosity masks visually. Turn on the mask overlay and adjust the sliders to see what areas are affected by the filter.
Step 2 - Apply a mask so the contrast affects only the subjects that should get a pop in detail.


Step 3 - Add A Gradient Mask To Fade The Contrast
With your subjects masked, you now add a partial strength gradient mask to fade the contrast. With your Dynamic Contrast filter still selected and the masking tools open, choose the Masking Bug from the toolbar and set the shape to Gradient. Lower the Opacity to a partial strength. I’ll suggest starting with a value of 60 or so… you can adjust the value later. Click on the photo to drop the gradient into place. Position and rotate the gradient so the foreground elements get the full strength of the Dynamic Contrast and secondary elements are partially masked. Adjust the feather to control the transition.
In my example, I want the rock with the evergreen to be very crisp. The center of my gradient is just above the tree. With the mask overlay enabled, you can see how the mid ground and background rocks receive less treatment with the filter.

And that’s it!
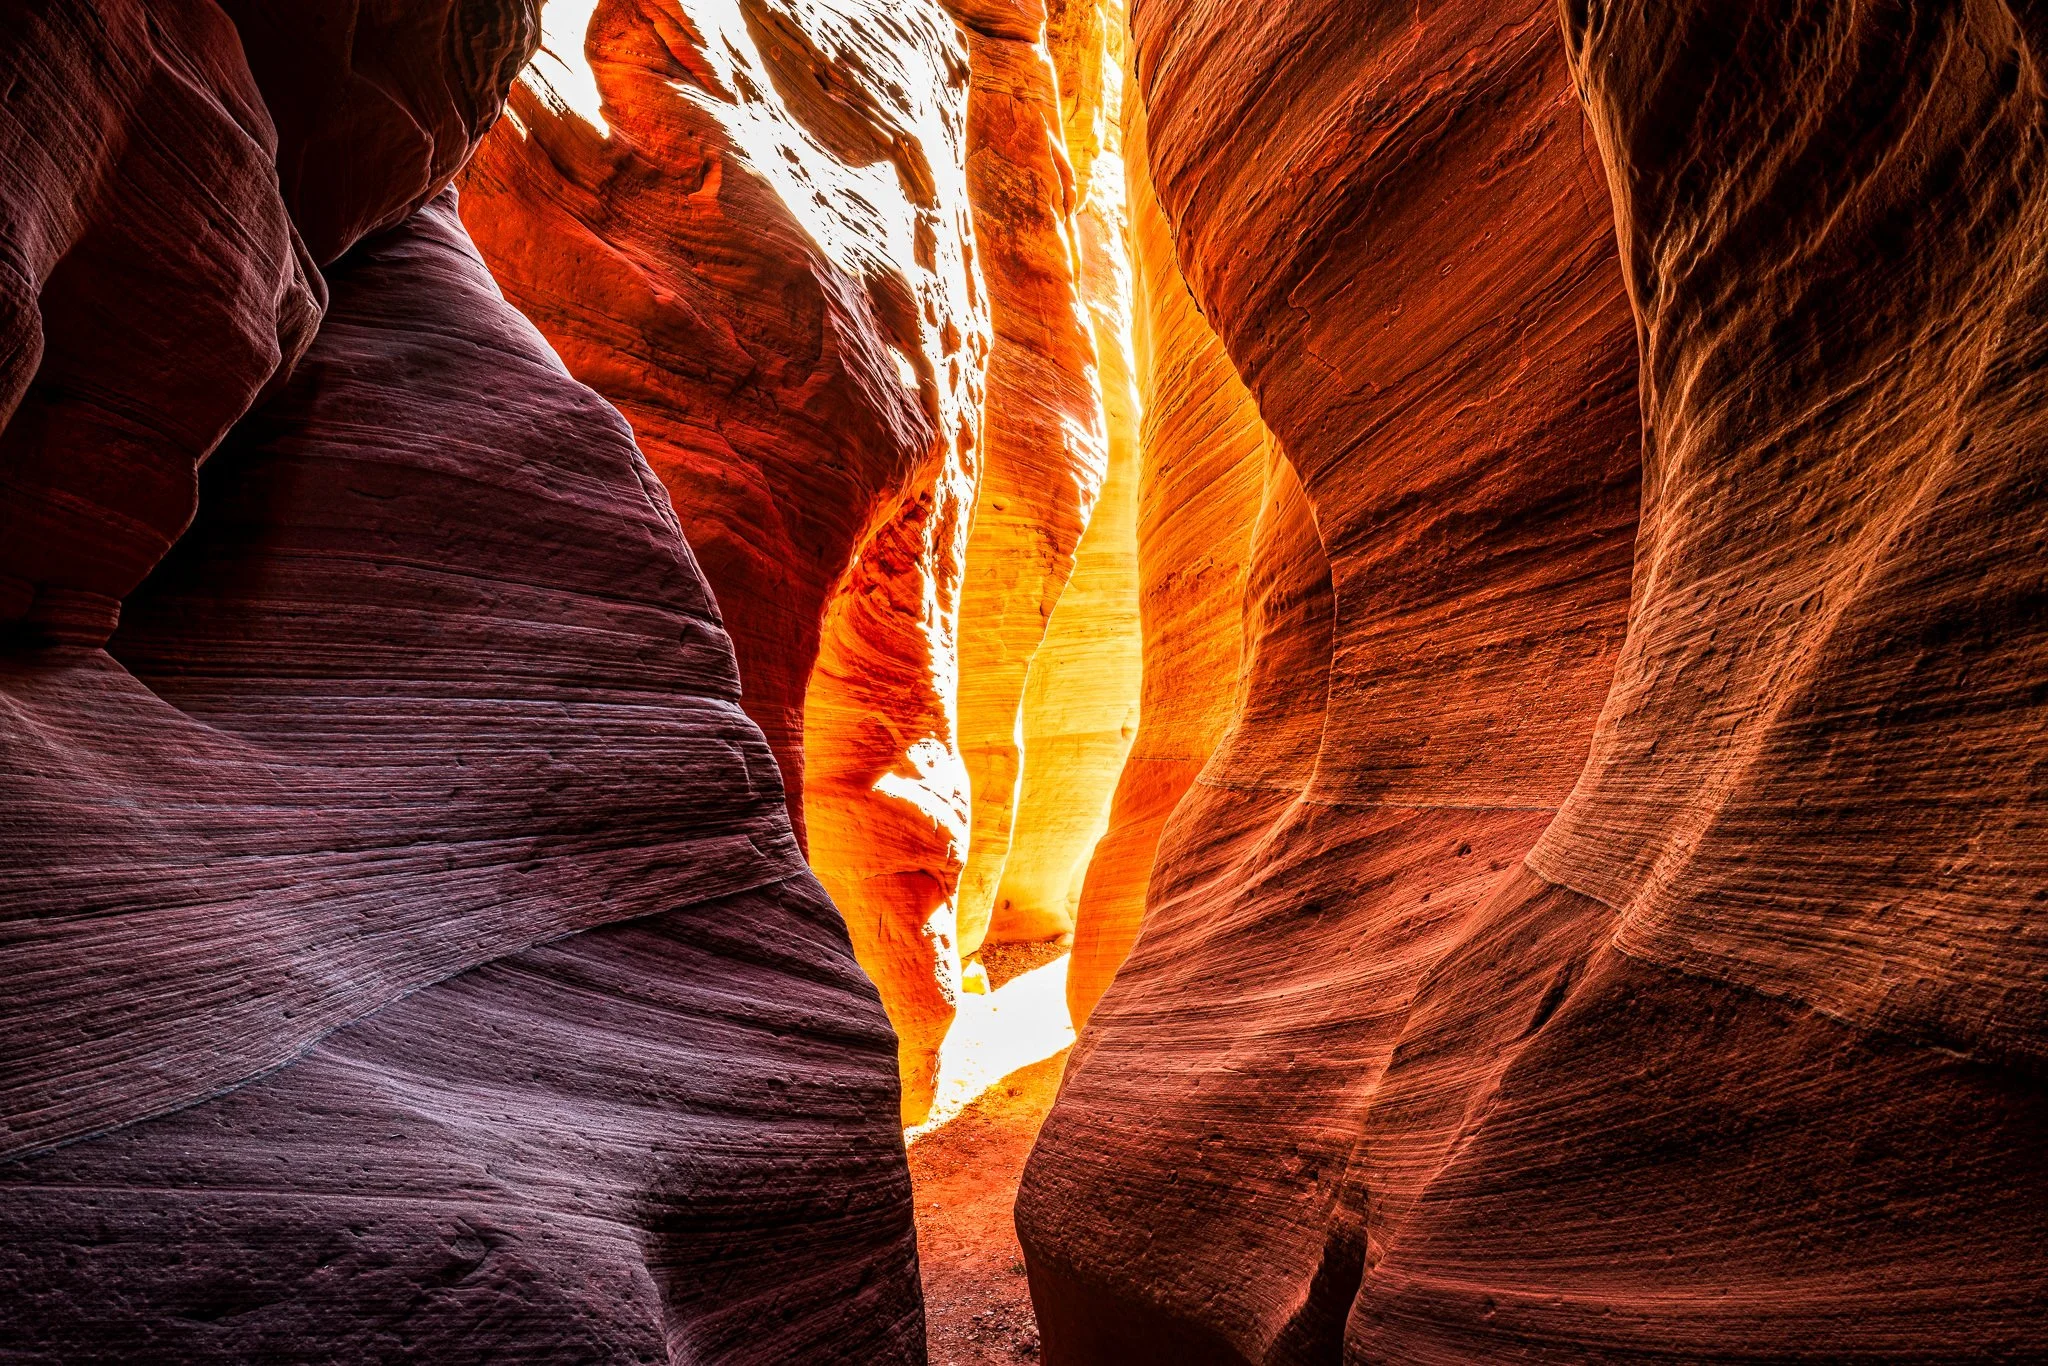
Secret Beach In The Afternoon
Contact Scott to commission a print or license this image.