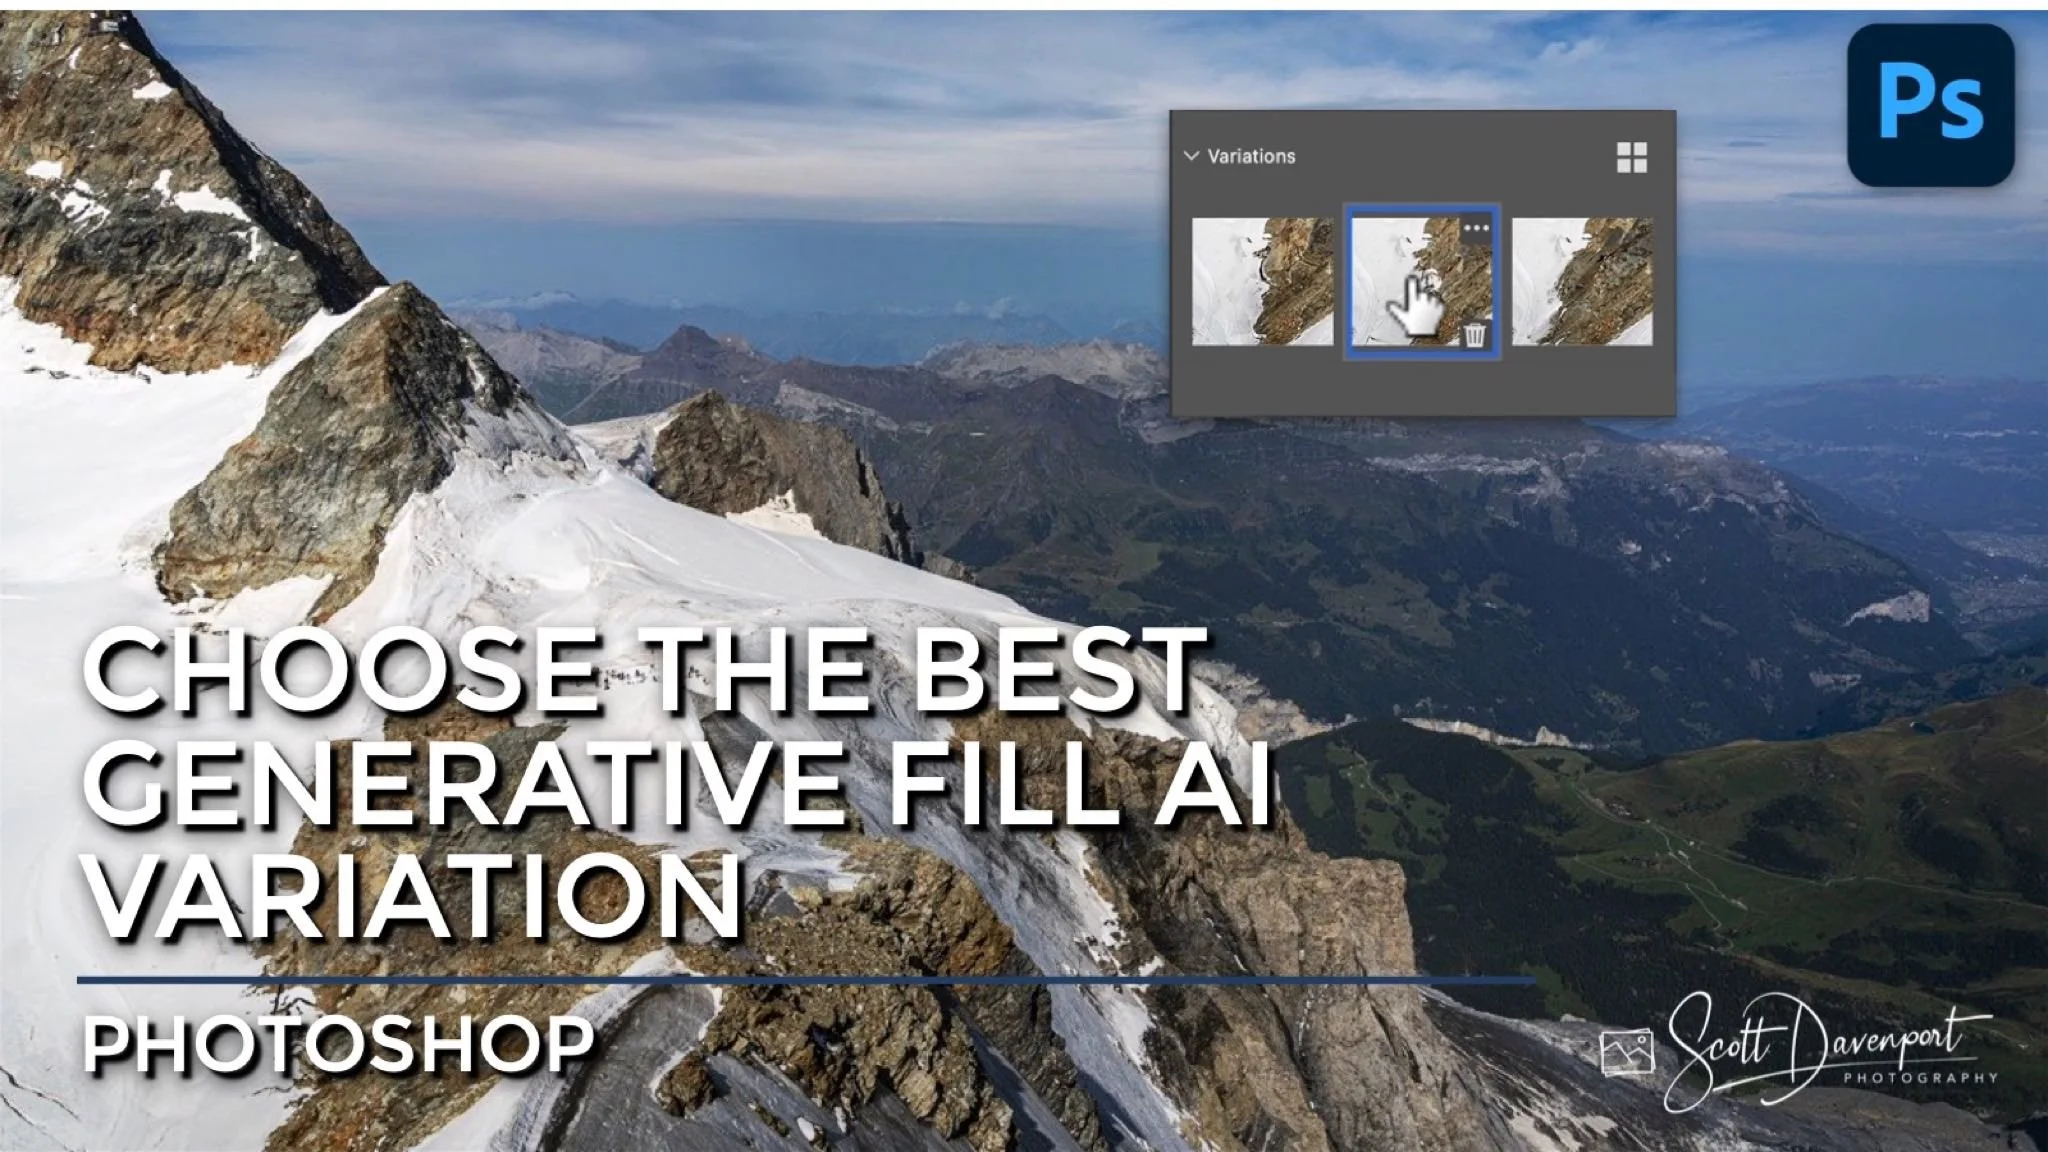
Choose The Best Generative Fill AI Variation In Photoshop
The Generative Fill AI feature of Adobe Photoshop is all the rage in the photography world right now. And with good reason - it is a powerful tool. If you are a compositor, you may be using Generative Fill AI to create new elements on your canvas, building up a vision for your digital art. Generative Fill AI is also great for photographers. Complex retouching jobs and object removal are much simpler and streamlined with this new technology. Here is how I am using Generative Fill with my photography.
Step 1 - Let Generative Fill AI Work Its Magic
Make a selection around the object or distracting element you want to remove. Don’t provide Photoshop with any prompts, just click Generate. Photoshop will figure out reasonable replacements given the objects and pixels around the selection. The generated pixels are placed on a new layer.
Select an area to retouch and click Generative Fill. Don’t provide any prompts and let Photoshop figure it out.
Step 2 - Audition The Variations And Select The Best Fit
Photoshop will generate several variations for the content aware replacement. They are shown above the Layers panel. Click on each variation and see how it looks with your photo. I audition variations both zoomed in and in full screen view. I want to check that the variation looks good at 100% as well as good for the overall scene.
If none of the variations are to your liking, clear the selection and try again. Slight changes in the selected area will change the variations presented by Photoshop.
Audition each variation from Generative Fill by clicking on the choices provided by Photoshop.
Check the variations both zoomed in at 100% and in full screen mode.
Step 3 - Toggle Your Chosen Variation Off And On
After selecting the best variation, zoom out to full screen and toggle the layer with the Generative Fill pixels off and on. Sanity check that the replacement meshes well with your photo and is a believable replacement and blend.
Pay extra attention when retouching popular or recognizable locations. Sometimes Generative Fill can get aggressive and change a photo too much, altering the real-world features and shapes of a place.
Toggle the Generative Fill layer off and on a few times. Double check that the variation blends well your photo overall and does not change recognizable features too much.
Step 4 - Delete Unused Variations
The last step is to delete unused variations. After choosing a variation, deleting the unused ones helps keep the file sizes of your photos smaller. Unless you are still debating about another variation, tidy up. Your hard drive will thank you later.
Delete unused variations from Generative Fill to keep your photo file sizes smaller.