FAST Dodge & Burn With Radial Masks In Lightroom
Dodging and burning is a classic editing technique. Selective brightening and darkening to accentuate your subject and emphasize the story in your images is a tried and true method to make stronger photos. Supercharge your dodging and burning by leveraging the radial masks in Lightroom. With a few clicks, you can easily target the general areas you want to adjust and then refine the look - without having to spend lots of time manually brushing on your photo.
In this article, I’ll show you an example of dodging several subjects to emphasize them and bring them out in the frame. The same technique works for burning or any other type of adjustment you want to make to selected areas of your photo.
Step 1 - Add Radial Masks To The Objects You Want To Adjust
In the Lightroom masking area, add a series of radial masks, one for each element you want to adjust. When you’re finished with this step, you’ll have a few radials grouped in a single mask.
Add a radial mask to each element you want to adjust
Step 2 - Intersect The Entire Mask With A Range Mask
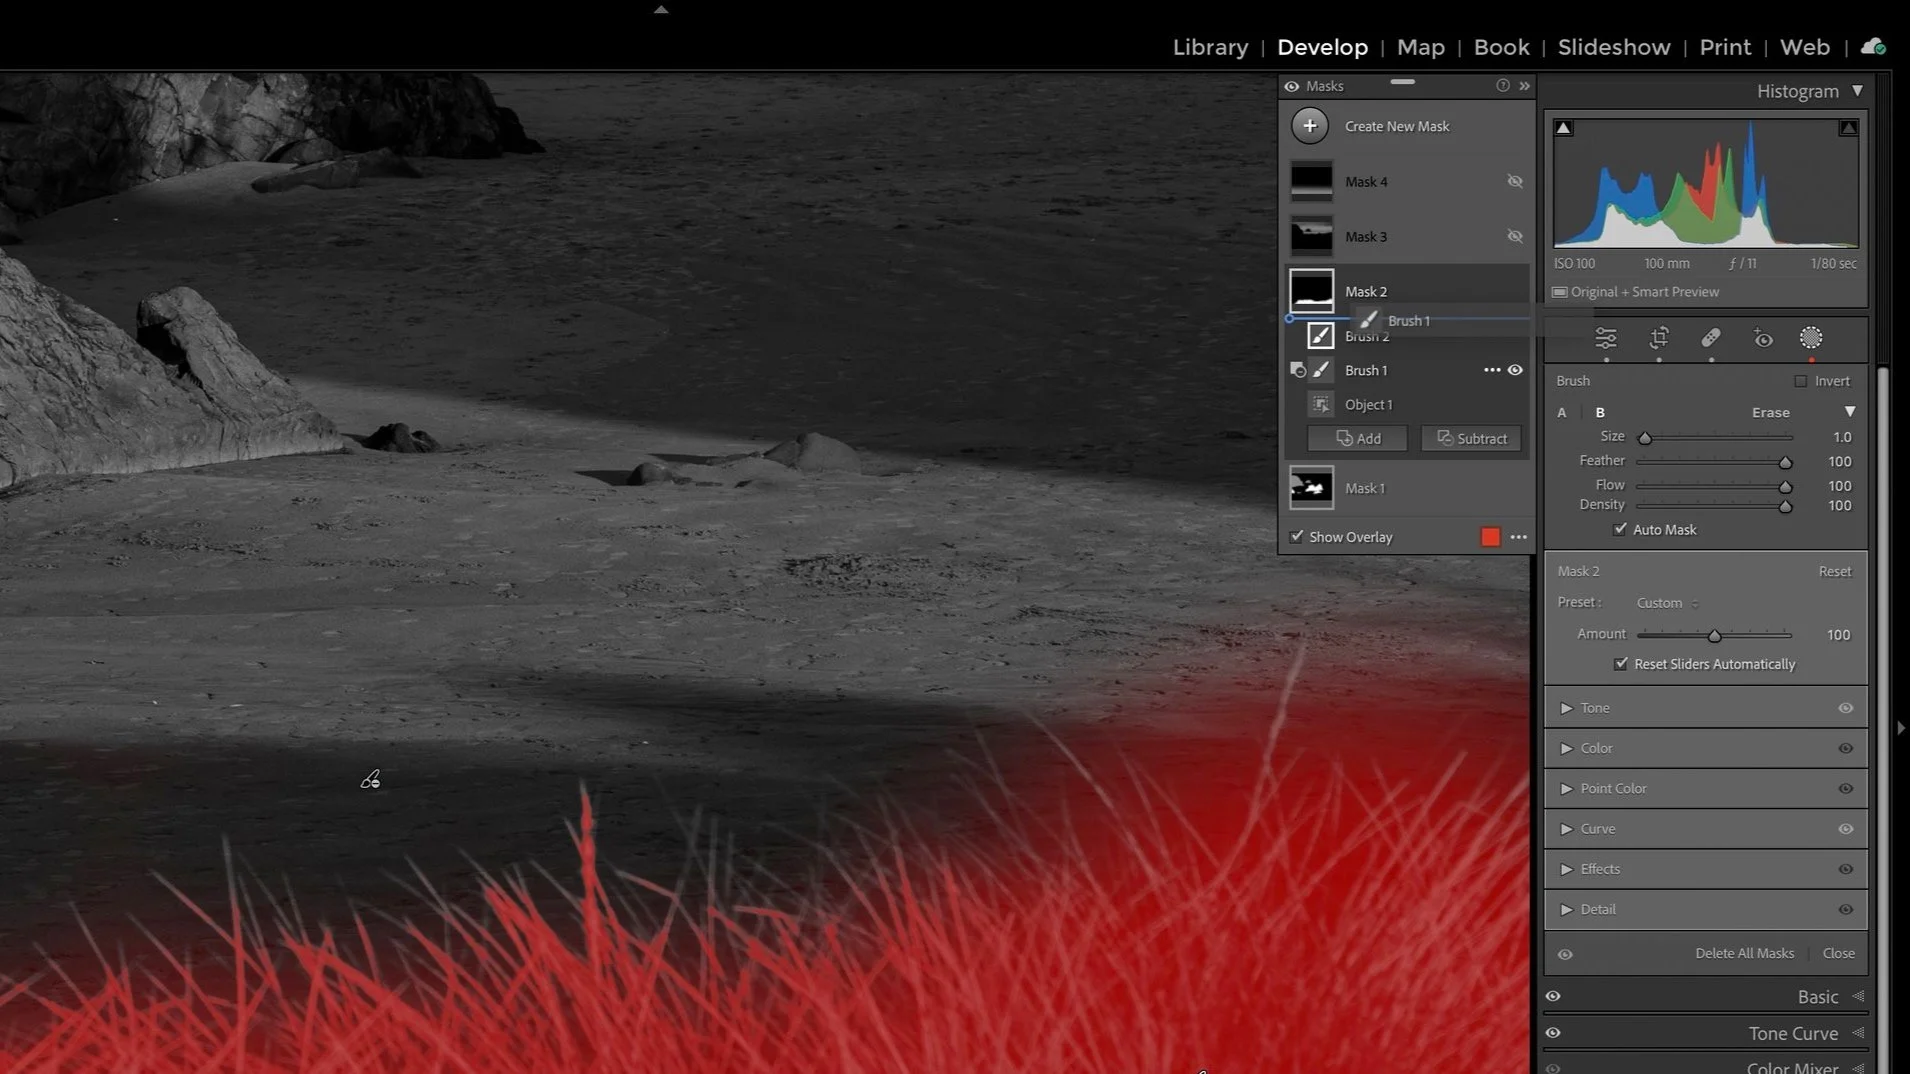
In the masking panel, click the triple-dot for the mask group (not the individual radial masks) and choose Intersect Mask with. Then, choose a range mask, depending on the subjects you are treating. The intersection applies to all of the radial masks, limiting their impact to the range you specify.
In this example, I’m using a luminosity mask and selecting the brighter midtones of the white structures on the river bank. The range mask excludes the darker trees, resulting in a mask that only affects the buildings I want to brighten.
Use the Intersect Mask with option for the entire mask and choose a range mask…

… then pick the tone or color on your photo to adjust
This same technique works with color images as well. Intersect with a Color Range mask to limit the selection to a particular color range.
Step 3 - Adjust The Sliders For The Mask Selection
The final step is to apply the adjustment you want. In my case, I am raising Exposure to dodge the buildings and dock, making them brighter so they stand out more from the trees. The same principle works for color images as well. For example, adding saturation to specific colors within the selection to draw more attention to them.

Adjust the sliders for the mask, applying your treatment to the selected area
Conclusion
Gone are the days of hand-painted dodging and burning. Speed up your workflow and leverage the powerful masking tools of Lightroom. With a little practice, you’ll be applying complex dodges, burns, saturations, and other adjustments in a fraction of the time you used to spend.
Misty Morning On The Siuslaw River - Florence, Oregon
Contact Scott to commission a print or license this image.