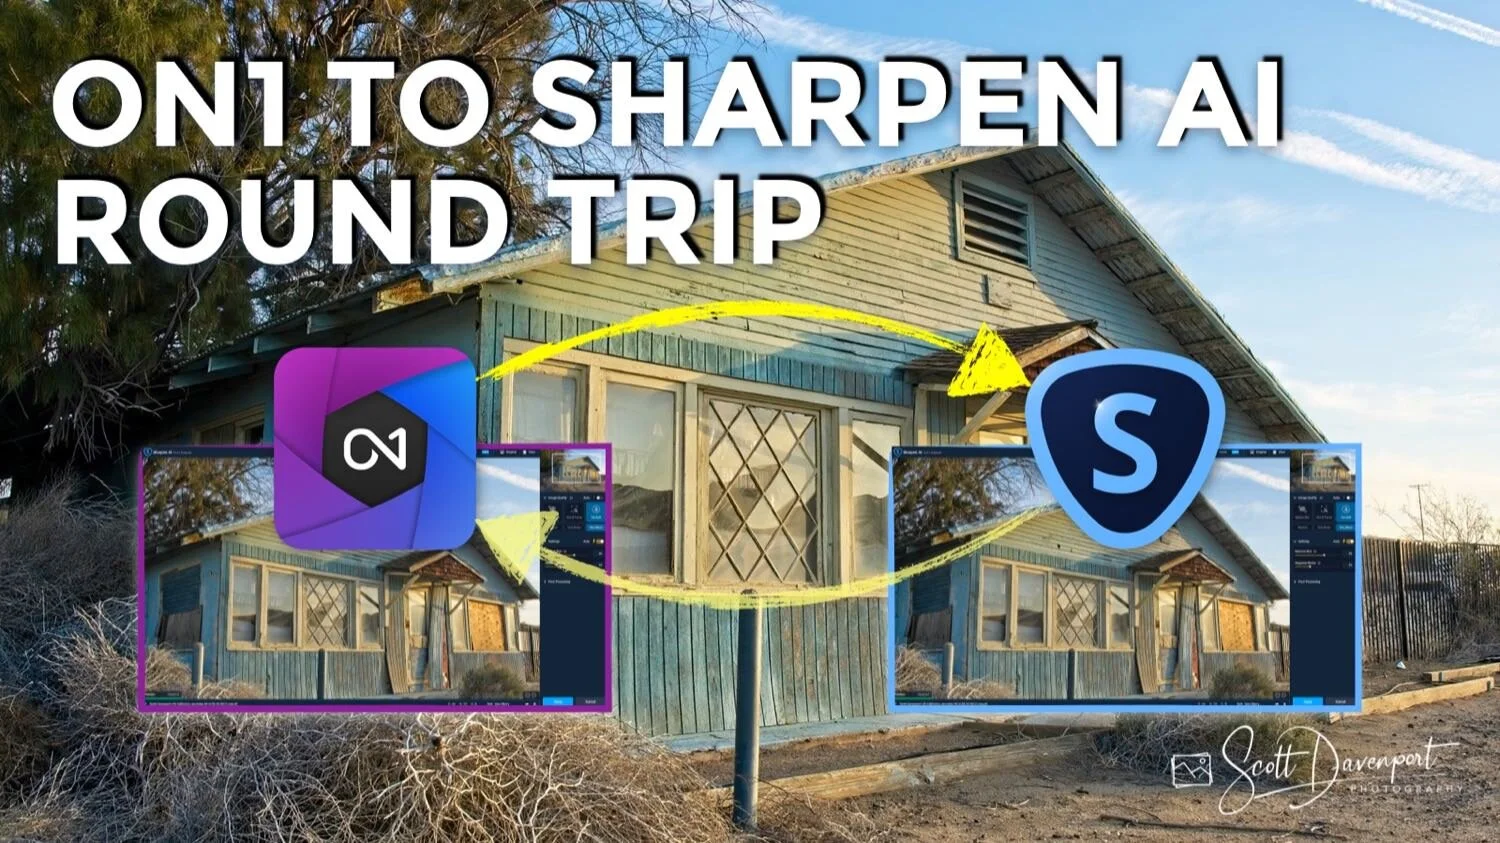
3 Steps To Round Trip From ON1 To Topaz Sharpen AI
If you are trying ON1 Photo RAW 2021, the ON1 plug-ins, or upgrading from an older version, please consider using my affiliate link. There is no extra cost to you and it helps support ON1 tutorials like this one. Ready to buy? Use the offer code SDP20 at checkout and SAVE 20%!
If you are trying Sharpen AI or other Topaz Labs products, please consider using my affiliate link. There is no extra cost to you and it helps support tutorials like this one. Ready to buy? Click my link and support my work.
What is A Round Trip?
Photographers use many tools in our post-processing workflow. Usually, one tool is our “digital hub” where all our photos are cataloged and organized. Depending on the image, certain editing jobs may be doled out to specialized tools. A “round trip” is the process of sending a photo from your main photo editing application to another program, making additional edits, and having those edits return to and be registered with your main photo library.
ON1 Photo RAW supports round trips to a variety of applications. It can also work with any photo editing tool that runs as a standalone app. Sharpen AI is one of those tools.
ON1 To Topaz Sharpen AI And Back - A 3 Step Process
The round trip from ON1 Photo RAW to Shapen AI is very simple. It’s three steps. Sharpen AI is usually invoked in the middle of your workflow. Basic RAW processing and color correction is done, and the image needs focus correction or some other type of sharpening.
Step 1 - File > Send To Topaz Sharpen AI
The first step is to select a photo you are ready to sharpen in the ON1 Browse module. With the photo selected, choose File > Send To Topaz Sharpen AI from the menu. If you don’t see a Send To Topaz Sharpen AI option, it is likely the first time you are doing a round trip to Sharpen AI. Just select Send To Other Application, navigate to the Sharpen AI app on your computer and select it. ON1 will add an entry to the File menu for Sharpen AI.
A popup is presented asking you to set a few options. If your image has been edited in ON1 already, choose the Edit A Copy With Settings Applied option. To maintain your ON1 adjustments, a new photo file with the adjustments committed must be created. Also, set the file format and color space.
Step 1a - Select a photo and choose Topaz Sharpen AI from the File menu.
Step 1b - Set the properties for the new photo file.
Behind the scenes, ON1 creates a new copy of your photo and sends the copy to Sharpen AI.
ON then creates a copy of your photos with the edits you made into a new file. I use the TIFF format, which works well in Topaz Sharpen AI. In the ON1 Browse module, you’ll see a file with a “copy.tif” suffix. It is the image copy that is sent to Topaz Sharpen AI for editing.
Step 2 - Adjust In Topaz Sharpen AI
Once in Sharpen AI, adjust your photo as necessary. Use Sharpen AI as you would if running standalone.
If you are new to Topaz Sharpen AI, read my full review of Sharpen AI and get up to speed.


Step 3 - Apply The Sharpen AI Changes
Once adjustments are complete in Sharpen AI, click the Apply button at the bottom of the Sharpen AI interface. The TIFF file is updated with the sharpened version of the photo and control is returned to ON1 Photo RAW. You’ll notice that the TIFF file is in the same folder as your original photo - just sharper now!
That’s it! Moving an image from ON1 Photo RAW to Topaz Sharpen AI and back is a smooth and straightforward workflow.