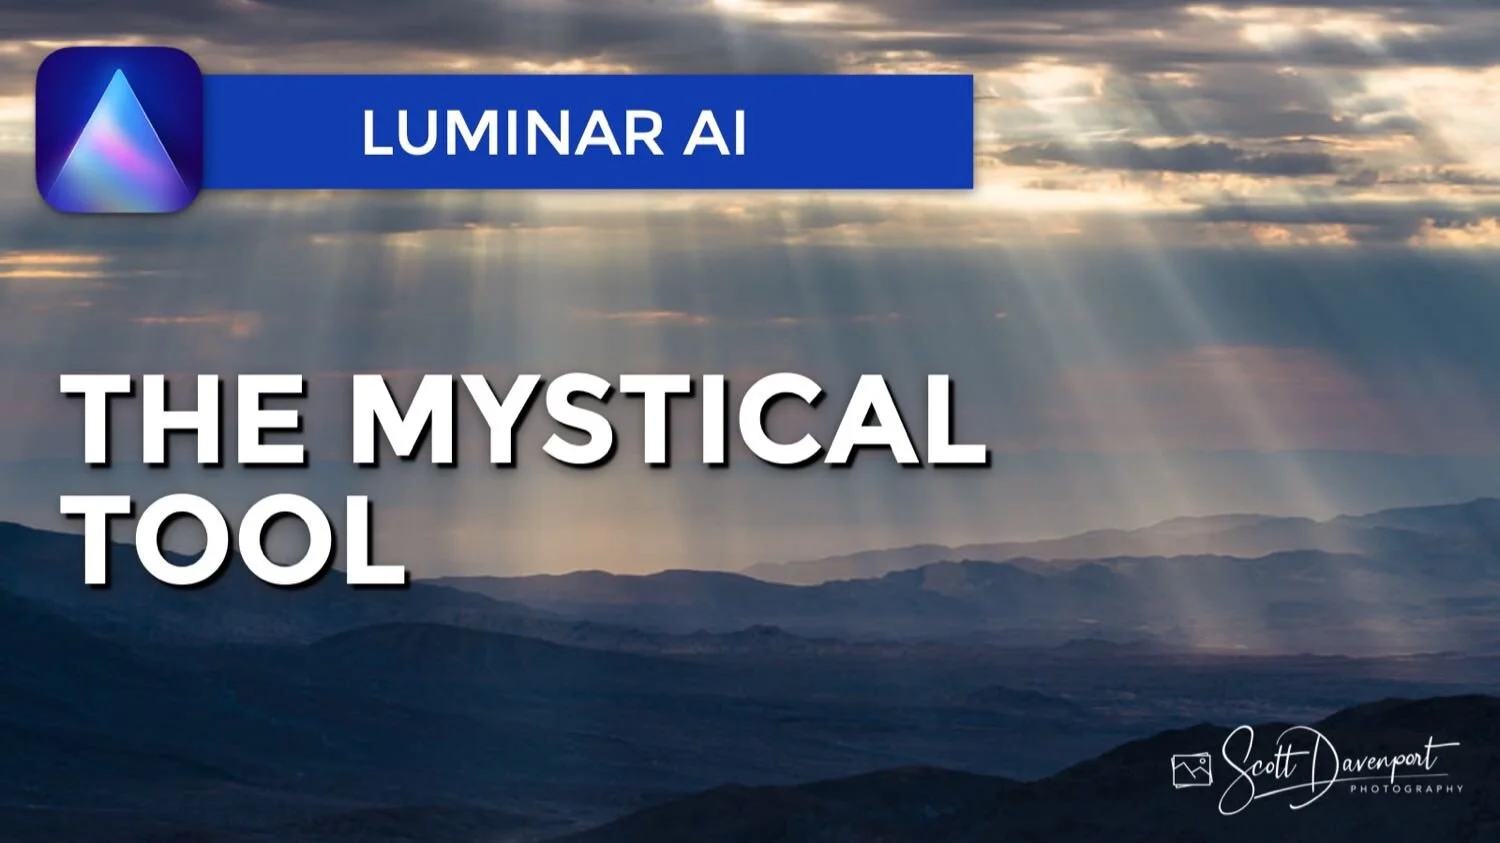
Ambiance With The Mystical Tool - Luminar AI
If you are trying Luminar AI or upgrading from a prior version, please consider using my affiliate link. There is no extra cost to you and it helps support Luminar AI tutorials like this one. Ready to buy? Use the offer code SDP10 at checkout and Save US$10!
The Mystical Tool in Luminar AI adds a dreamy glow to your photos. Don’t let the low number of sliders fool you. Mystical packs quite a punch and is a great accent for landscape photos.
There are three main controls in the Mystical Tool:
Amount: Set the overall intensity of the look.
Shadows: Add exposure to the deeper shadows in your photo.
Smoothness: Control how crisp or diffused the glow is.
A good workflow for Mystical is to first adjust the Amount and get an overall look you like. I prefer low to moderate amounts of Mystical. Pushing the slider very far creates a very diffused, and sometimes awkwardly colored, image. Yet ultimately, the choice is yours.
As Mystical is added, you will notice the brighter areas of your photo take on a glow. Contrast is increased, too, making the shadows deeper. If the shadows get too dark, use the Shadows slider to open those areas up. Finally, adjust the Smoothness slider and refine the glow. In the photo in this article, I moved Smoothness in the negative direction to keep the sunbeams crisper and better defined.
The Colorize section has two sliders:
Saturation: Increase or decrease color richness.
Warmth: Refine the temperature of the photo.
These sliders are provided as a convenience for minor adjustments and corrections if Mystical alters the coloring or temperature of a photo. Occasionally, Mystical may push tones in a cooler direction, and the Warmth slider is immediately available to refine the look. For saturation refinements, I prefer to use the Color Tool because it has more refined controls for individual color ranges.
Sawtooth Mountain Wilderness Sunbeams
Contact Scott to commission a print or license this image.