Color Grading With The Mood Tool - Luminar AI
If you are trying Luminar AI or upgrading from a prior version, please consider using my affiliate link. There is no extra cost to you and it helps support Luminar AI tutorials like this one. Ready to buy? Use the offer code SDP10 at checkout and Save US$10!
There are lots of methods for color grading images - split tones, color harmony, even the humble (yet powerful!) curves tool. The Mood Tool is another method that uses LUTs to do the color grading. LUTs provide everything from subtle color shifts to very pronounced ones.
What Is A LUT?
A LUT is a Look Up Table - a terrible name, if not technically accurate. A LUT is a color grading filter that maps one color to another. There are plenty of in-depth articles on the web explaining the gory details of a LUT. Let’s use a very basic example of something you might be familiar with - a matte look. A matte look often sets pure black to something other than pure black, perhaps a charcoal gray. In RGB terms, pure black is 0,0,0 and a charcoal gray might be 31,31,31. A matte look visits every pixel in your photo and each time there is a pure black pixel, it is replaced with a gray pixel.
That’s the same principle of what a LUT file does. A LUT file has a mapping that changes a source color in your photo to another color. Now, imagine doing that kind of color replacement for thousands or tens of thousands of color tones. Also, the color changes can be subtle, like my black to gray example, or wild! Pure black could be changed to bright orange or deep purple. How little or how much the color change is defined by the LUT file.
For the basics of using LUTs in your post-processing, this is what you need to know. The LUT mapping shifts one color to another. You cannot change the color mappings in the LUT, but you can control its strength and how it interacts with your photo.
The Mood Tool In Luminar AI
Luminar AI includes a few dozen LUTs in the Mood Tool, with a few controls to adjust the look. The first step is to select a LUT to apply to your photo. LUTs are kind of like presets, in that not every LUT will look good on every photo. You have to experiment and sample a few to see how it affects your photo and if it aligns with the aesthetic you want for your image. The LUTs available are in the Choose LUT popup menu. The way I like to work with the Mood Tool is to open the Choose LUT popup and use the up and down arrow keys to walk through the list of LUTs. I can quickly audition each LUT on my photo and get a feel for how it alters my image.
The Mood Tool is in the Creative Group in Luminar AI
Quickly audition different moods by arrowing down the set of LUTs in the Mood Tool.
Refine the look of your mood with the Amount, Contrast, and Saturation sliders.
You can also use any custom LUT files you may have downloaded or purchased with the Mood Tool. Choose the Load Custom LUT File from the Choose LUT popup file and choose your custom LUT. Luminar AI supports LUTs in the 3DL and CUBE formats. If you save a Template using a custom LUT, the LUT will be included with the Template.
After selecting the LUT, adjust the color grading with the sliders.
Amount: Control how little or much much color grading is applied. The default amount is 30%. If you don’t see a notable change in the color grading in your image, increase the amount. This is also helpful to understand how the LUT is changing colors in your image (ex: warming highlights, cooling shadows, adding a color cast, etc.).
Contrast: Increase or decrease the separation of highlights and shadows.
Saturation: Increase or decrease the richness of the color grading.
There is no right or wrong settings for the sliders - the numbers don’t matter. Set them to get the look you want for your image.
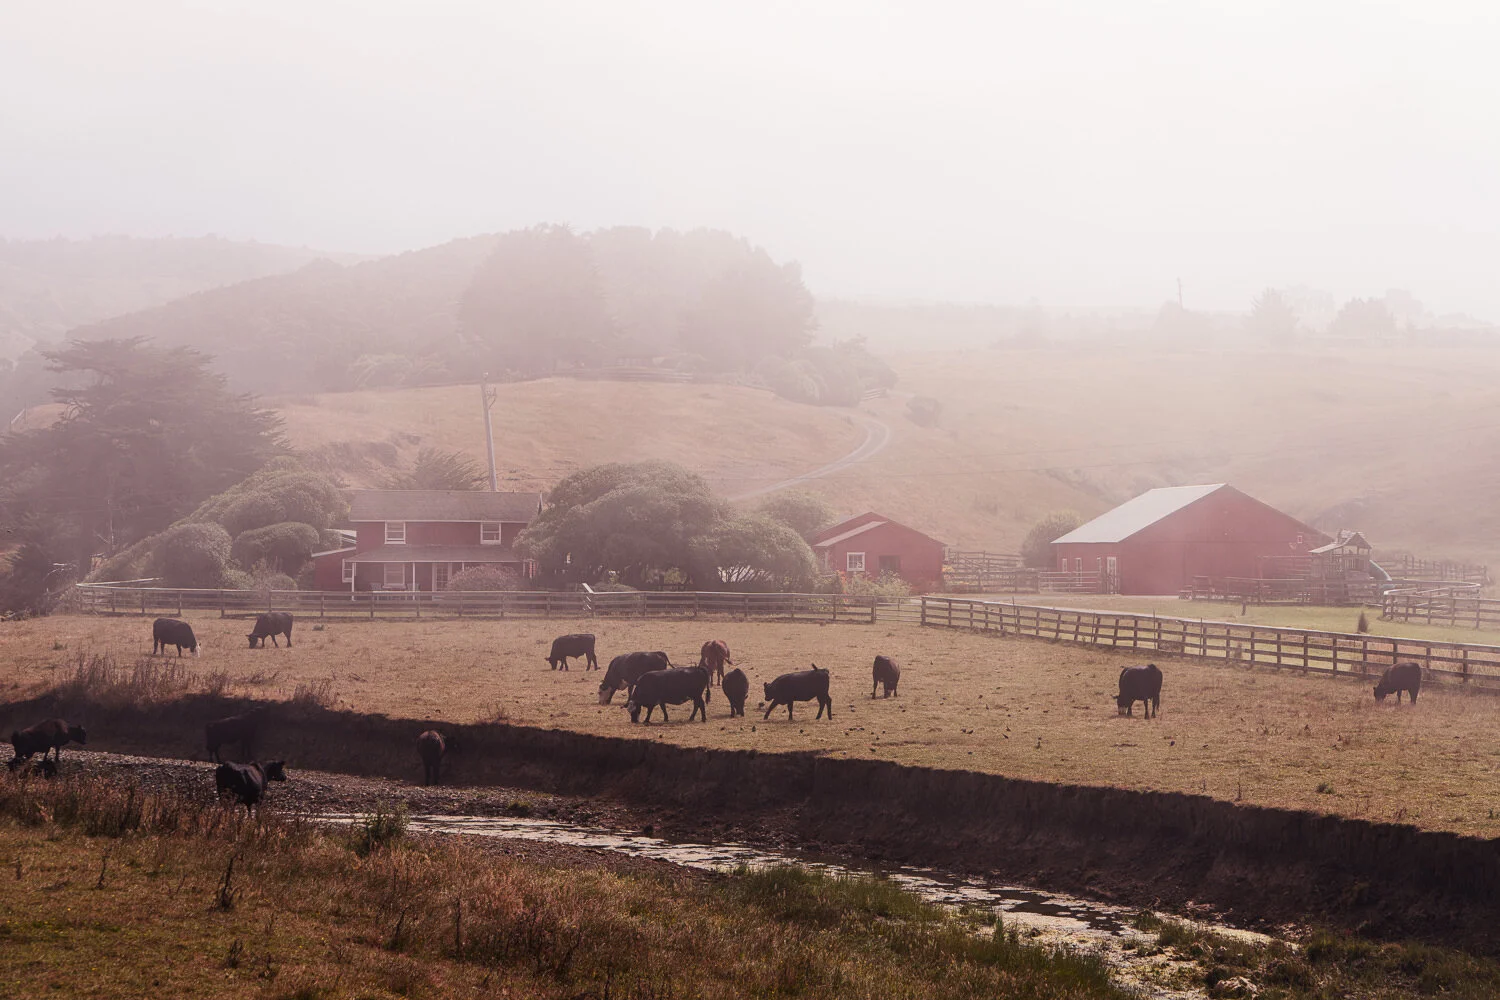
You can also mask the Mood Tool. Open the masking tools at the top of the Mood Tool and use the paint brush or gradient tools to selectively reduce or enhance the color grading for certain subjects. In the example here, increasing saturation accented the scene nicely but made the barns and house too red. A few brush strokes to erase the Mood Tool from the barns tamed the coloring on those elements.
Cows In Bodega Bay
Contact Scott to commission a print or license this image.
Using The Mood Tool With The Color Tool
For some scenes and LUTs, the Saturation slider may not be sufficient to refine the color grading for your photo. Refine the color palette using the Color Tool in the Essentials group. For the photo below, I liked the desaturated look of the Tritone LUT. However, I wanted the yellow buoy to be more vibrant. The Saturation slider in the Mood Tool was not doing the job.
The Color Tool is an excellent companion to the Mood Tool. Open the HSL controls of the Color Tool to further refine hue, saturation, and luminance of individual color channels. For this photo, I increased the saturation in the yellows to enhance the buoy. I also darkened the blue tones, downplaying the blue buoy on the left side. My main subject is much more prominent in the photo.
The Tritone LUT of the Mood Tool delivers a muted, desaturated look. Increasing the Saturation slider has little effect on the image.
The HSL controls in the Color Tool of Luminar AI can adjust color for specific color channels.
The Color Tool is an excellent companion to the Mood Tool to fine tune hue and luminance as well.
Yellow Buoy And Orange Rope In Bodega Bay California
Contact Scott to commission a print or license this image.
Try The Mood Tool
Give the Mood Tool a try with your photography. I like using this tool with my travel photos and I’ll admit I’m partial to the cinematic LUTs and the slightly desaturated looks of LUTs like Genius and Tritone. Also, don’t be shy about adjusting the Amount slider, or reaching for the HSL controls in the Color Tool to dial in the exact look you want.