Explore Your Photo Trends With The Library Filters In Lightroom
The searching and filtering capabilities in Adobe Lightroom are excellent. The breadth of metadata you can incorporate into a photo search is very wide. I like that I can create complex Smart Collections to gather photos from across my catalog. I’ve build a series of them using Lightroom’s extensive search and sort tools to orchestrate my entire Lightroom asset management workflow.
For ad-hoc searches, the Library Filter in Lightroom is equally powerful. You can, of course, find your best rated photos, images from a certain date range, or photos flagged as picks. The searching goes much deeper, including camera and lens information, camera settings, IPTC metadata, and more. What I like most about the Library Filter is its flexibility lets you explore trends in your photography. You can pose and answer questions about your shooting habits. And understanding your photography habits is a window into growth opportunities as a photographer and visual artist.
In this article, I present a brief overview of the Library Filter, then focus mostly on the Metadata filtering options. I find these the most useful to look for trends in your photography and for finding opportunities to grow your skills.
Using The Lightroom Library Filter
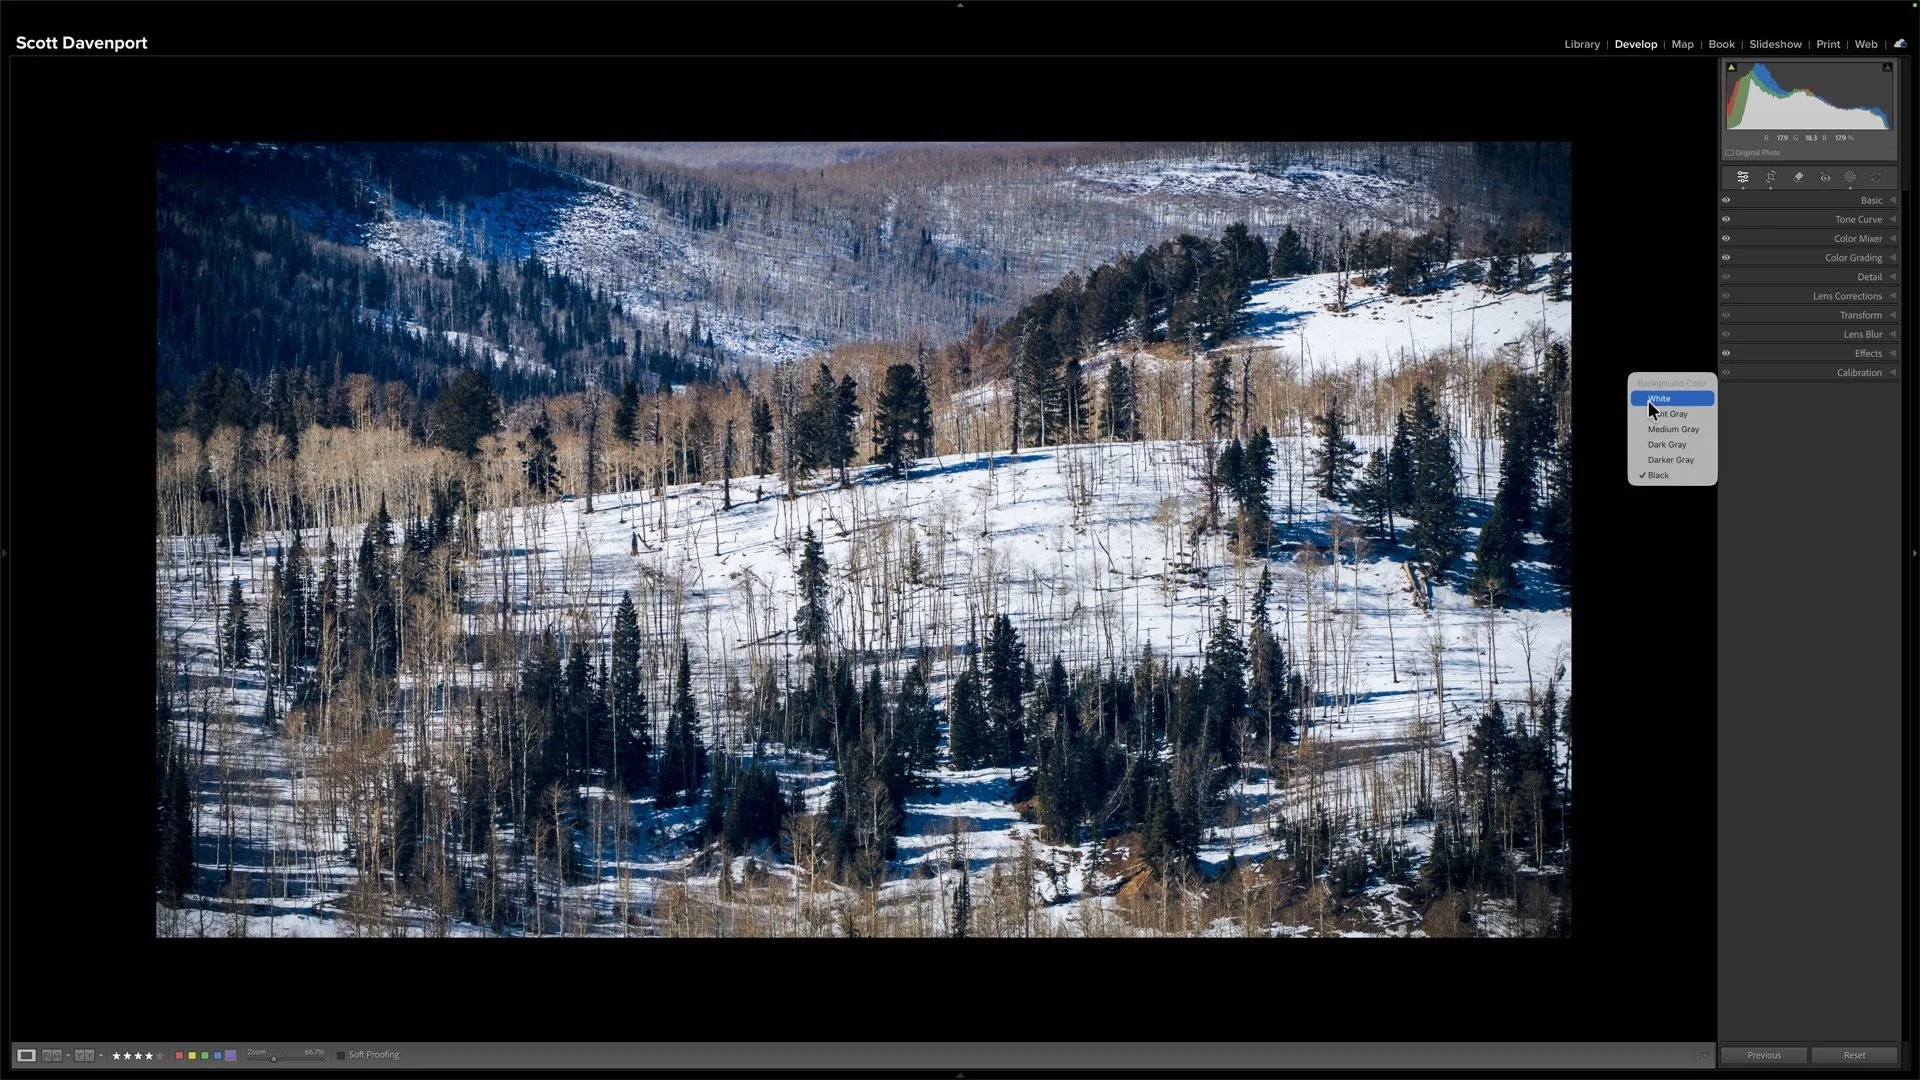
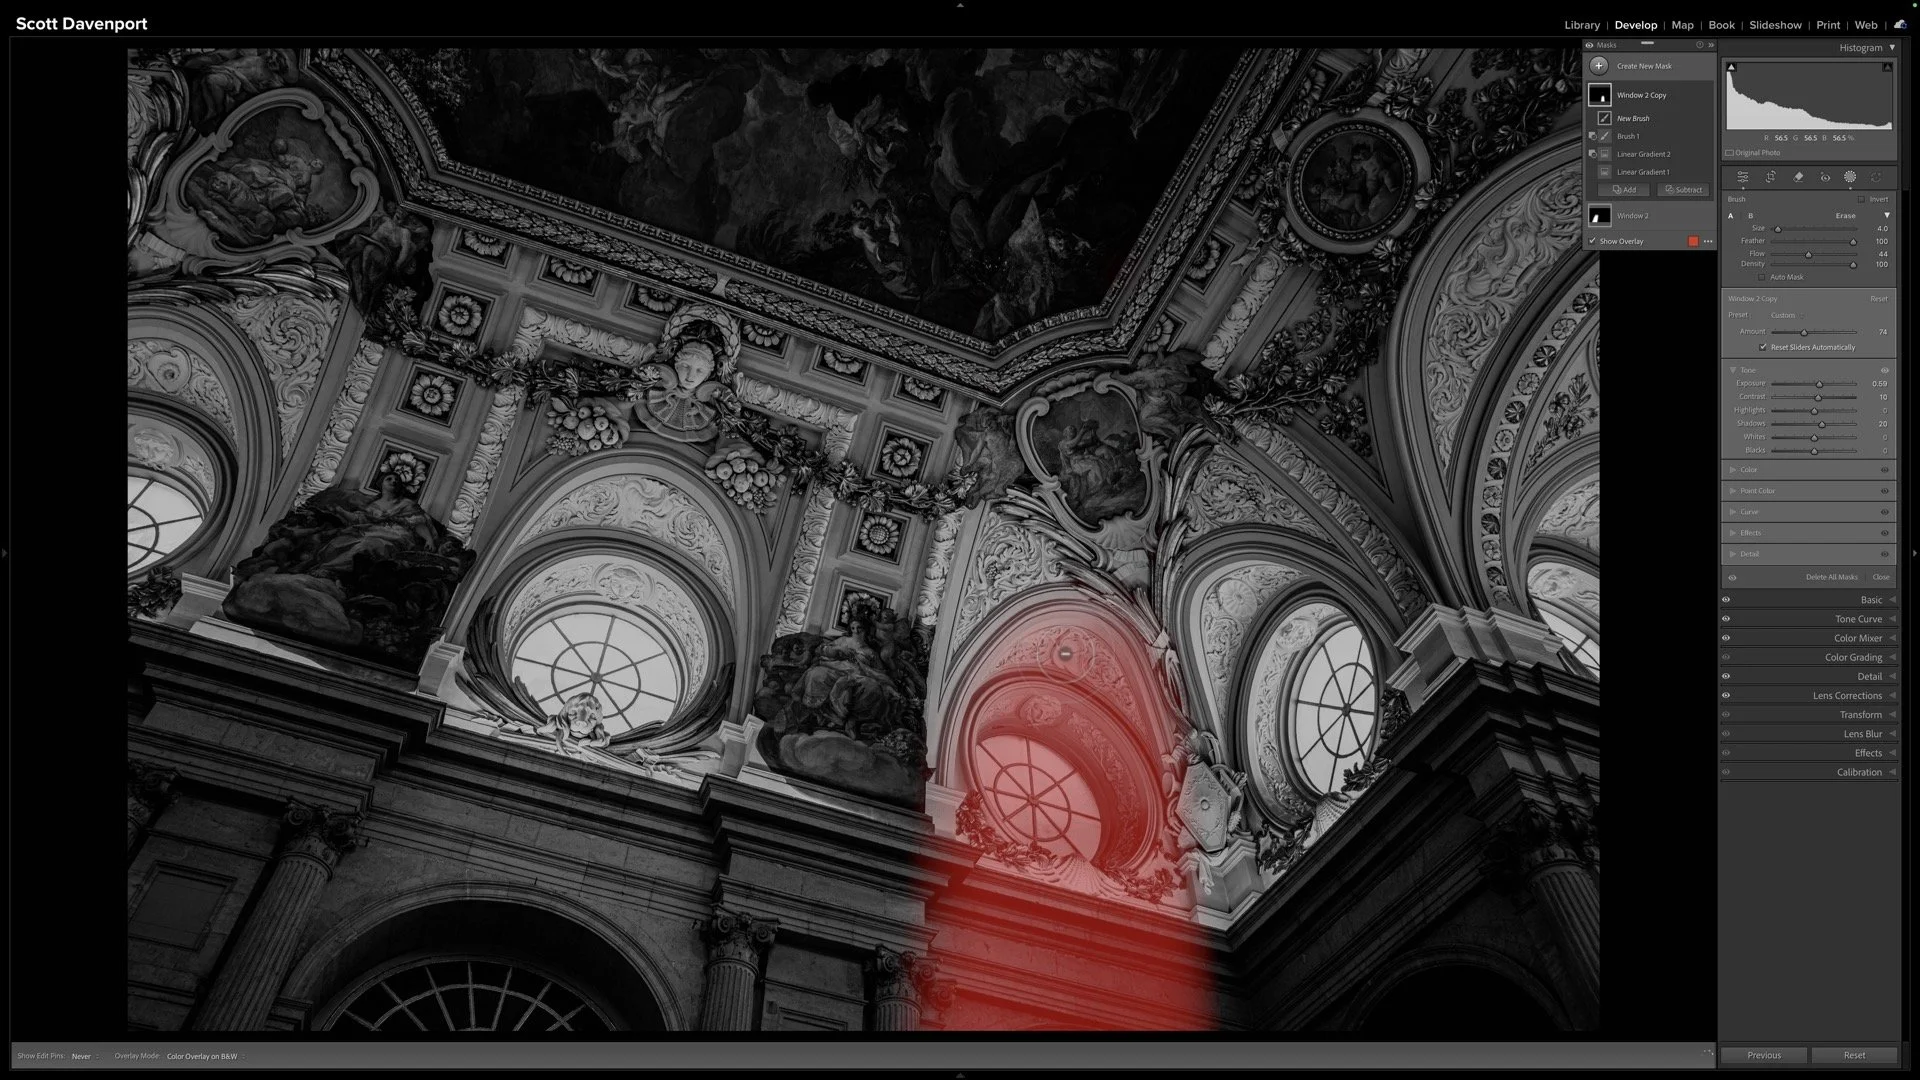
The Library Filter makes the searching and filtering of photos approachable. Not familiar with the Library Filter? It might be hidden in your default Lightroom view. Press the backslash key \ in the Library module and the filter bar appears at the top of your screen. You can also launch the Library Filter by clicking on various entities in the Metadata panel on the right side, such as a particular keyword.
The Library Filter applies to the selected folder or collection. If the selected folder or collection contains subfolders or other collections, all photos in the hierarchy are scanned as potential matches. There are three different groups of metadata you can filter on:
Text: A freeform text search of all indexed metadata, including file names, keywords, captions, EXIF, and IPTC information,
Attribute: Sift on ratings, color labels, pick flags, development status, and virtual copies.
Metadata: A funneled filtering of images against up to 8 different metadata criteria.
Clicking None clears the filters and displays all photos.
I like to set the Lock icon at the right side of the Library Filter, too. Once I have defined a set of attributes and metadata to search for, I can jump around to different folders and collections in my catalog. When locked, the Library Filter remembers the settings and applies them to the newly selected folder or collection. You can also save custom filters with the popup menu at the right side of the Library Filter.
Activate the Library Filter panel by pressing the backslash \ key on your keyboard.
I prefer to use the Lock feature of the Library Filter so my search criteria is “sticky” as I choose different folders and collections of photos.
Exploring Your photo Habits With Metadata
For me, the power of the Library Filter is in answering questions about my photography. It is mid-2021 as I write this article. Mid-year is a natural time to take a checkpoint on my progress toward my photo goals. One of my goals for this year is to get out of the “wide angle trap". As a landscape photographer, I capture a lot of wide angle photos - it comes with the territory. Yet I feel I may be missing photo opportunities with longer lenses, simply because I don’t see them in the field. I’ve gotten accustomed to seeing wide angles when out in the field. I have an opportunity to grow my photographic eye.
So how am I doing? I select my top level folder of images, open the Library Filter, and click Metadata. The Metadata portion of the Library filter is a series of columns that act like a series of funnels from left to right. In each column, choose a type of metadata and then select one or more criteria to match. Let’s walk through my example of checking on my ability to branch out from wide angle photos in 2021.
I select Date from the popup menu at the top of the first column. I am interested in only my photos from 2021, so I choose that year from the list of dates.
In the second column, I set the metadata to Lens. All lenses have a physical range of focal lengths they can capture, so it is a convenient way to subdivide the focal lengths.
It is immediately obvious that my long lens, the 70-200mm lens is highly underutilized. Only 4 photos captured with that lens.
What about the 24-70mm lens? I select that entry in the Lens column. Then…
In the third column, I choose Focal Length as the metadata option. All of the focal lengths for just my 24-70mm lens are shown.
Do you see how that funneling works? First, the photo set is limited to only those captured in 2021. Next, only those with my 24-70mm lens. Then, display the focal lengths captured. The third column shows me the focal lengths. A refinement on my search could be to change the order of my search. I capture RAW images, so I could choose a set of funnels that do File Type first and limit the select to RAW files.
And … this exercise tells me I still have some work to do on my 2021 photo goal of taking more than just wide angle photos. :)
Pro Tip: Select multiple metadata values in a column by holding the Command (macOS) or Control (Windows) key and selecting the values.
The Metadata columns of the Library Filter act as a series of funnels. From left to right, each column filters the view of photos to match the specified metadata.
Filtering On Development Treatment
How about one more example? Another of my photo goals for the year is to capture more black & white work. Well… one of the metadata options is the Treatment setting, which is either Color or Black & White. I changed the fourth metadata column to Treatment and chose Black & White from the pick list. (I returned the 2nd and 3rd columns to include All choices.)
It is worth noting that development-based filters like Treatment have limits and only apply to adjustments made in Lightroom. If photos are sent to 3rd party plug-ins and converted to black & white there, Lightroom will not recognize them as black & white photos.
For 2021, yes, I’m doing black and white work. And the star ratings on the images tell me I’m getting some quality images as well. I need to keep the momentum going on that photo goal!
Pro Tip: Click the small icon in the upper right of a column to change its view, its sort order, or to add and remove columns.
Filtering on development treatment is also possible. Note that treatment-style filters only consider adjustments made in Lightroom.
Metadata And Attribute Filters Reveal Your Go-To Lenses
Your Library Filter searches can include Attribute and Metadata simultaneously. The search criteria compound. As you saw above with the metadata columns, each acts as a funnel, feeding the next. Attributes are another funnel and can further refine a photo search. In the example below, I’ve returned to showing all photos from 2021 with the first Metadata column. Notice the Attribute option is active and has a setting looking for photos with a 4-star or higher rating. The results are my 4-star and higher photos from 2021 only.
But … look closer! Notice the numbers in the second column under Lens. These numbers show how many 4-star or higher images I’ve captured with each of my lenses. That’s power information! It’s no surprise that I have few keeper shots with my long lens. It is interesting that I have an equal number of keeper photos from my 16-35mm and 24-70mm lenses. If I were inclined to invest in new glass, I’d want to replace one of my wide angle lenses as that’s where my quality work is coming from.
These examples just scratch the surface. I hope this article gives you some ideas for using the Library Filter as more than just a find-my-photo type of tool. Ask questions about your photography, and think about how the metadata that’s already in your images might help reveal answers for you. Then, fire up the Library Filter and get those answers!