Sky Swap AI In ON1 Photo RAW Is Very Good, With Room For Improvements
If you are trying ON1 Photo RAW, the ON1 plug-ins like ON1 Effects or ON1 HDR, or upgrading your ON1 software to a newer version, please consider using my affiliate link. There is no extra cost to you and it helps support ON1 tutorials like this one. Ready to buy? Use the offer code SDP20 at checkout and SAVE 20%!
What Is Sky Swap AI?
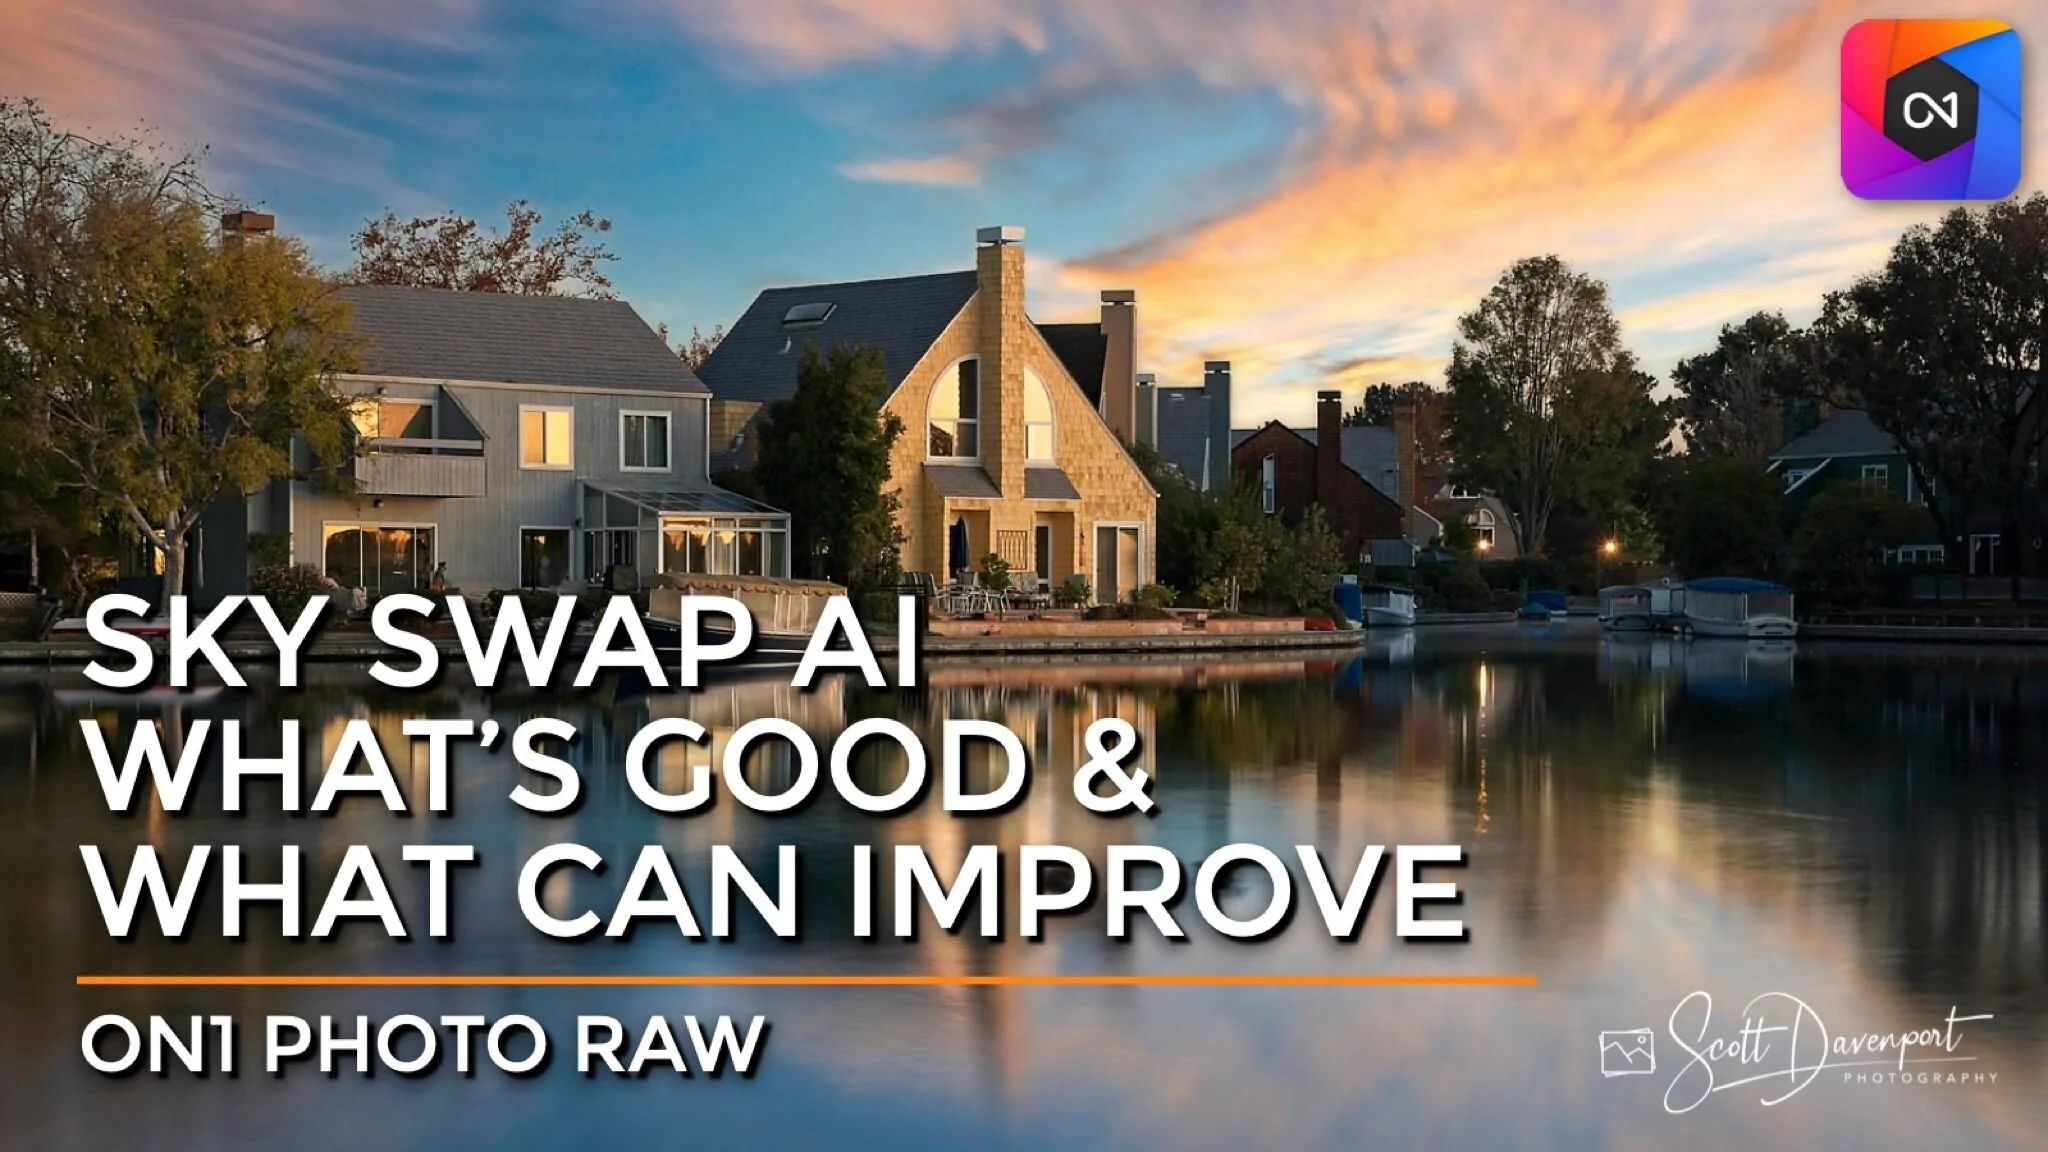
Sky Swap AI is a new feature in ON1 Photo RAW 2022 that replaces a dull, boring sky with a sky that has character or drama. Sky Swap AI automatically find the sky in your photo, creates a mask for it, and drops in a replacement sky. Photo RAW includes a healthy library of replacement skies to choose from – and you can add your own. Sky Swap AI also handles water reflections and has controls to relight the foreground, so a sky replacement looks natural and clean.
Sky Swap AI definitely streamlines sky replacement workflows in ON1. Sky Swap AI does the heavy lifting of creating masks and eliminates the need for layers to add a new sky. Yet you the photographer maintain control over the finished look, feel, and blend of the replacement sky. The ample sliders in Sky Swap AI let you tweak and refine the replacement sky. You also have access to all the ON1 masking tools.
As powerful as Sky Swap AI is, there are areas where it can require manual adjustment. The AI is very good, but not perfect. I am already looking forward to the improvements to Sky Swap AI I no doubt believe ON1 will bring in their well-established iterative (and free!) release strategy.
In this article, I describe all the sliders in Sky Swap AI and what they do, share my sky replacement workflow, and highlight a couple of areas where Sky Swap AI has room for improvement.
The Sky Swap AI Sliders And Controls
Sky Swap AI has its own tab in the Edit module in ON1 Photo RAW. When you first click the Sky tab, Sky Swap AI analyzes your photo, identifies the sky, and creates a mask. You then select a sky from the built-in library of images using the Category and Sky popup menus. You can also bring in your own skies with the Import button. Custom skies are managed as “extras” in ON1, like presets and textures.
Sky Swap AI has its own Sky tab in the Edit module of ON1 Photo RAW. It automatically analyzes your photo and creates a mask for the sky.
Select a sky from the built-in library or add your own with the Import button.
Once you have selected a sky, you can refine its appearance and how it blends with your photo. The Sky Swap AI tool has four sets of controls: Position, Appearance, Foreground, and Reflection.
The Position Sliders
The sliders in the Position section of Sky Swap AI control the sky position and how the sky blends with your photo. There are 6 controls:
Flip Horizontally: The double-headed arrow to the right of Position flips the replacement sky horizontally. If reflections are enabled, the reflection is also flipped.
Shift Horizon: Raise or lower the horizon line of the replacement sky.
Opacity: Control how much of your original sky is replaced with the new sky. An opacity of 100 is a full replacements. Smaller values blend the replacement sky in with the original sky.
Fade Edge: This controls how gradually or sharply the mask transitions between the sky and the foreground.
Shift Edge: This controls what the “edge” between the sky and foreground actually is.
Scale: Increase the size of the replacement sky. If reflections are enabled, the reflection is also scaled.
The Fade Edge and Shift Edge controls adjust the mask, they do not affect the replacement sky itself. They can take a little getting used to. Try turning on the Mask View and working these sliders to get a better feel for what they are doing. The default values are generally quite good.
There is no independent adjustment for horizontal placement. Using a combination of Flip Horizontally, Scale, and Shift Horizon, you can almost always coax out the position of the sky you want. A horizontal control would be a welcomed addition to Sky Swap AI.
Position the replacement sky and adjust the edges of the mask.
The Appearance Sliders
The Appearance sliders adjust the look of the replacement sky, some of which will feel very familiar. There are 5 controls:
Warmth: Adjust the temperature of the replacement sky, warmer or cooler, to best suit your scene.
Brightness: Lighten or darken the replacement sky.
Haze: Add or remove haze in the replacement sky.
Blur Amount: Add a blur to the replacement sky.
Blur Angle: Adjust the angle of the blur.
The first few sliders will feel familiar, as they are standard adjustments for all images. The Blur Amount and Blur Angle sliders give you more creative control over the replacement sky. In some scenes, adding a touch of blur with Blur Amount may better suit the overall photo. For example, a softer, pastoral image may work better with a slightly soft sky, or a scene with a shallow depth of field that needs a softer sky. Adding a directional blur with Blur Angle creates a sense of motion, like those created from longer exposures.
For all of these controls, if reflections are enabled, the reflected sky is also adjusted.
Adjust fundamental characteristics of the replacement sky with the Appearance controls.
Adding a directional blur with Sky Swap AI simulates long exposure photography.
The Foreground Controls
The first set of controls in the Foreground section are all about relighting the foreground subjects to better blend with the composite scene. The controls are disabled by default. Click the Lighting button to enable them. Once enabled, you can adjust:
Mode: Set the blending mode of the relighting color. Multiply tends to darken the foreground and Screen brightens it.
Color: Set the color to use as the base for relighting. Use the color picker to pick a tone from your image or the color swatch to choose a color.
Amount: Set how little or how much of the relighting color to blend into the foreground.
Distance: Control how much or how little of the foreground is affected by the relighting.
Pro Tip: Choose a color from your replacement sky as the relighting color.
The second set of control in this section are for reflections. Sky Swap AI understands scenes with water in the foreground and can add a reflected sky into the water for you. By default, reflections are turned off. Enable them with the Reflection button. There are a few controls to refine the sky reflection:
Mode: Set the blending mode of the relighting color.
Amount: Control the intensity of the sky reflections.
Shift Vertical: Adjust the vertical position of the reflected sky.
The default blending mode of Overlay is generally a good choice for reflections. You can quickly audition the other blending modes by hovering over the different ones in the Mode popup menu.
Relight the foreground for a refined sky replacement composite.
Sky Swap AI detects water in the foreground and can add a sky reflection.
Sky Replacement Workflow With Sky Swap AI
Alright … that’s a lot of sliders. You may be asking … how should I approach a sky replacement? The good news is ON1 has designed Sky Swap AI intuitively. So working sequentially from top to bottom through the various sections in order works pretty well. You can adjust the sliders in any order, so there is no right or wrong approach and no negative impacts if one adjustment is made before or after another.
I work a little more non-linearly through the Sky Swap AI controls. Here is the workflow I follow for sky replacements:
Choose a replacement sky.
Adjust its position with the Position sliders.
Most of my time is spent with the Fade Edge and Shift Edge sliders.
Make mental notes about areas in the mask that need refinement.
Adjust its appearance with the Appearance sliders.
If there is a water reflection in the scene
Turn on the Reflection controls in the Foreground section.
Adjust the reflection position and intensity with the Reflection sliders.
Return to the Position sliders and refine the sky position. The reflection is also adjusted.
Turn on and adjust the Lighting controls in the Foreground section.
Use the eye dropper to select a color from the replacement sky.
Adjust the relighting controls to match the foreground with the sky
Refine the tonality of the sky with the Appearance sliders
Refine the Sky Swap AI mask with the ON1 masking tools.
There is always some jumping around the sections when you are fine tuning the sky replacement. For example, after relighting with the Lighting controls, minor adjustments in the Appearance sliders can make for a better blend. You are striking a balance between adjustments made to your original photo and changes made to the replacement sky to get a seamless, believable composite.
The final step of using the ON1 masking tools is sometimes necessary. If the Position sliders cannot make a clean mask for details at the sky/photo boundary, ON1 has a set of first class masking tools to clean up any straggling items. Watch the video around the 12 minute mark for an example of using the masking tools to refine the mask created by Sky Swap AI.
Detailed Tree Lines Need Improvement
As powerful as Sky Swap AI is today, there are areas hat it needs improvement. One is a more refined mask for scenes with detailed elements that overlay a sky, like tree branches. In this example of a silhouetted tree, Sky Swap AI can’t, on its own, create a suitable mask for a seamless composite. Adjusting the Fade Edge and Shift Edge sliders helps the tree some – but not entirely. Aggressive changes to these sliders also introduces artifacts at the horizon line. Photos with a higher degree of details that overlap the sky are a challenge for Sky Swap AI.
Sky Swap AI struggles to create a mask when fine details overlap with the sky.
The default mask is not aggressive enough to handle the gaps between the tree branches.
A more extreme sky replacement clearly shows the limitations.
For some replacement skies, the blend is moderately acceptable, but success relies on the original sky and replacement sky having similar color tones. A more extreme sky replacement clearly shows the problem with the mask Sky Swap AI creates. While the example of a fiery sky may not be a plausible sky replacement for this photo, the problem is clearly illustrated. I could envision adding a backdrop of a starry night with this silhouetted tree reaching into the stars. However, that is not possible with Sky Swap AI. One is left to manual masking with the other ON1 masking tools. You can 100% perform the replacement with ON1’s tools, but it will require manual masking with tools like the Perfect Brush to refine the Sky Swap AI mask.
Water Reflections In Shadow Areas Need Improvement
Another area that Sky Swap AI can improve in is detecting bodies of water. The AI tends to leave out areas of water that are in shadow or are reflecting darker tones. In this example of a dam reflecting in a lake, notice the lower left area of where the dam meets the surface of the water is not reflecting the replacement sky. The gap is more obvious when using a different blending mode, such as Screen.
Shadow areas and darker colors reflected in water are not included in Sky Swap AI’s water refections.
The reflection gap at the base of the dam is more obvious using a different blending mode. This example uses the Screen blending mode to illustrate the limitation.
Unfortunately, there are no controls to expand or otherwise change the area considered to be in reflection. Unlike the sky itself, the ON1 masking tools cannot be used to correct gaps in the reflections. The mask only applies to the sky itself. For the reflections, photographers are entirely dependent on the AI.
Sky Swap AI Is A Great Start With Room To Grow
All in all, I very much like how ON1 has approached AI-powered sky replacement. Sky Swap AI is a solid start and cleanly handles what has traditionally been the grunt work of sky replacement. Gone are the days of having to stack layers, create hand-painted masks from scratch, and add color adjustments to relight images for a smooth composite. Access to the masking tools lets photographers refine the mask further. The AI does the bulk of the work and photographers can concentrate on the finer details to shape their images. Reflection support is good with clear areas for improvement..
I am looking forward to ON1’s advances in this space with even cleaner, more refined auto-masking of skies. I am also hopeful for additional controls to adjust water refection areas. And a control to adjust the horizontal position of the sky would be a bonus. :)
