When To Use A LUT And How To Customize It In ON1 Effects
If you are trying ON1 Photo RAW, the ON1 plug-ins like ON1 Effects or ON1 HDR, or upgrading your ON1 software to a newer version, please consider using my affiliate link. There is no extra cost to you and it helps support ON1 tutorials like this one. Ready to buy? Use the offer code SDP20 at checkout and SAVE 20%!
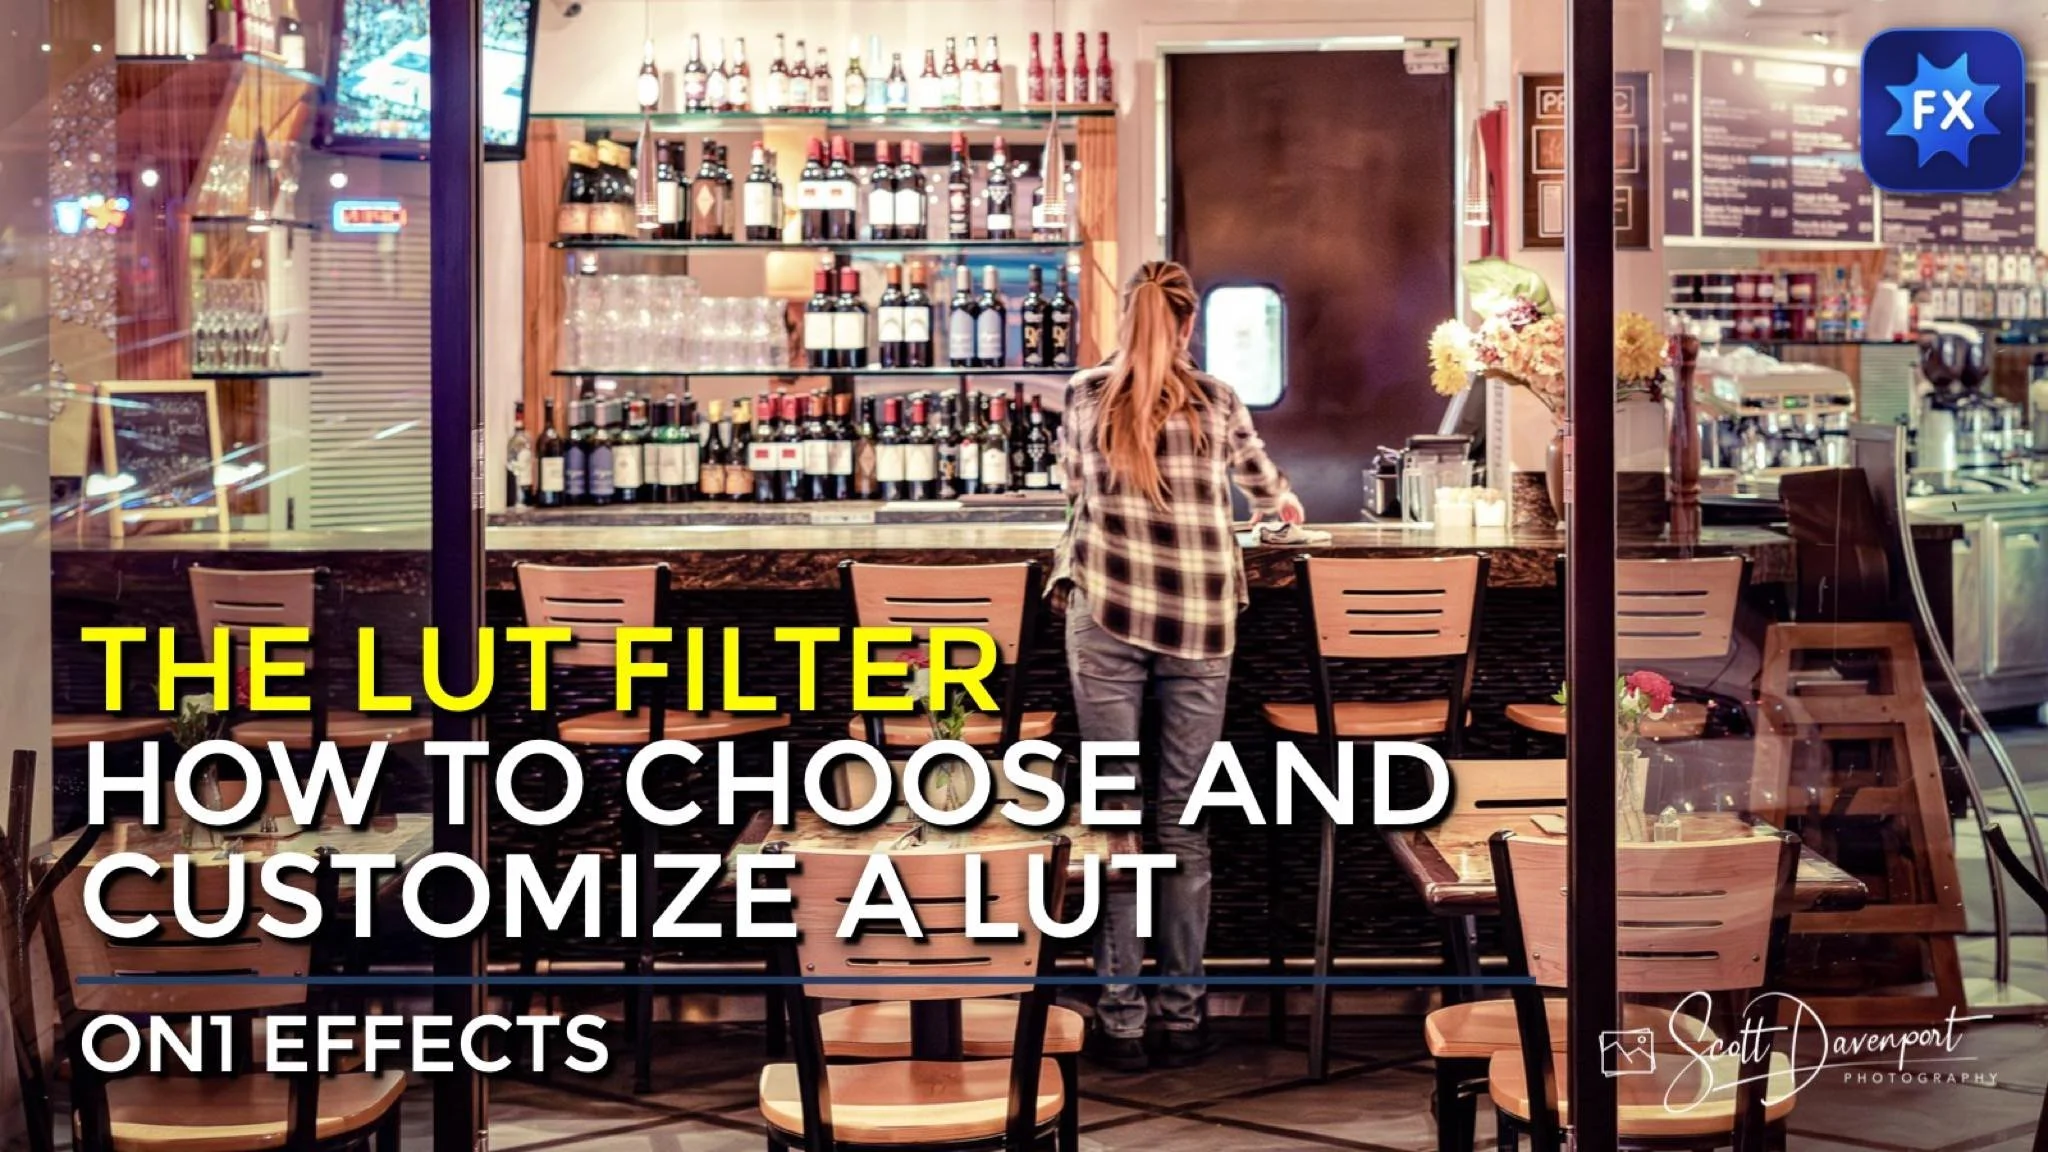
Photo editing tools give you a lot of choices to adjust the color and tonality of your images. ON1 Effects has a host of filters to enrich, tint, and color grade an image - there’s the Color Adjustment, Color Balance, Photo Filter, and Split Tone just to name a few. Another option is the LUT Filter. LUTs are both interesting and unique because a LUT can subtly or drastically alter the mood of an image with just a single click.
Step 1 - Audition The LUTs
First, apply the LUT filter and choose a LUT category. Or, you can also import LUTs you've downloaded from other sources. Once you have selected a category, you can audition each LUT. LUTs can be tricky and you can’t always predict how it will look on every photo.
Open the LUT list and use your keyboard to arrow up and down in the LUT list keeping your eyes on your photo. When you see a look you like – pause and make a note of the LUT that’s selected. Remember the LUT controls the color and luminance shifts. You can’t directly change those effects, though you can influence them after the LUT is applied. Aim to find a LUT that broadly suits the mood and color palette you want for your photo.
Related: Color Grading With The LUT Filter
Choose a LUT category and use the arrow keys to audition each LUT on your photo.
Step 2 - Refine Your LUT Look With Blending Options
If the LUT looks great right away, you’re all set. However, if the LUT is too strong in certain tonal regions, you have control over that. Open the blending options of the LUT filter and use the Shadows, Highlights, and Skin sliders to limit the impact of the LUT to those tonal regions. (Skin is a rough equivalent to midtones in most photos.) For example, to reduce the color grading in darker areas, push the Shadows slider to the right.
Pro tip: You can also reduce the overall impact of the LUT using the Opacity slider of the LUT Filter.


Step 3 - Customize Your LUT Look With Luminosity Masks
Want more control? Using a luminosity mask is another approach to control how strongly a LUT is applied to various tonal regions.
A luminosity mask hides the impact of a filter based on the tonal properties of your photo. Open the masking area of the filter and click the Lumen button to apply a luminosity masks. By default, the LUT is reduced in the shadows. Inverting the mask limits the impact in the highlights. Also explore the Density slider to add some but not all of the LUT to the entire photo.
Luminosity masks are more nuanced and offer more control over blending options. Use the masks for greater influence over how intensely various tonal regions are or are not affected by the LUT.
Pro tip: Nudge the Feather slider up a little for smooth blending of the LUT among tonal regions.
Conclusion
You can also combine the luminosity masks with the blending options. After applying the luminosity masks, if the LUT is too strong in the shadows, midtones, or highlights, use the protection slides in the blending options to temper the LUT in those areas.
While you may not have control over the color mapping the LUT itself provides, you are not without control. Temper the impact of the LUT using the additional controls in the ON1 LUT Filter.
Evening Prep (Color)
Contact Scott to commission a print or license this image.