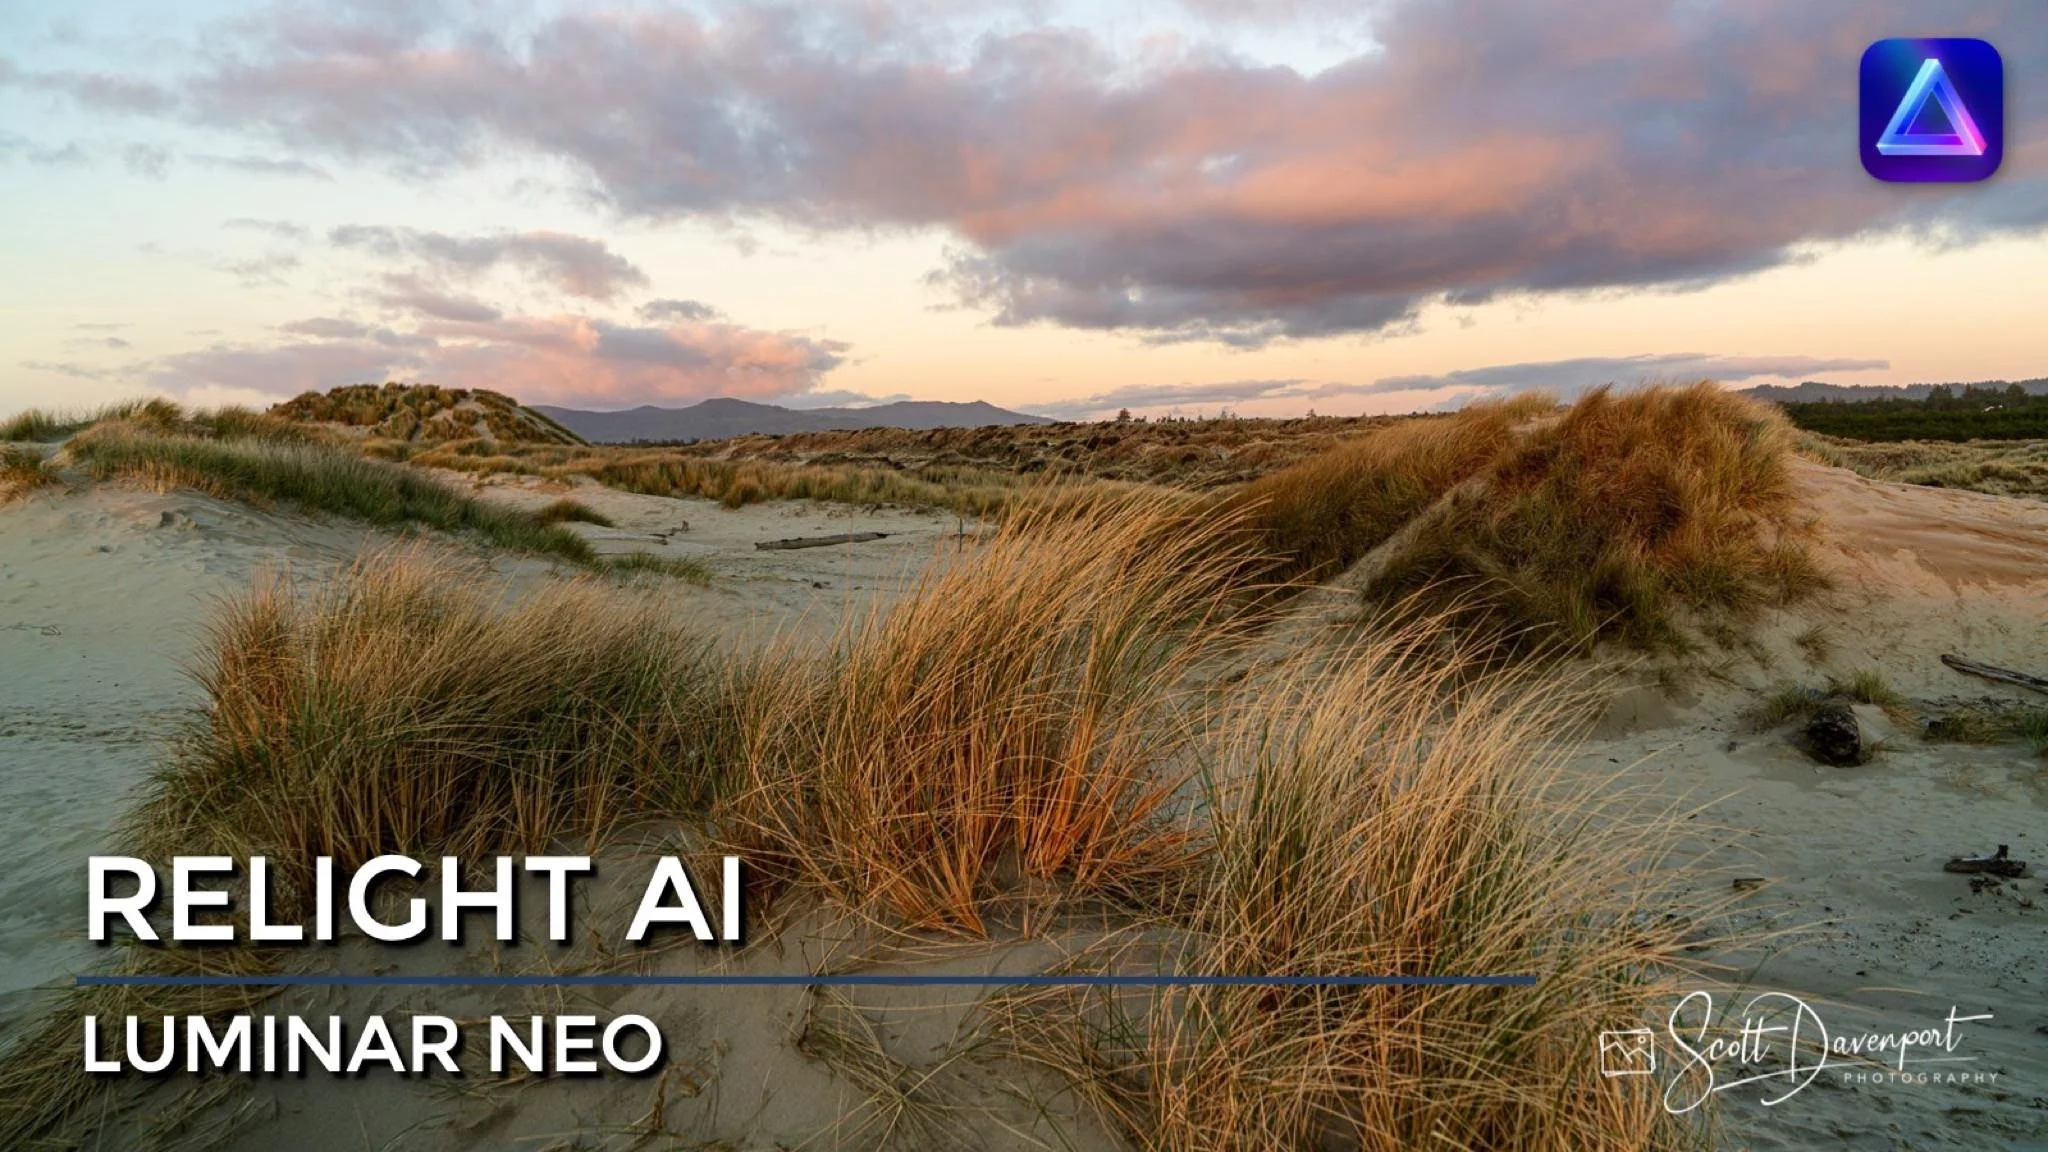
Luminar Neo - Relight AI
If you are trying Luminar Neo or upgrading from a prior version, please consider using my affiliate link. There is no extra cost to you and it helps support Luminar tutorials like this one. Ready to buy? Use the offer code SDP10 at checkout and Save US$10!
One of the new AI-powered tools in Luminar Neo is Relight AI. And this tool is pretty darn slick. In this article, I’ll explain the controls and show an example of Relight AI in action. You might also enjoy my article Luminar Neo - What’s Good What’s Not for a broader overview of Luminar Neo.
Relight AI - How Does It Work?
Relight AI is one of the new AI-powered tools in Luminar Neo. It analyzes your image to find subjects and objects as well as determine relative depth of those subjects and objects in the scene. The tool creates a 3D depth map of a scene and presents a handful of simple sliders to quickly rebalance the exposure and temperature of a scene. There are three primary controls:
Brightness Near: Brighten or darken subjects and objects that are close to the camera.
Brightness Far: Brighten or darken subjects and objects that are farther from the camera.
Depth: Influence the depth map to change what is considered “near” and “far” from the camera.
As the slider names suggest, you can change the exposure of the foreground or background. No masking is required. The depth map Relight AI builds internally guides the adjustment.
Pro tip: As you learn the tool, push Brightness Near to the far left and Brightness Far to the far right. Then adjust the Depth slider. You can clearly see what parts of the scene are considered near and far.
There are also advanced controls to adjust temperature and control for high contrast edges:
Dehalo: Reduce haloing at high contrast edges.
Warmth Near: Warm or cool subjects and objects that are close to the camera.
Warmth Far: Warm or cool subjects and objects that are far from the camera.
The Warmth sliders are the temperature counterparts to the Brightness sliders. What is considered near or far is controlled by the primary Depth slider. The Dehalo slider is useful when the Brightness or Warmth sliders are more strongly polarized (i.e. pushed in opposite directions). For example, pushing brightness higher for near objects and lower for far objects increase contrast. High contrast edges are susceptible to halos, and the Dehalo slider helps manage such artifacts.
Before Relight AI
After Relight AI

Relight AI In Practice
Relight AI works best with photos where there are recognizable objects. Think in terms of what an AI might be trained to detect. People, buildings, cars, doorways, water, skies - that sort of thing. It really shines working with portraits. That’s because a lot of the AI in Luminar Neo is trained to understand human subjects. The AI is great at human detection and the resulting depth maps for portraits are great.
I have used Relight AI on several types of images, and it has value beyond portraits. You can use Relight AI on landscapes, although you may need to temper the AI with the sliders a little more. I’ve used Relight AI to warm a foreground and cool a background - a classic technique for landscapes - and it’s worked well. Be careful not to push the sliders too aggressively, especially the Depth slider. Pushing Depth too extreme can have the foreground relighting creep into the sky. In most if not all cases, that doesn’t make sense for a landscape photo. A change in lighting in a foreground element would not fundamentally affect the sky.
Conclusion
Like with all post-processing tools, don’t abdicate all control to the tool. The photographer always needs to consider either what makes sense for the natural world, or what vision and mood is desired for the photo. Then, use the tools to achieve that. Luminar Neo and Relight AI can help you get results faster. Just know the limits of your tools.
Sunset North Jetty Beach Florence Oregon
Contact Scott to commission a print or license this image.